
Most often, mobile applications already have FCM settings. In this case, you do not need to make any additional FCM settings.
Follow the guide below if your application does not have FCM settings.
- Verify that your Gradle files include the correct FCM and Reteno libraries.
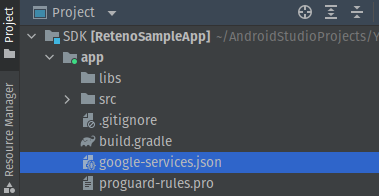
- Download your
google-services.jsonconfig file (see how here). - Add the above file to your root
app/folder.
- Copy your FCM Server Key. In the Firebase console, click the gear icon next to Overview
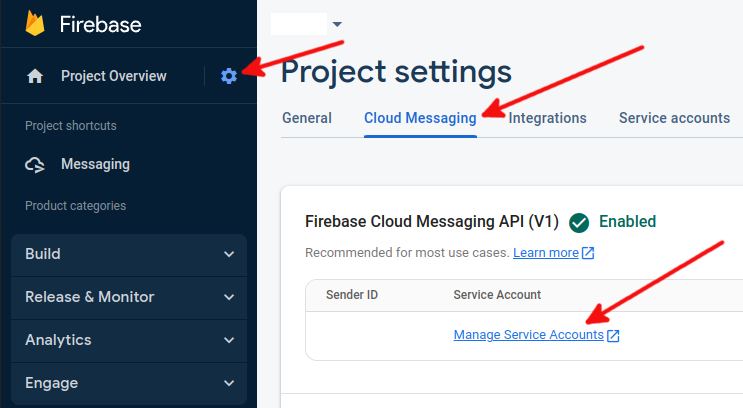
- Click Project Settings → Cloud Messaging → Manage Service Accounts.
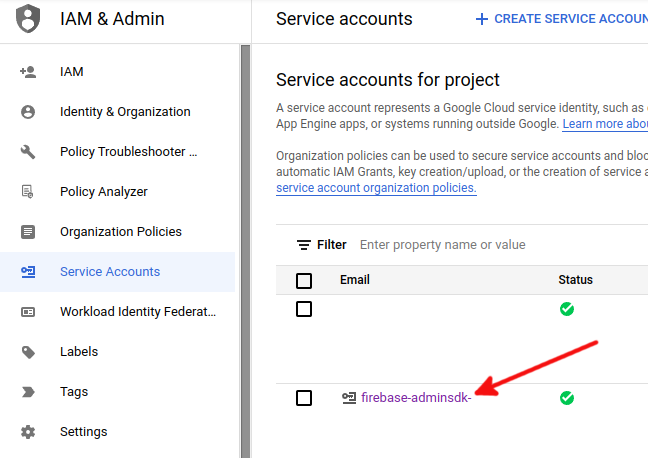
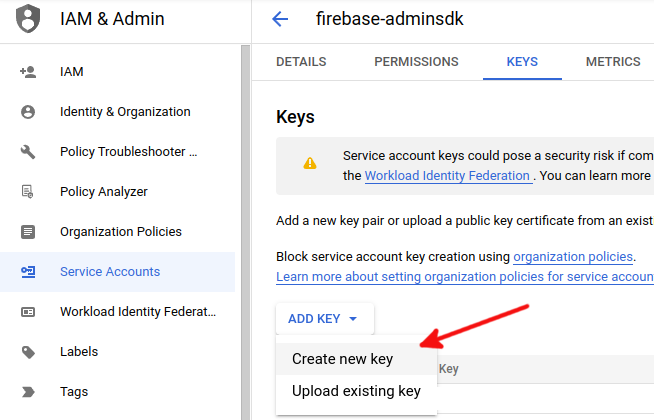
- Go to Service accounts to download FirebaseAdminSdk account's json key.
- Follow this manual to set up Yespo admin panel with your Firebase key.
NoteMobile push notifications are sent to FCM with the
HIGHpriority. Tokens created through the mobile SDK are processed as data messages — the SDK controls how the notification is displayed, which preserves the push notification's custom data.