
Revenue from Campaigns
Enable the visualization of revenue in reports to see how much income each channel generates.
Enabling Revenue Display
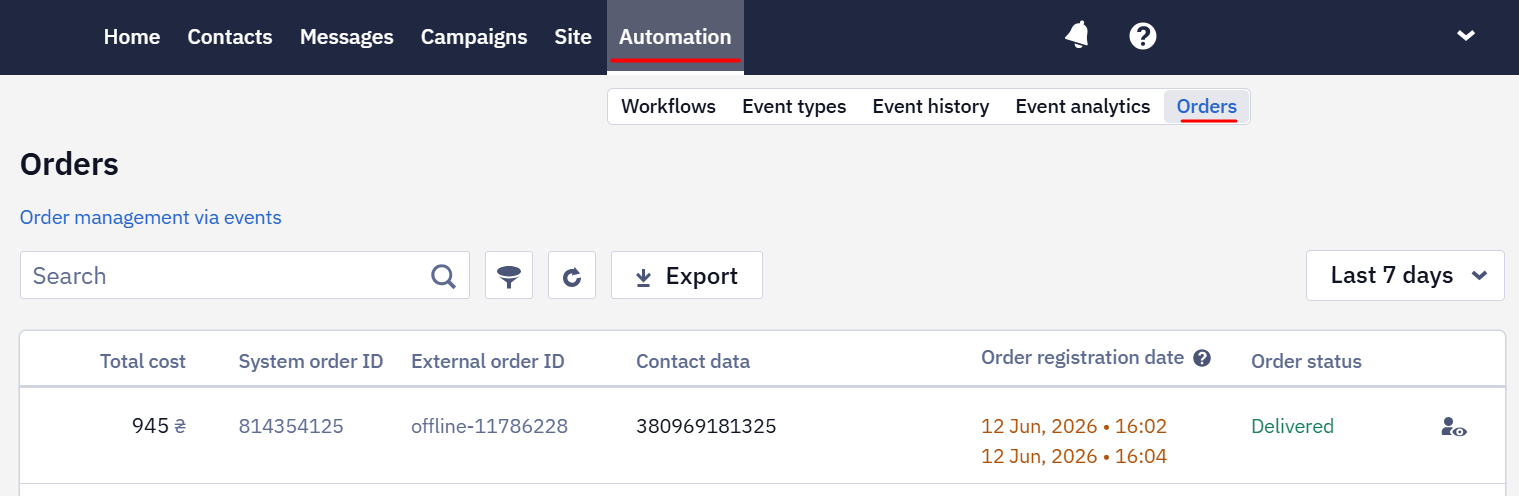
- The first step is to set up order data transfer to the system via API resources Add orders and Generate event. You can see order information in Automation → Orders if integration is active.
- Go to your profile Settings → Revenue from campaigns and enable the Show sales in report option.

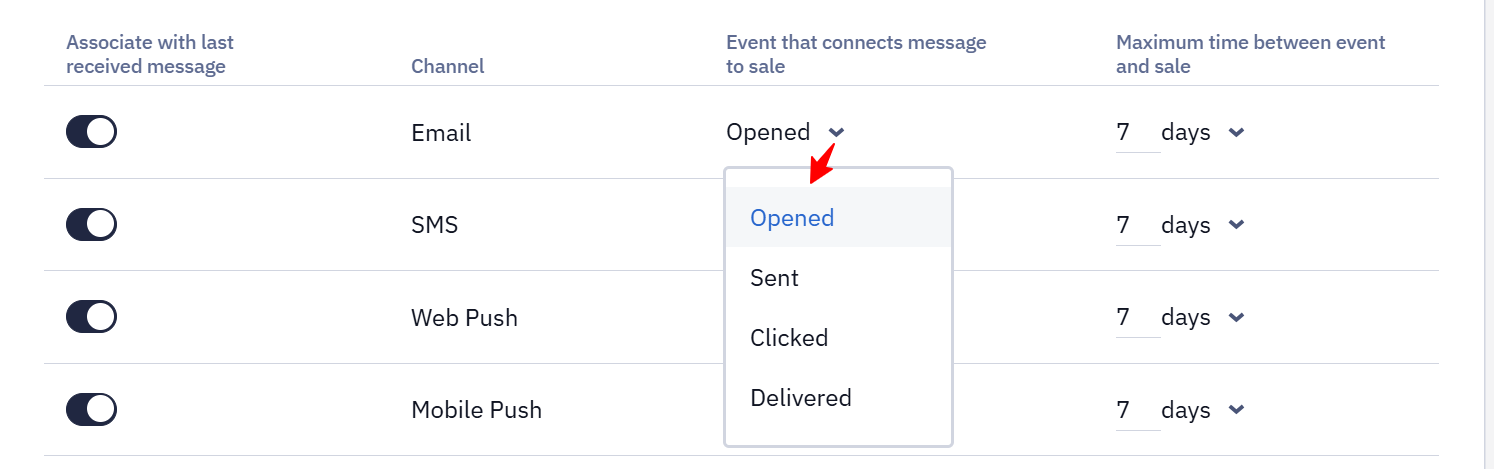
- Activate the Associate with last received message switcher and select parameters for each channel:
- The event that connects the channel to sale (Opened, Sent, Clicked, Delivered);
- The time between the event and sale (hours, days, weeks).
Different parameters can be set for each channel.
- Specify the order currency to calculate the income. Select a currency code from the list and click the Save button. Revenue visualization will include only orders in the specified currency.
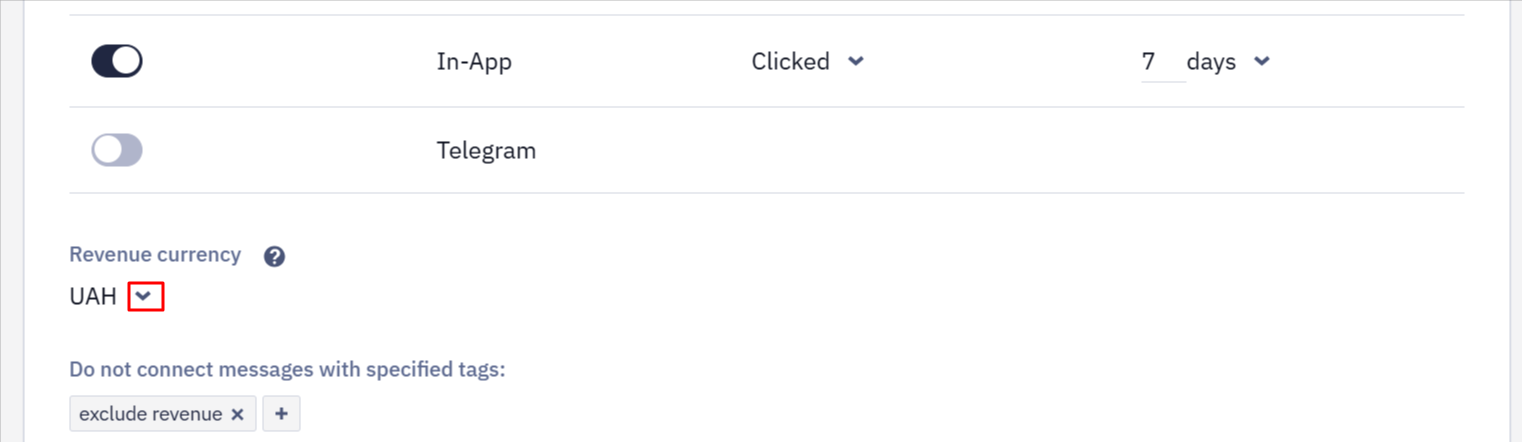
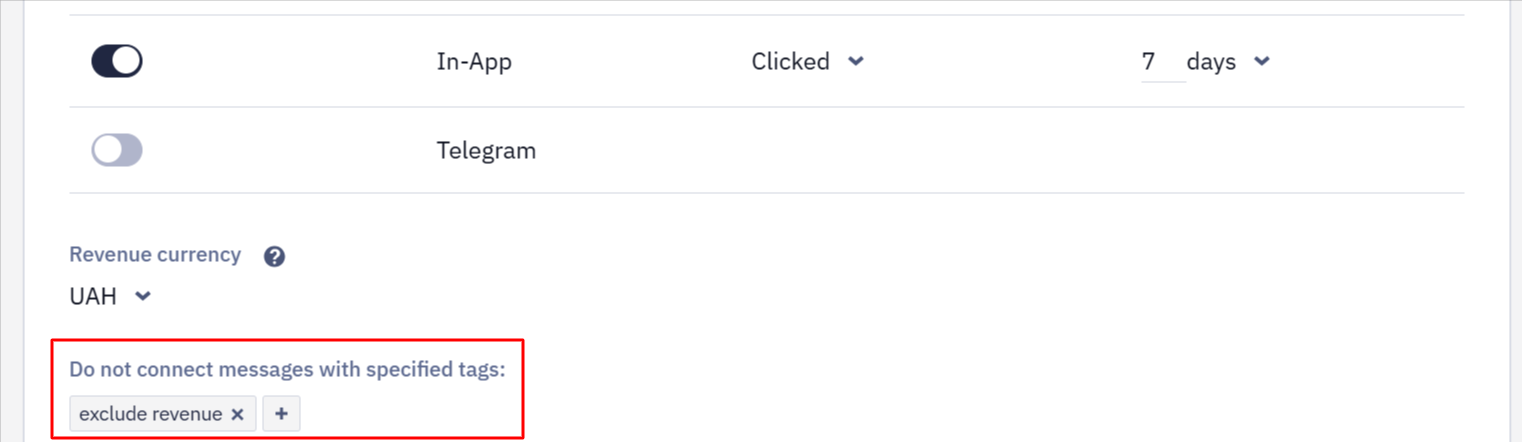
Add message tags to exclude specific messages from the revenue calculation (technical notifications, password recovery, delivery confirmation, etc.) Data on them will be available in the report but won't be included in the revenue calculation.
Revenue from Campaigns in Reports
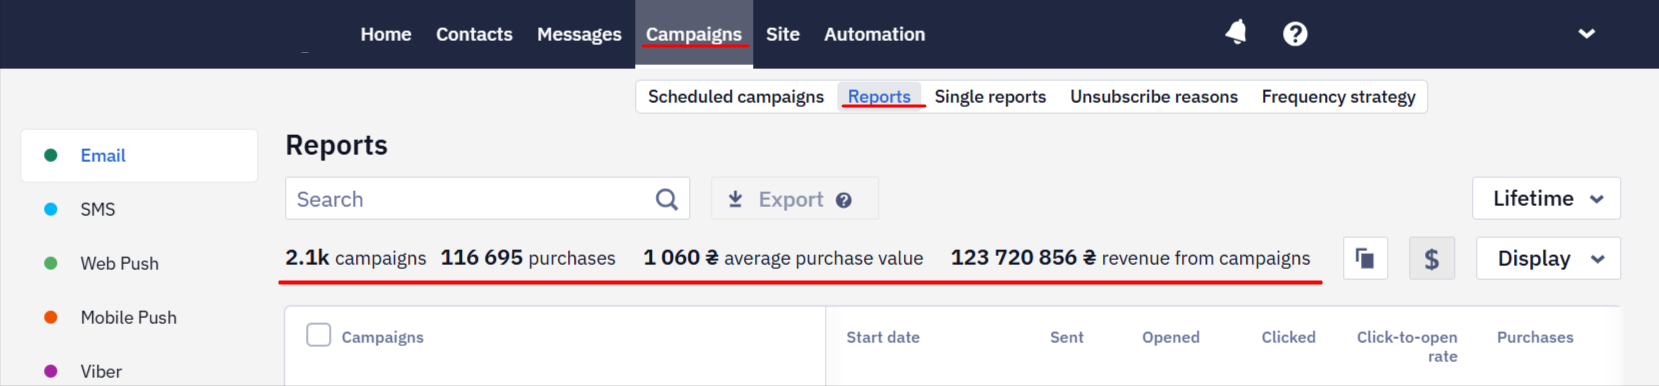
- Go to Campaigns → Reports. Select the channel, for example, Email.
Data on campaign revenue over the specified period will be given on top of the general list:
- Campaigns;
- Purchases;
- Average purchase value;
- Revenue from campaigns.
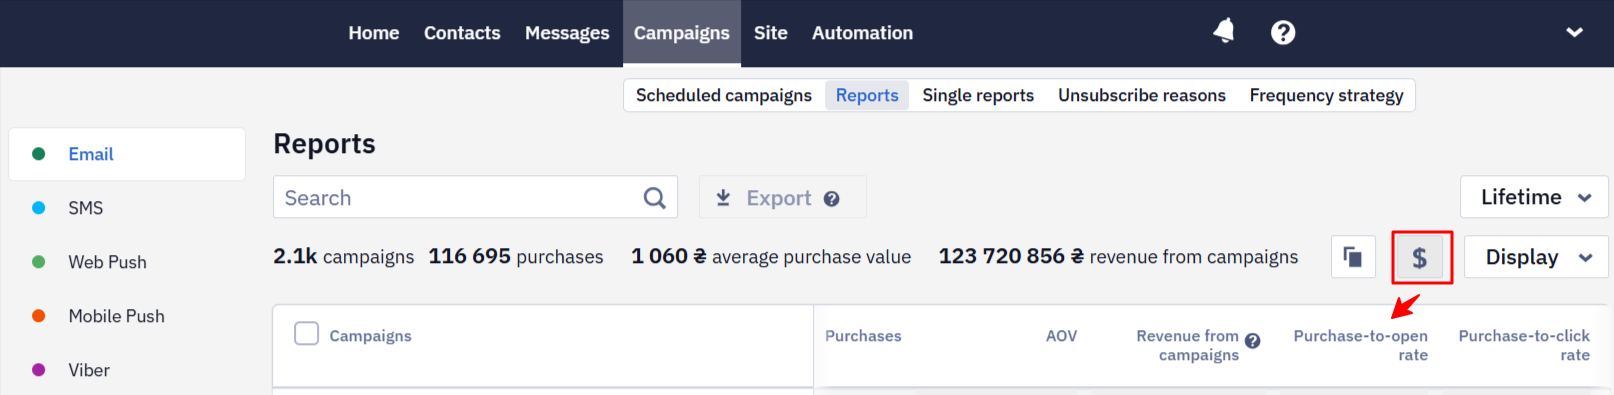
- Click the
$icon to see details on each campaign:
- Purchases;
- Average order value (AOV);
- Revenue from campaigns;
- Purchase-to-open rate;
- Purchase-to-click rate.
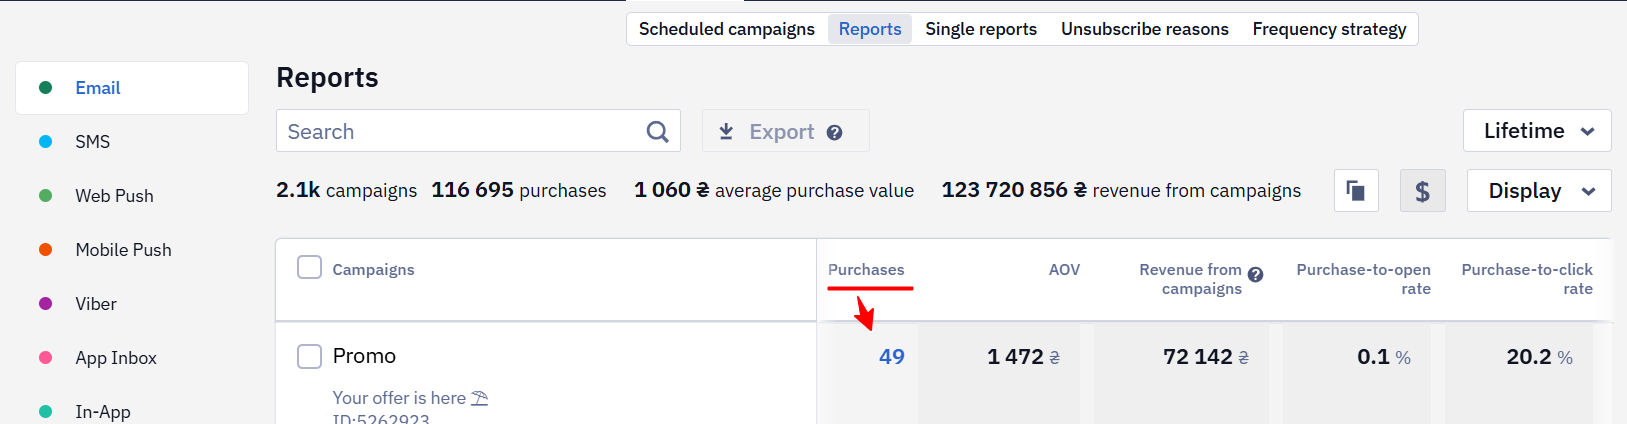
- Click on the number of purchases the campaign generated to open a window with a list of contacts who made purchases and other order information.
- To export all customers to a separate segment or file, click the Export button.

NoteExporting data from the Purchases tab to a
CSVfile is available only to users in the role with the appropriate permission (Admin, Marketer).
Click the preview button to view the contact card.

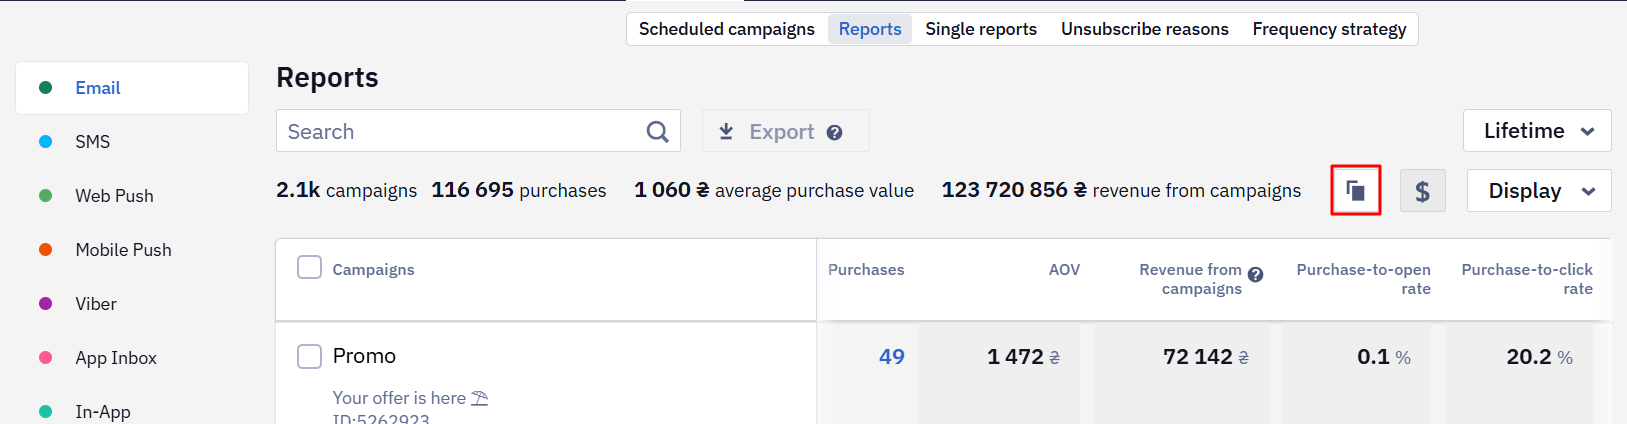
To copy or export a report with general purchase data, click Copy or Export, respectively (with $ active).
Revenue from the campaign is also displayed inside its report:
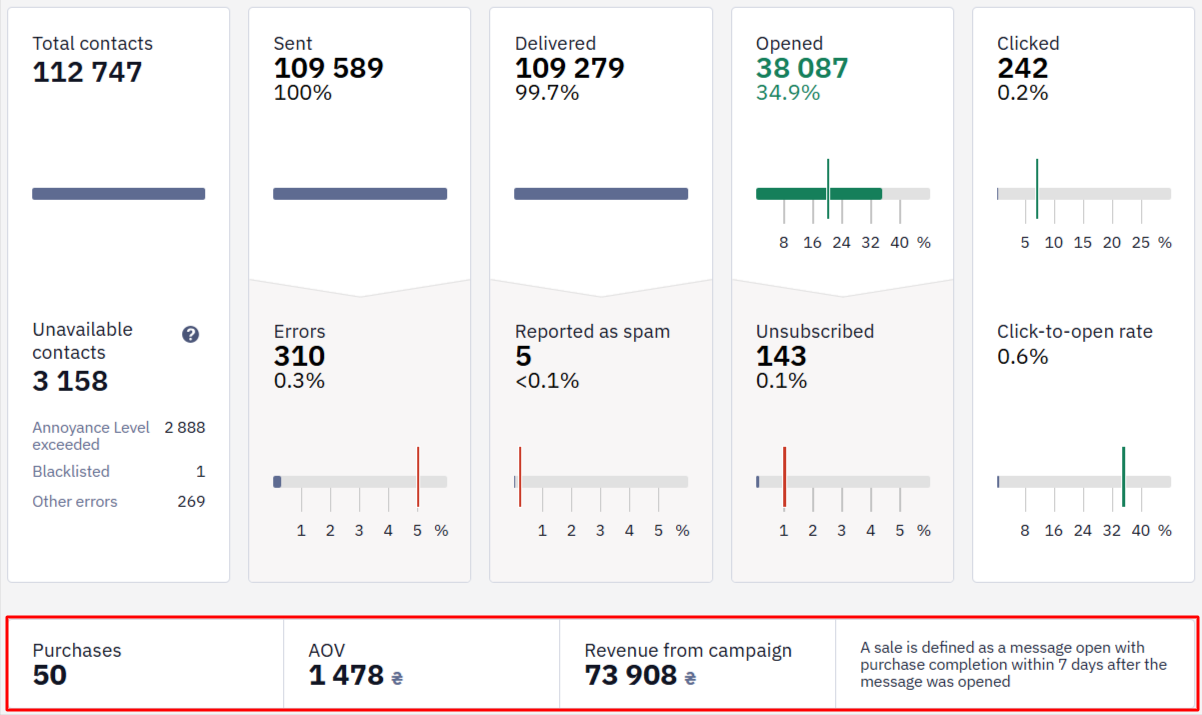
Next to the numbers, you can see the sale formula. For example, for the campaign on the screen, a sale is defined as a transition from the message to the website with purchase completion within 24 hours after the transition.
Notes
- Set up order data transfer to the system via API resources
Add ordersandGenerate event. - The Reports tab displays only orders with the Delivered status.
- All sales transferred to the system are connected to channels. You connect channels to sales in Settings based on events (sent, delivered, opened, clicked) and time period.
- A sale is always associated with the last interaction with the channel.
- Refund data isn't included in the general statistics.
Updated about 2 months ago