
Adding/Changing/Deleting a Sender Name
Senders help recipients understand the message context. Use different sender names for different email types, such as promotional campaigns, trigger messages, or emails from managers.
NoteBefore you configure senders, make sure your domain has valid digital signatures (SPF, DKIM, and DMARC records that authenticate your sending domain).
You can add or change a sender in a few ways.
Add a Sender in the Email Editor
Static Sender Address
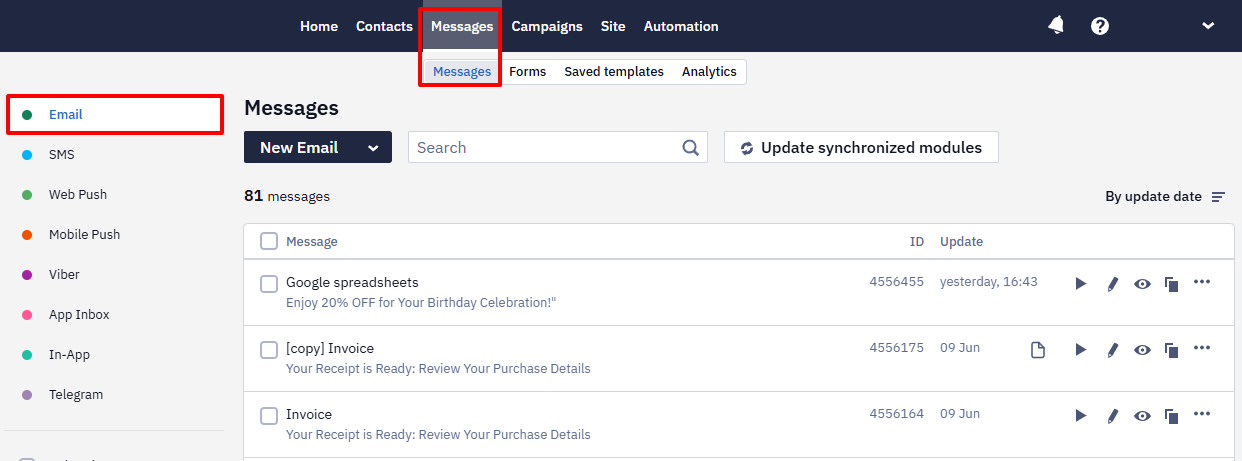
- Go to Messages → Messages → Email and open an existing email or create a new one.
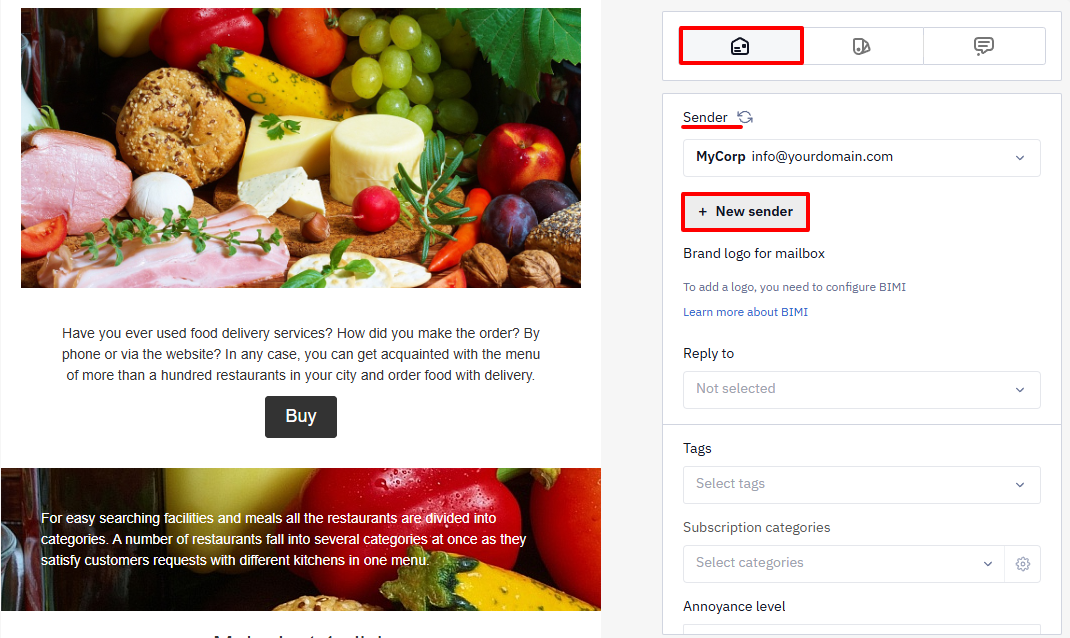
- In the Message settings panel, open the Sender section and click + New sender.
- Enter the sender name and email address and click Add.
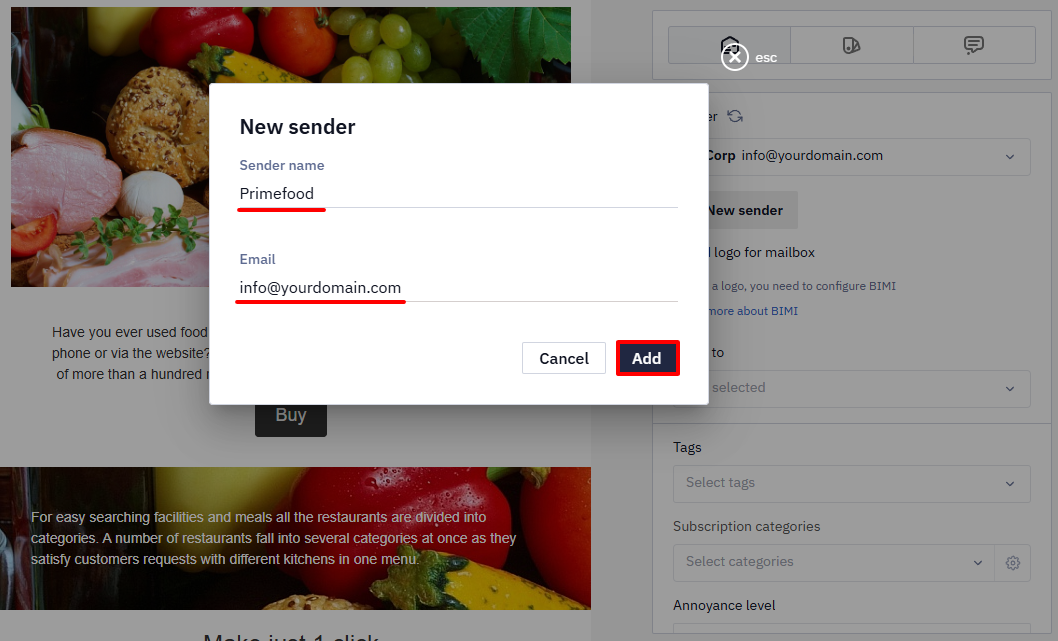
ImportantThe sender email address must belong to your corporate domain. Example
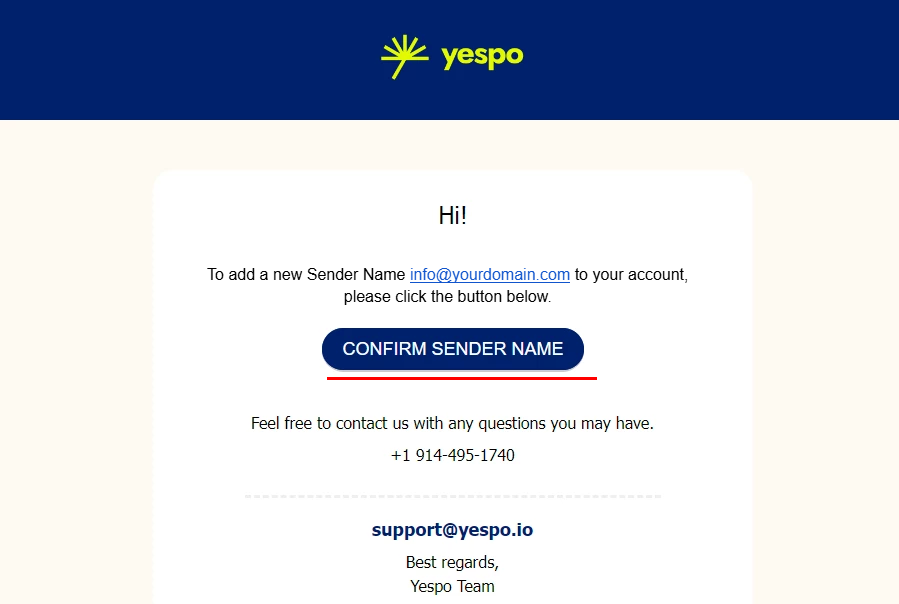
After you add the sender, Yespo sends a confirmation email to the specified address.
- Open the message from Yespo Support and confirm the sender.
Change the sender in an email
To use a different sender in the same email:
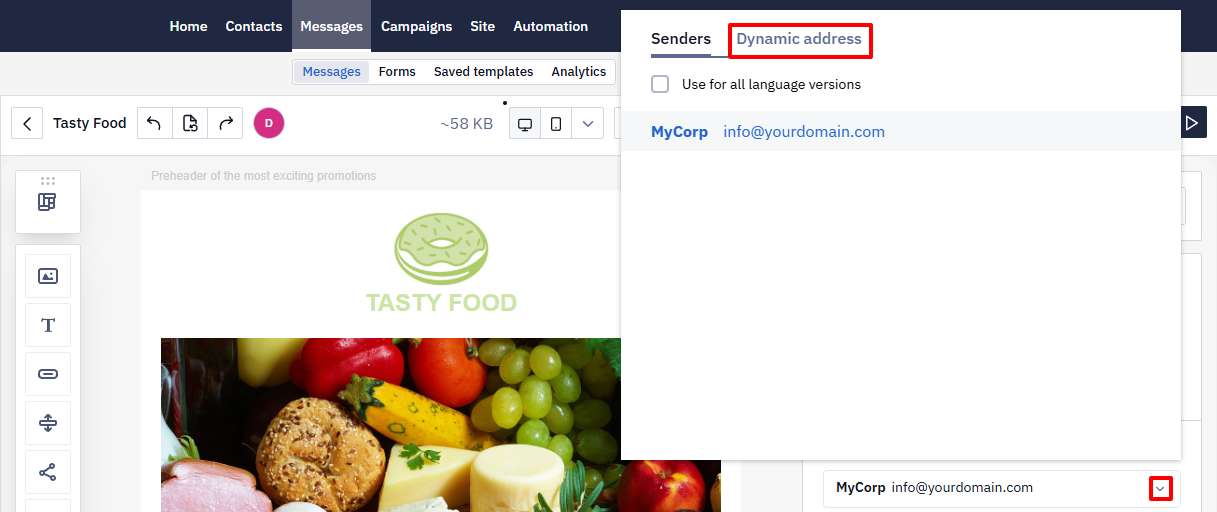
- Click the current sender name.
- Select another sender from the list.

Dynamic Sender Address
NoteTo enable dynamic senders, contact the support team
Use a dynamic sender when each contact should see a different sender. This is common in broadcasts or messages sent on behalf of a personal manager.
For trigger messages in workflows, you can populate the sender from:
- event parameters;
- contact fields.
Configure a dynamic sender
- In the email editor, click the Sender field and open the Dynamic address tab.
- Insert a variable from the event parameters.
Example:
$!yoursender_addressWhere yoursender_address is an event parameter.
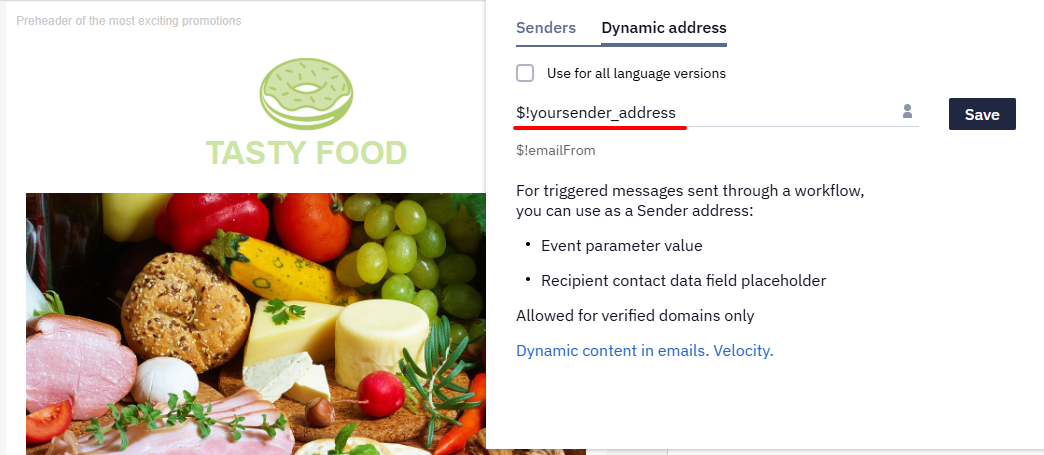
Or:
- Click the Personalization icon and select a field from the contact card.

- Click Save.
Add a Sender Via Account Settings
- Go to Settings → Senders → Email and click New sender.

- Enter the sender name and email address.
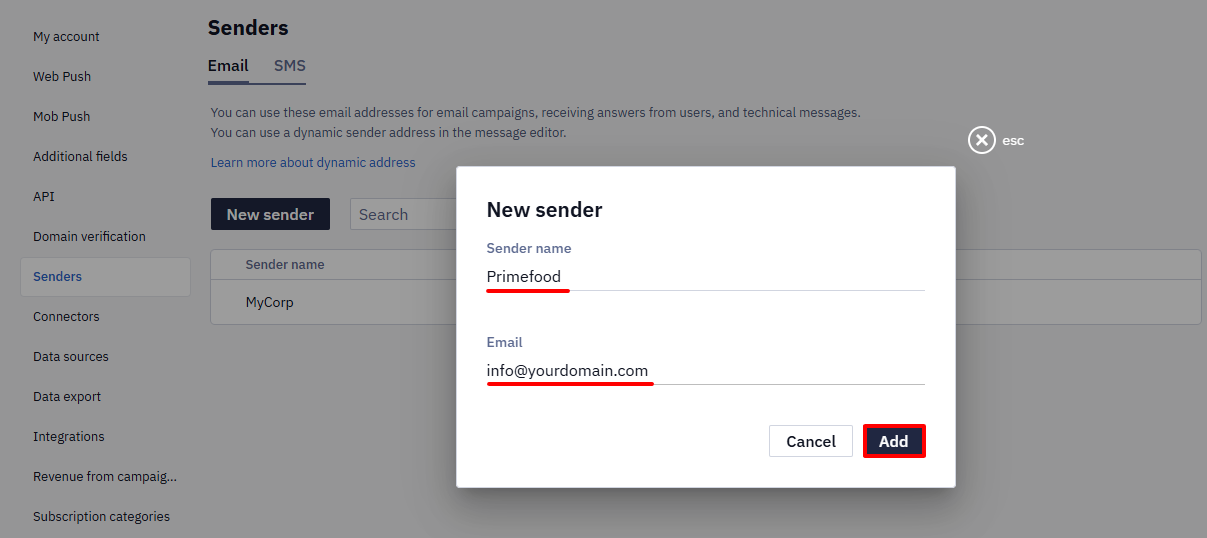
- Click Add.
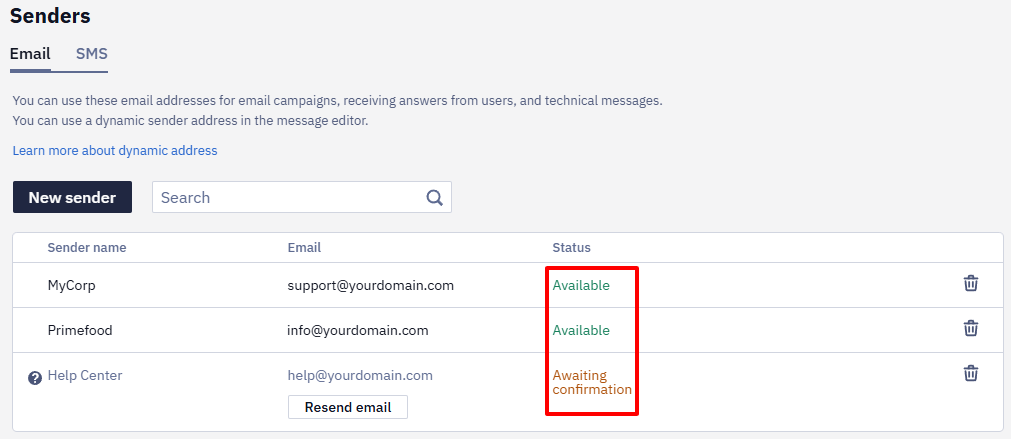
Yespo sends a confirmation email to the specified address. Confirm the address via the email from Yespo Support.
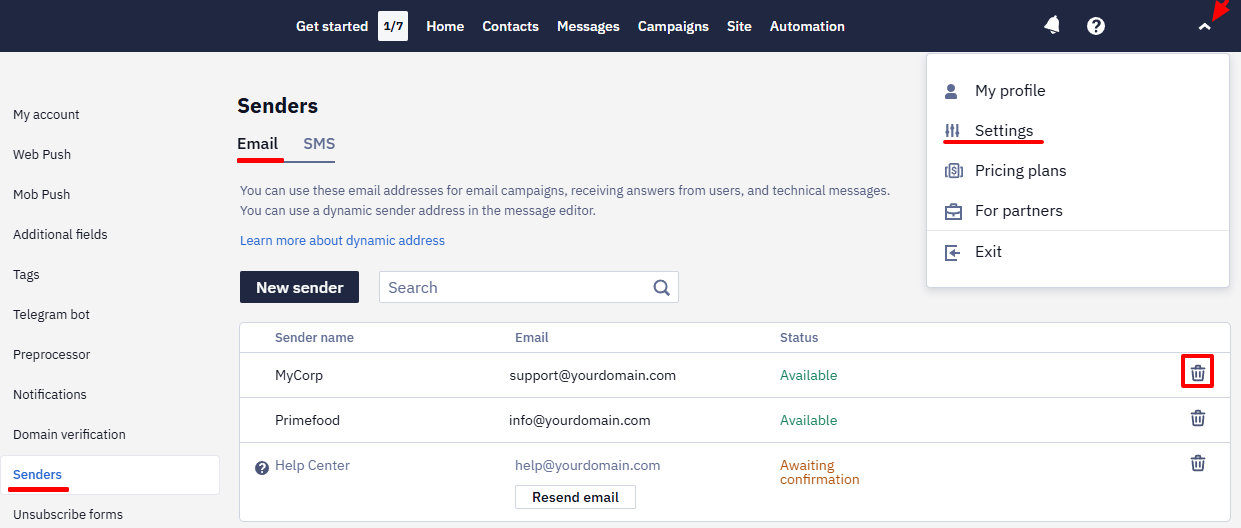
After confirmation, the sender's status changes to Available. Before confirmation, the status is Awaiting confirmation. You can resend the confirmation email if needed.
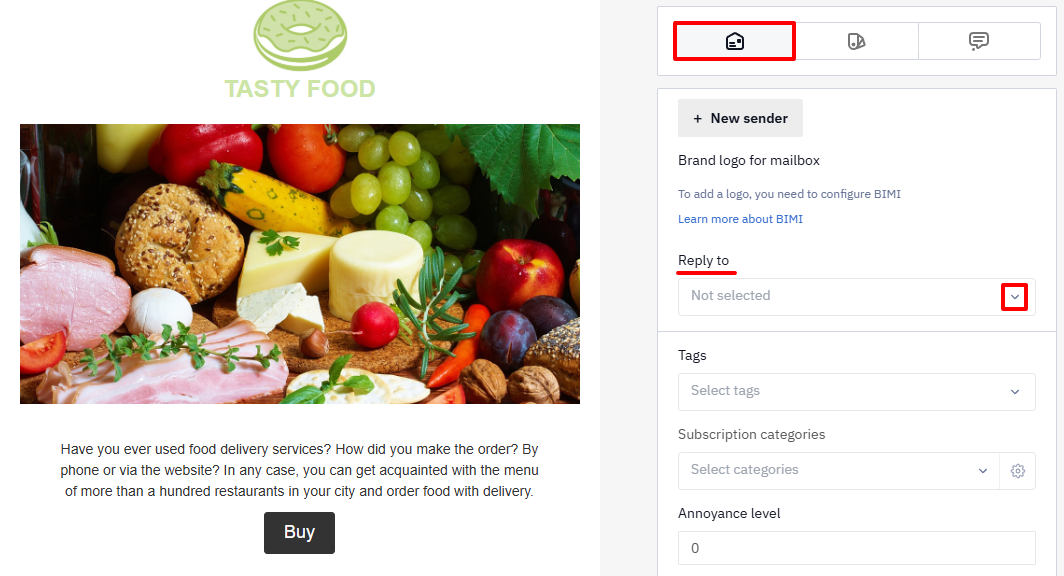
Add a Reply-to Address
By default, replies are sent to the sender email address. To receive replies at a different address, add a reply-to address.
Example: [email protected]
The setup flow matches the sender configuration in the email editor.
ImportantThe reply-to address must belong to your corporate domain.
NoteBCC (Blind Carbon Copy) isn't supported for email sends. If you need a copy of a message delivered to another address, use Reply-to if replies are enough, or add a separate Send block to a workflow to deliver a copy to that address explicitly.
Delete a Sender
- Go to Settings → Senders → Email.
- Click the Trash icon next to the sender.
Deletion rules
- If the sender is not used in any messages, click Delete.
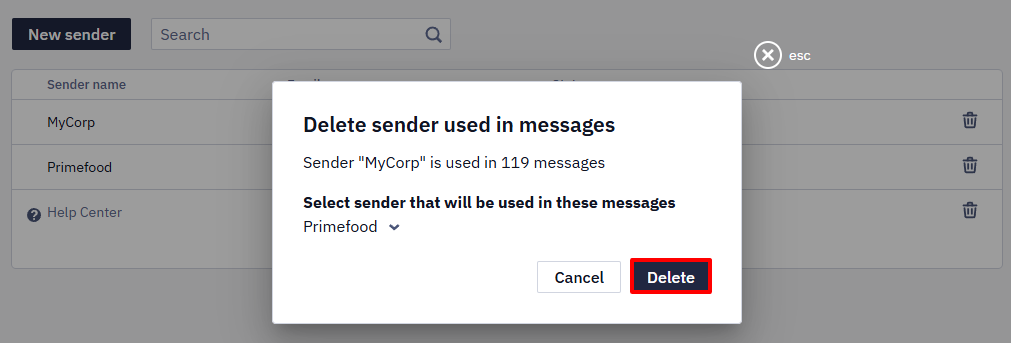
- If the sender is used, select a replacement sender or choose Leave without sender.

ImportantMessages without a sender do not send until you assign a new sender.
Updated 1 day ago