
Integration via Zapier
Zapier is a service that allows you to connect different platforms and tools to automate data transfer and perform routine tasks. With Zapier, you can easily set up actions that happen automatically when certain events or conditions occur.
Here are some of the main benefits of using Zapier:
- Improved productivity: automation of routine tasks, such as sending emails or notifications via instant messengers; Zapier allows you to reduce manual work and focus on more important tasks.
- Integration of programs and tools: connecting platforms that do not have built-in integration tools; for example, you can create connections between your CRM systems, email, social networks, etc.
- Marketing automation: sending emails, nurturing leads, working with social networks, and other tasks to attract customers.
- Improved communication: notifications from the chat messaging service about important messages.
- Analysis and reporting: automate the collection and transfer of data to analytical tools for analysis and reporting.
What is Zap
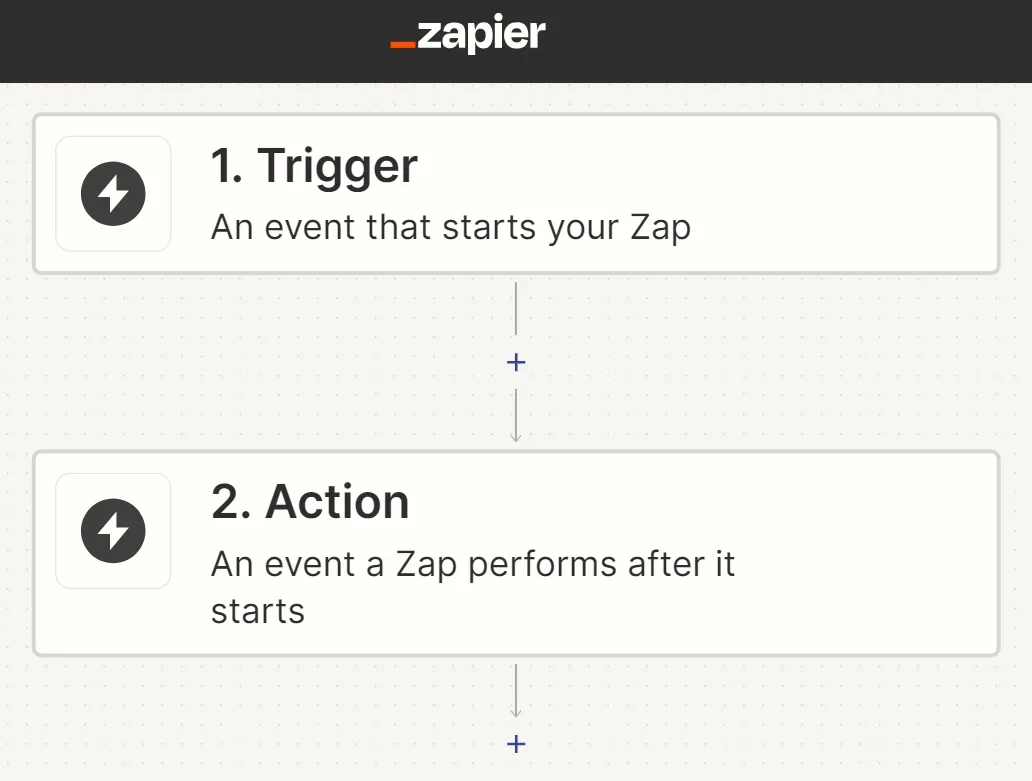
A Zap is a connection between one or more platforms consisting of 2 elements:
- Trigger — an event whose data needs to be transferred from platform 1 (for example, filling out a Google Form);
- Action — an action that must be performed on platform 2 (for example, creating a contact in Yespo).
Possibilities of Zaps in Yespo
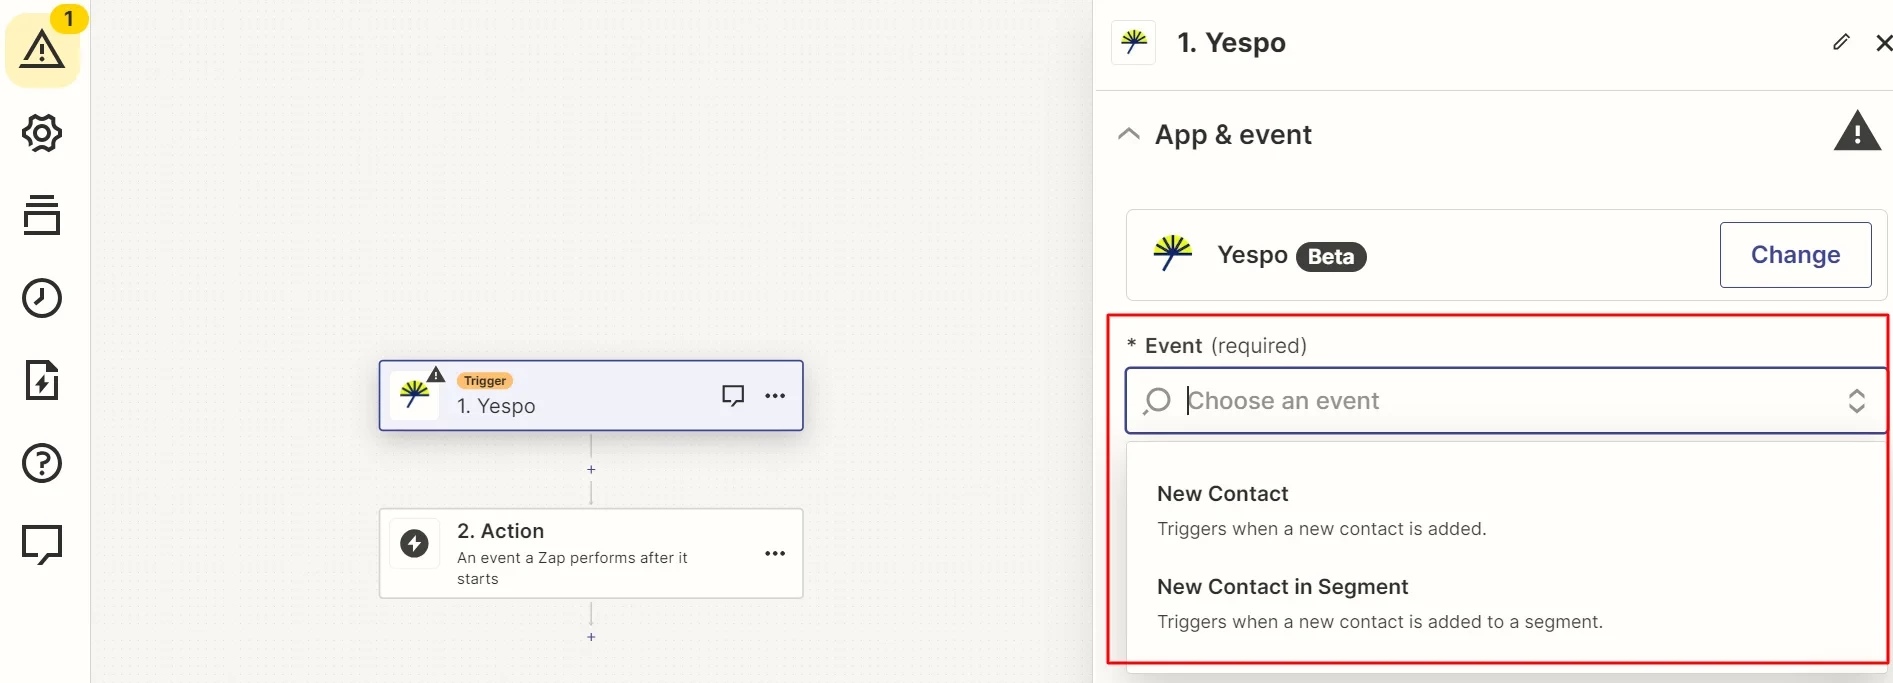
List of Yespo events that you can stream in Zap:
- New Contact — triggers when a new contact is added;
- New Contact in Segment — triggers when a new contact is added to a segment.
NoteThanks to dynamic segments, the New Contact in Segment event becomes extremely multifunctional. For example, you can set up an alert if a new contact appears in dynamic segments of customers with an average bill of more than $1000.
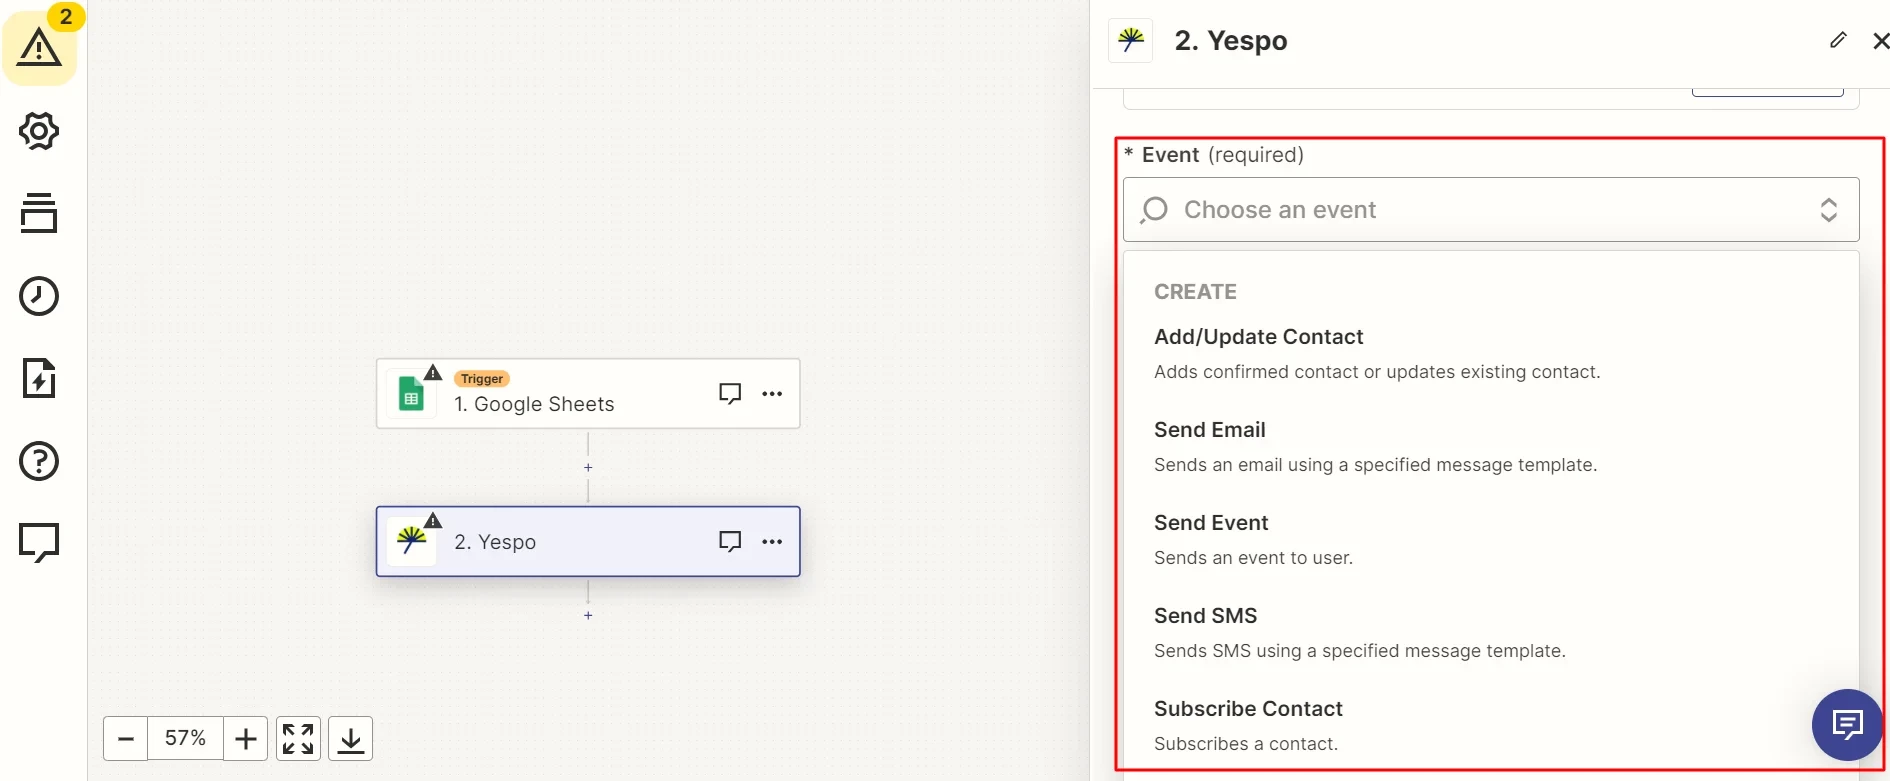
List of actions in Yespo that can be performed after submitting a Zap:
- Add/Update Contact — adds confirmed contact or updates existing contact;
- Send Email — sends an email using a specified message template;
- Send Event — sends an event to user;
- Send SMS — sends SMS using a specified message template;
- Subscribe Contact — subscribes a contact.
Setting Integration (Using Google Forms as an Example)
Create a Google Form to collect contact data and configure sending responses to Google Sheets.
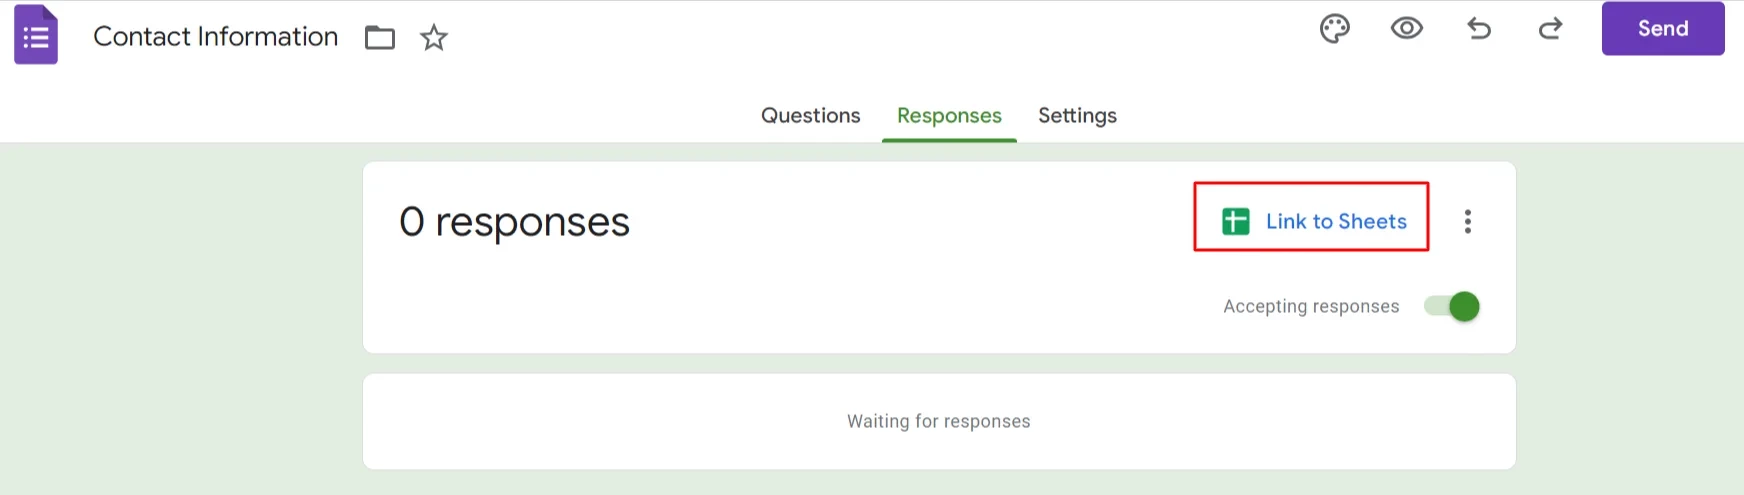
Fill out the form — Google Sheets should record your answers.
Proceed to a Zap creation.
Creating a Zap
- Sign up in Zapier.
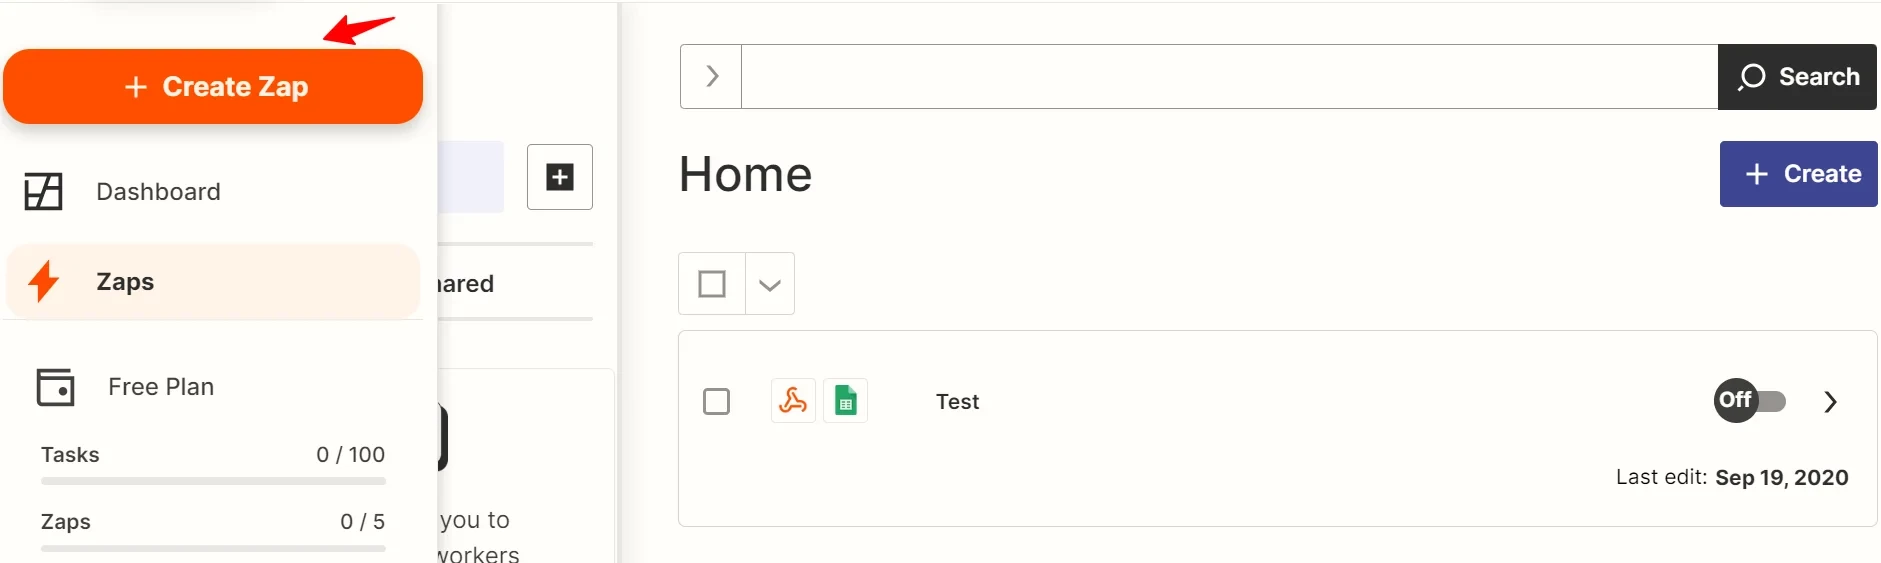
- Click Create Zap.
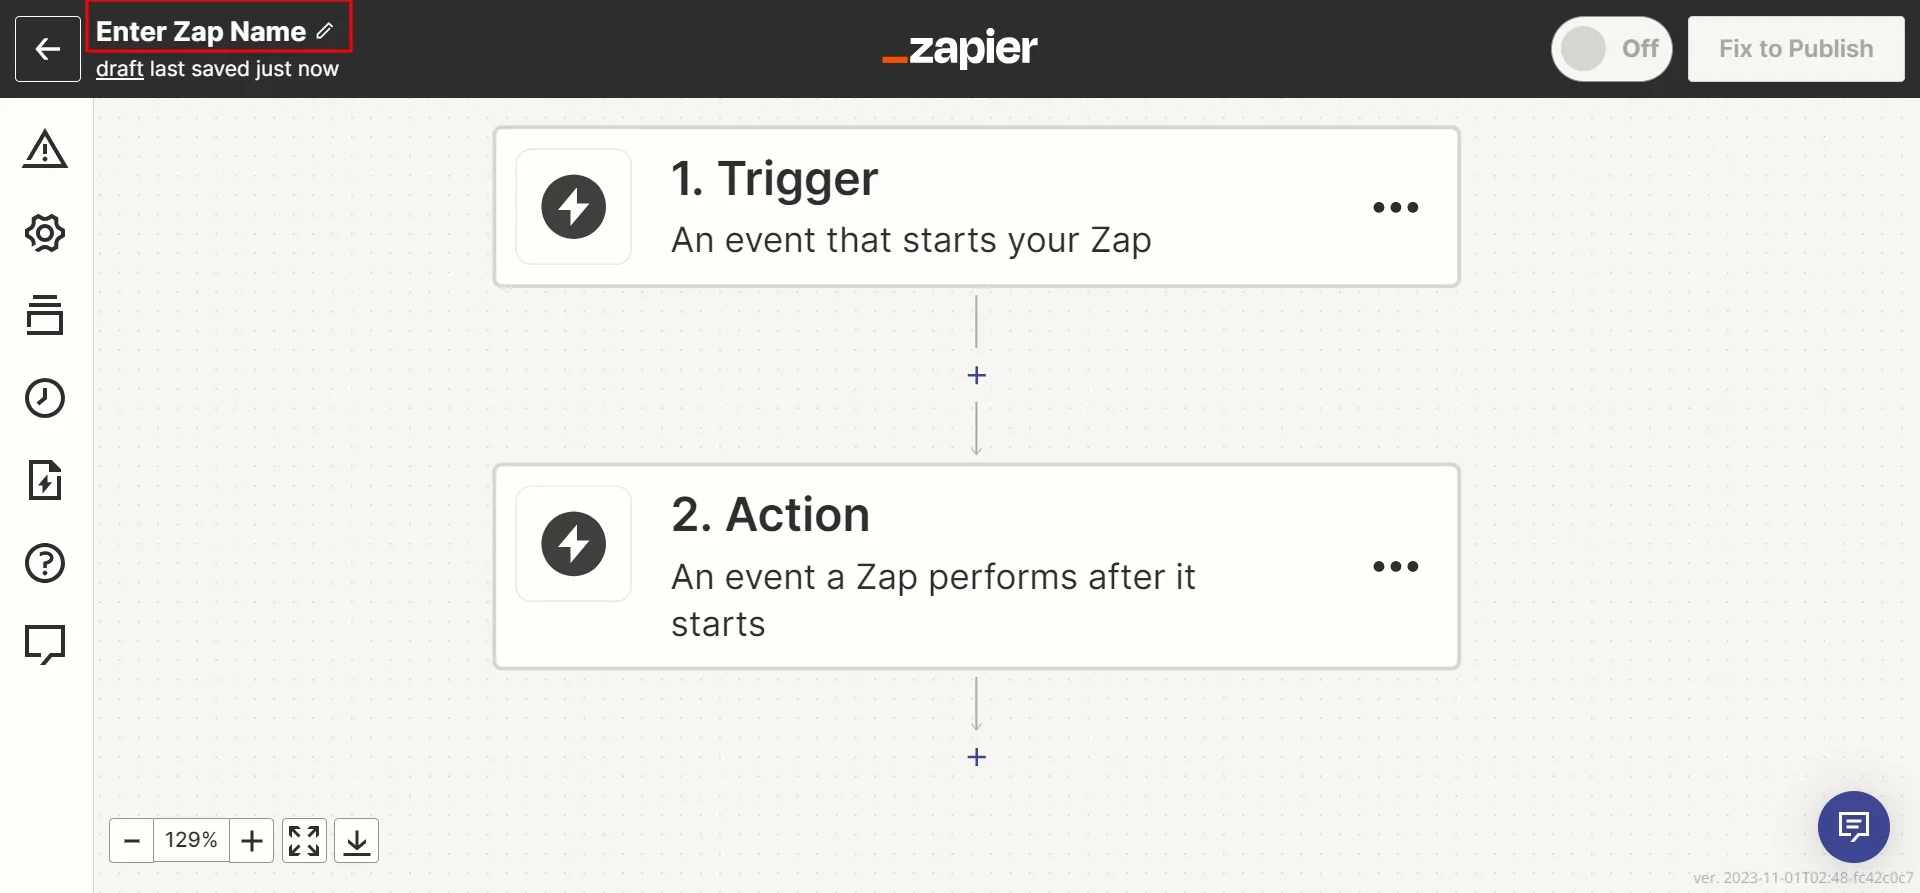
- Enter Zap name.
Creating an Event
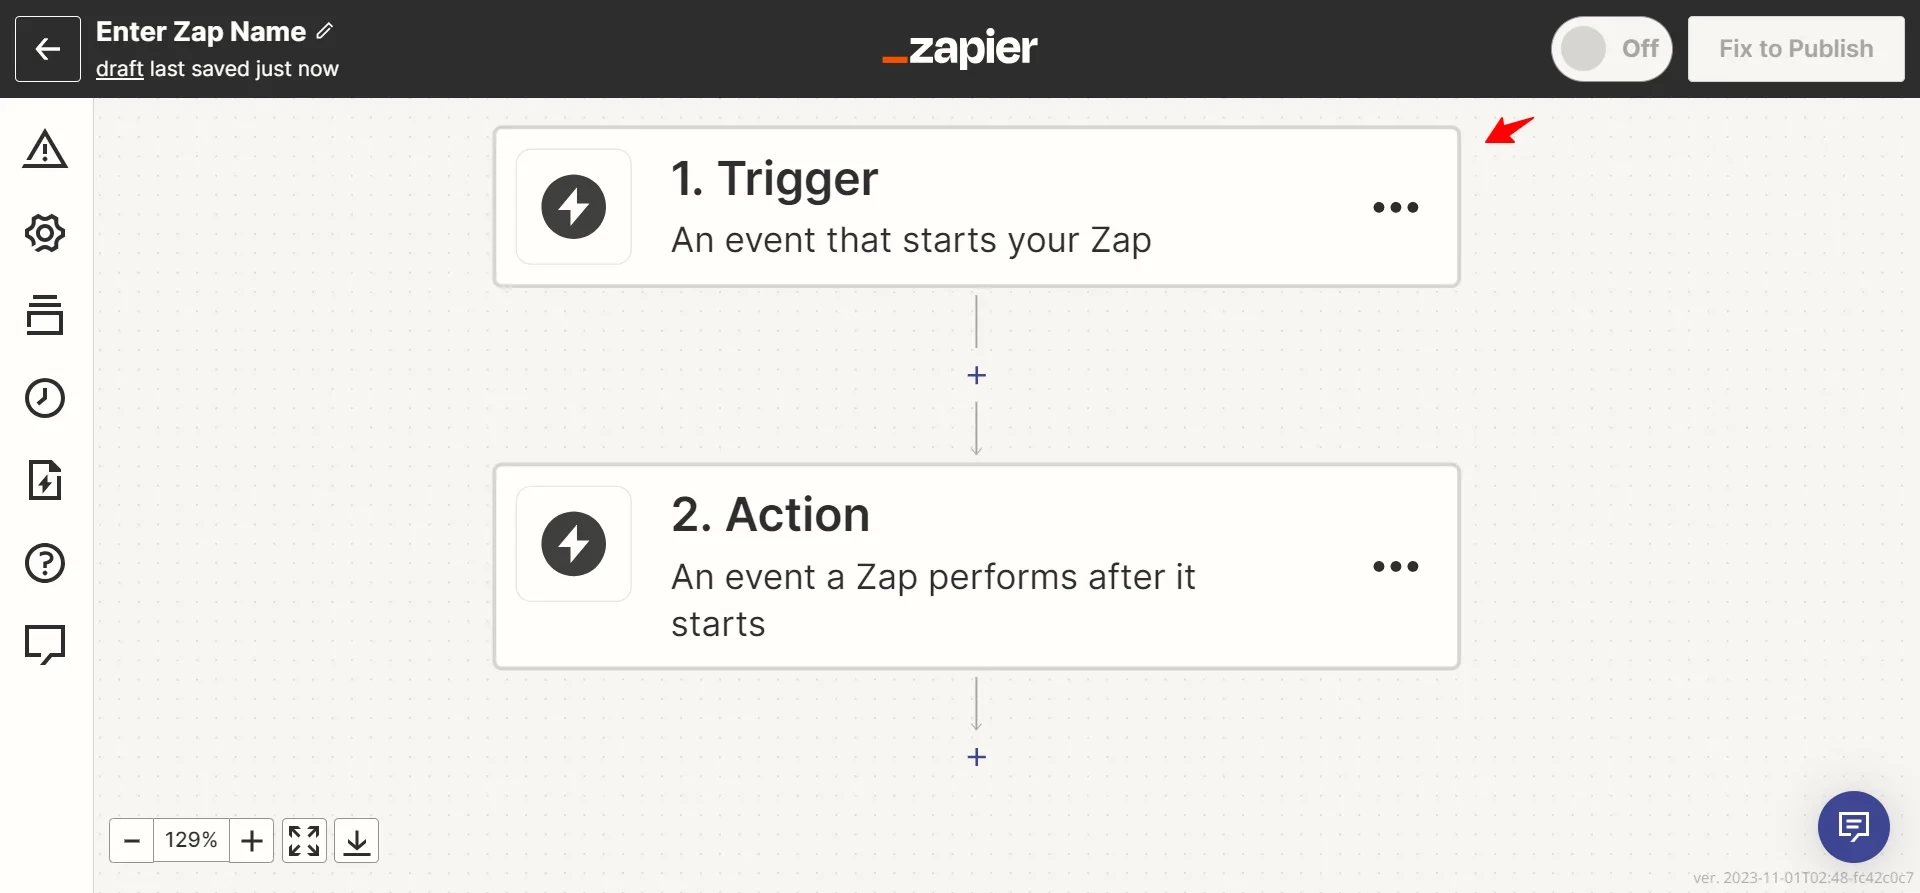
- Click on the Trigger spacer.
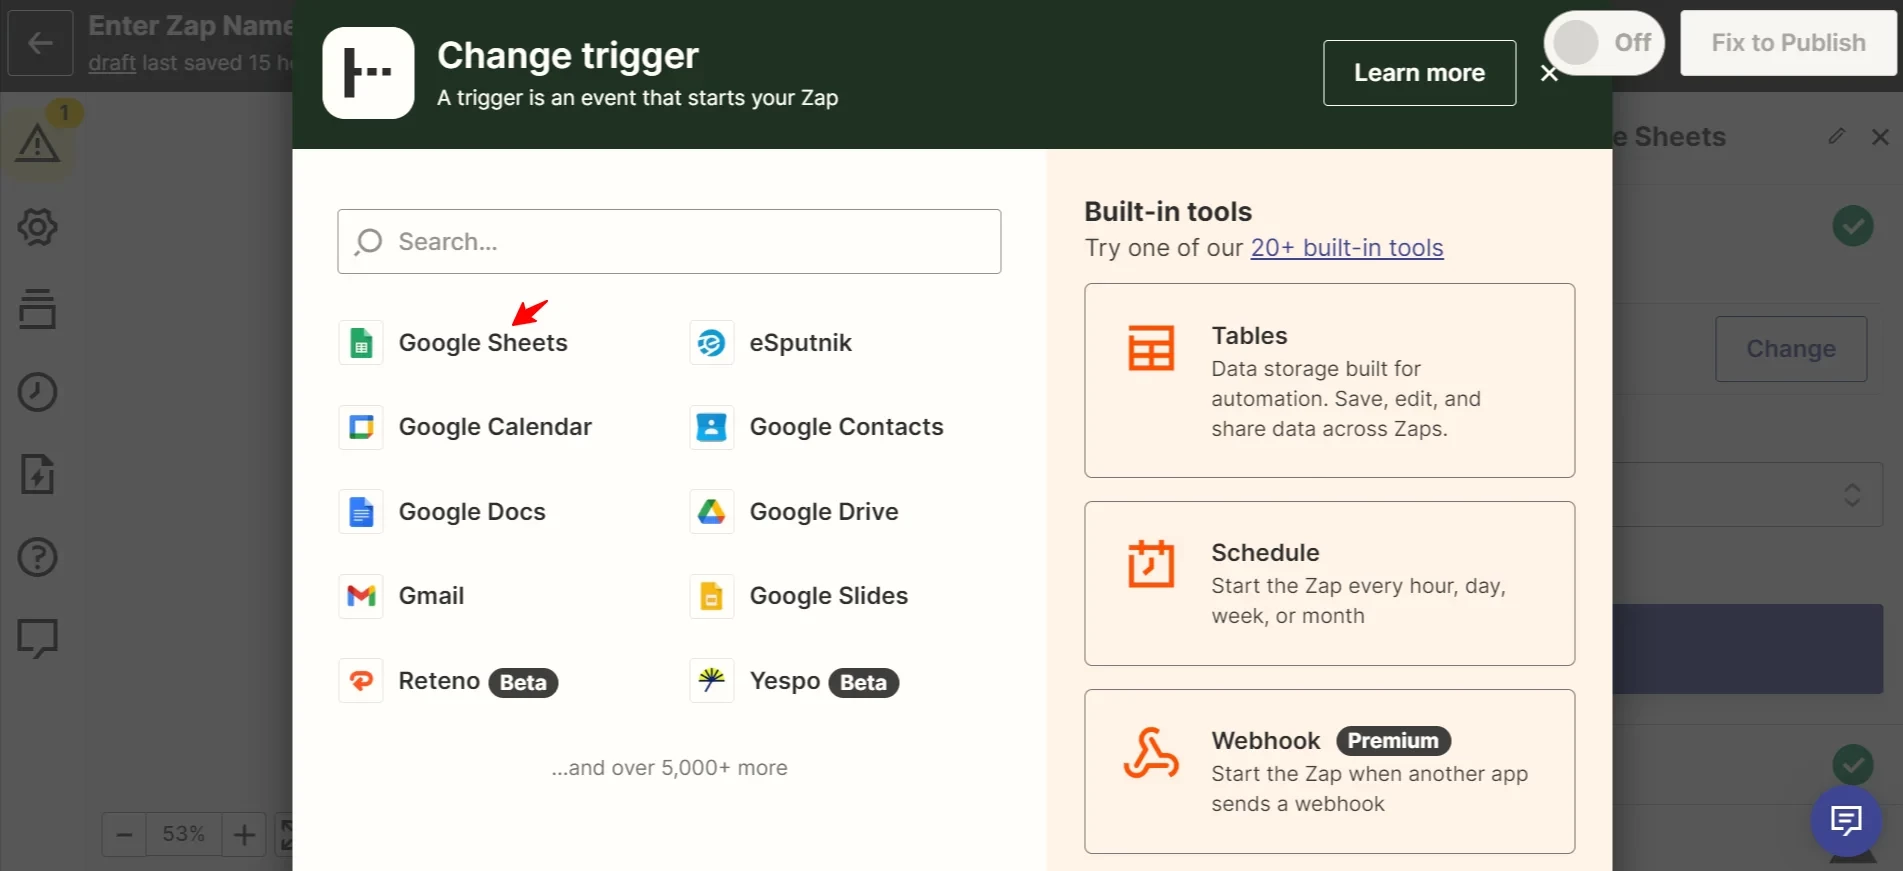
- Select Google Sheets.
- Select New Spreadsheet Row from the list to create an event every time a new row appears in the spreadsheet.
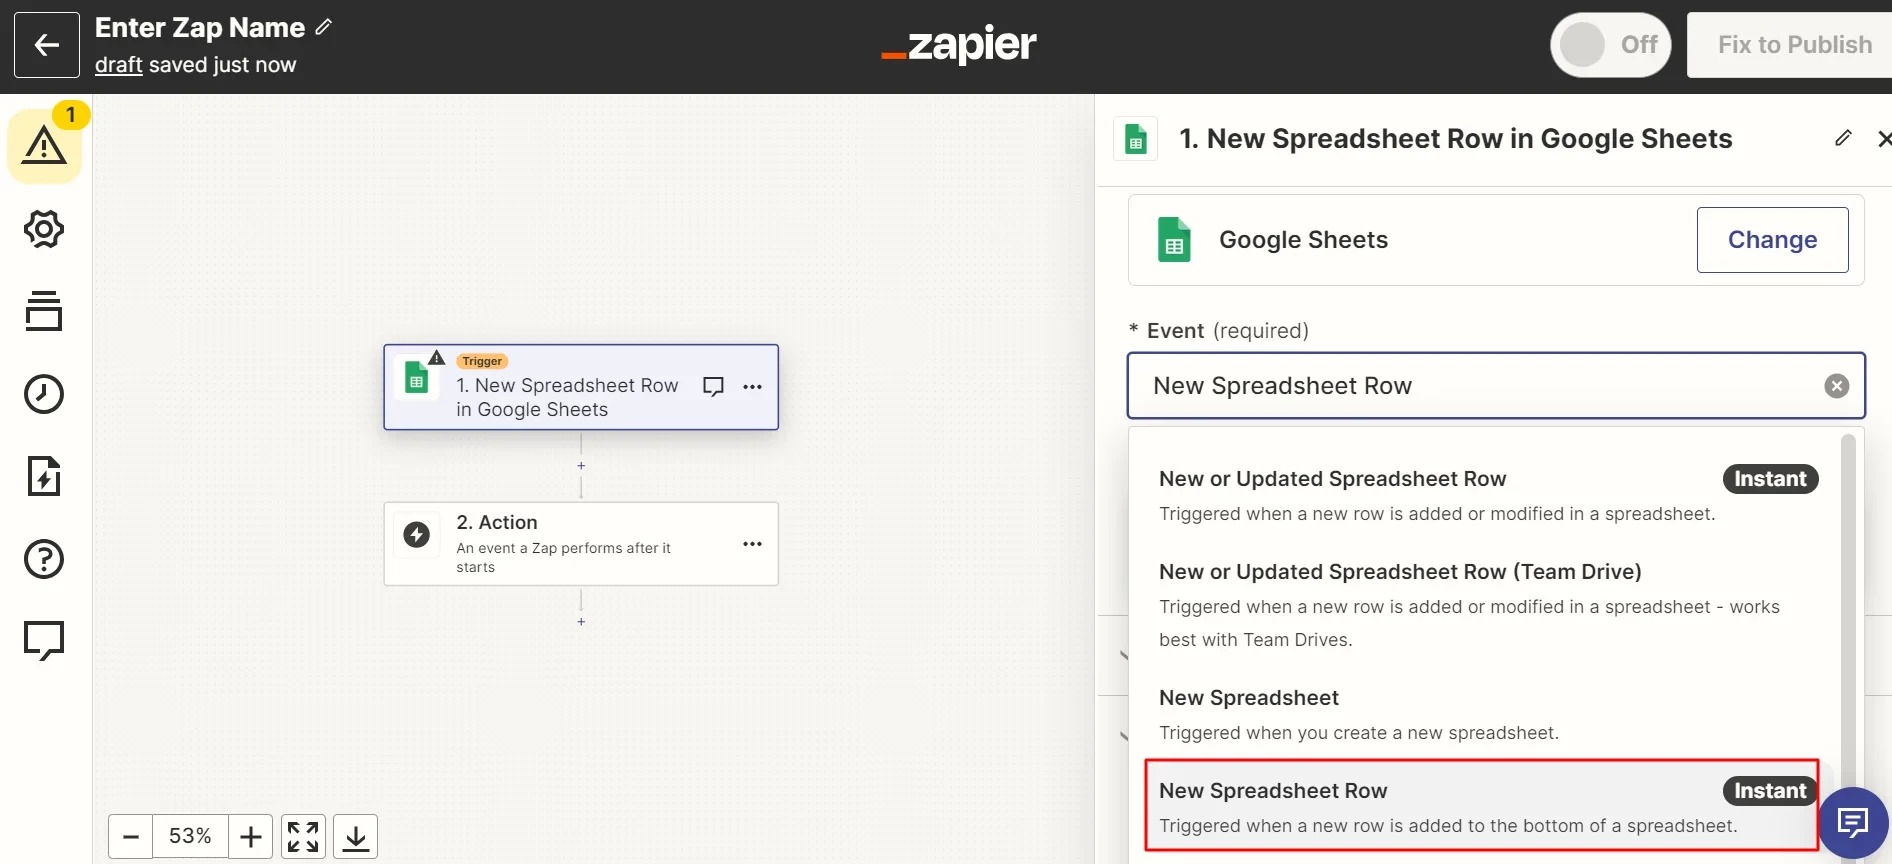
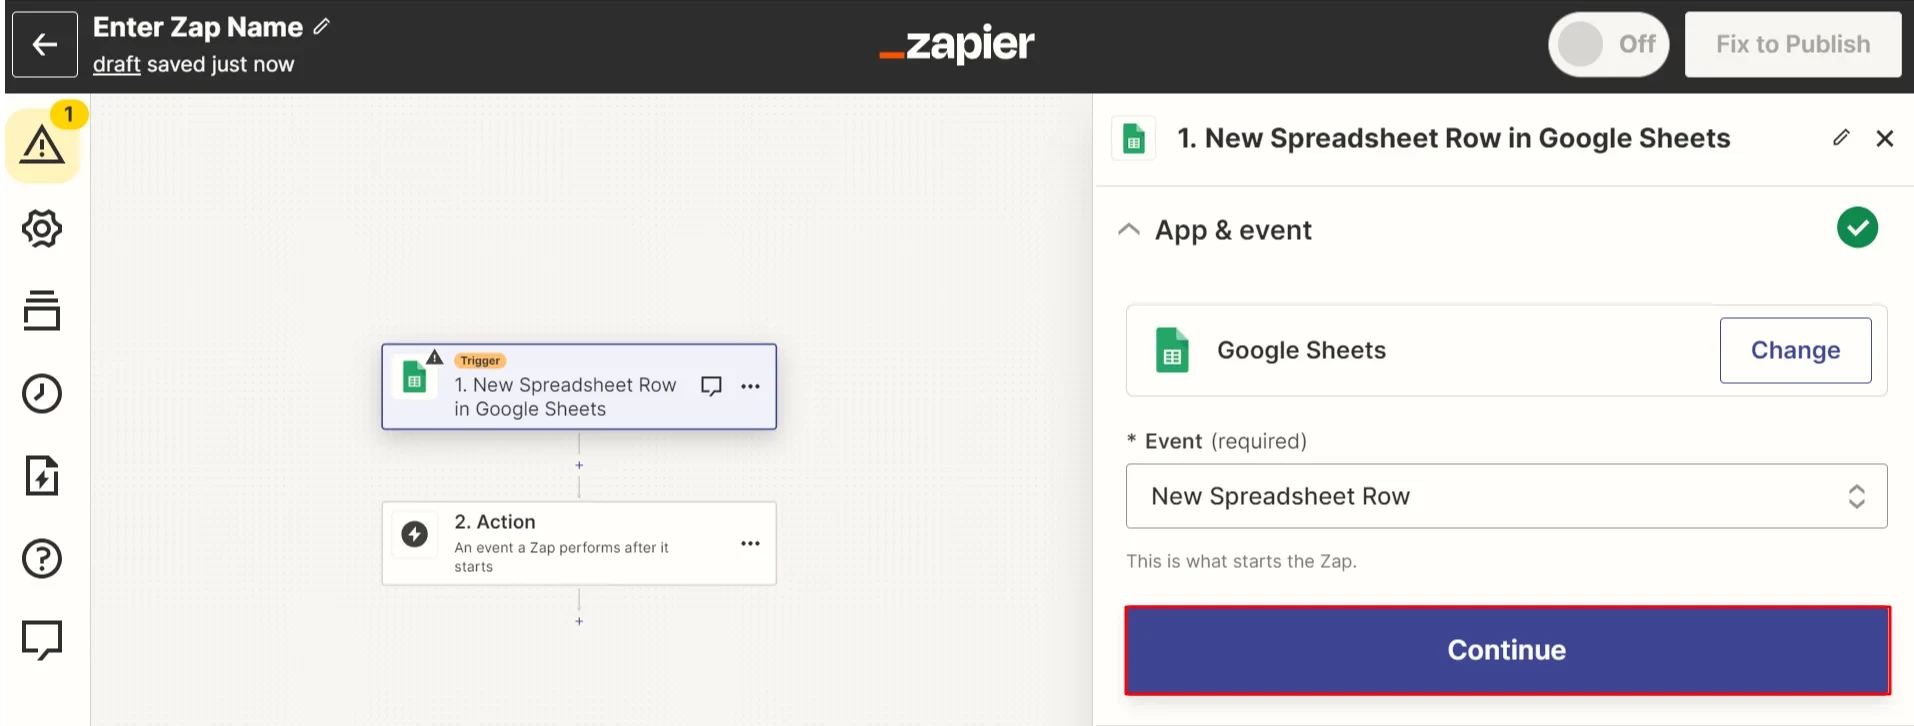
- Click Continue.
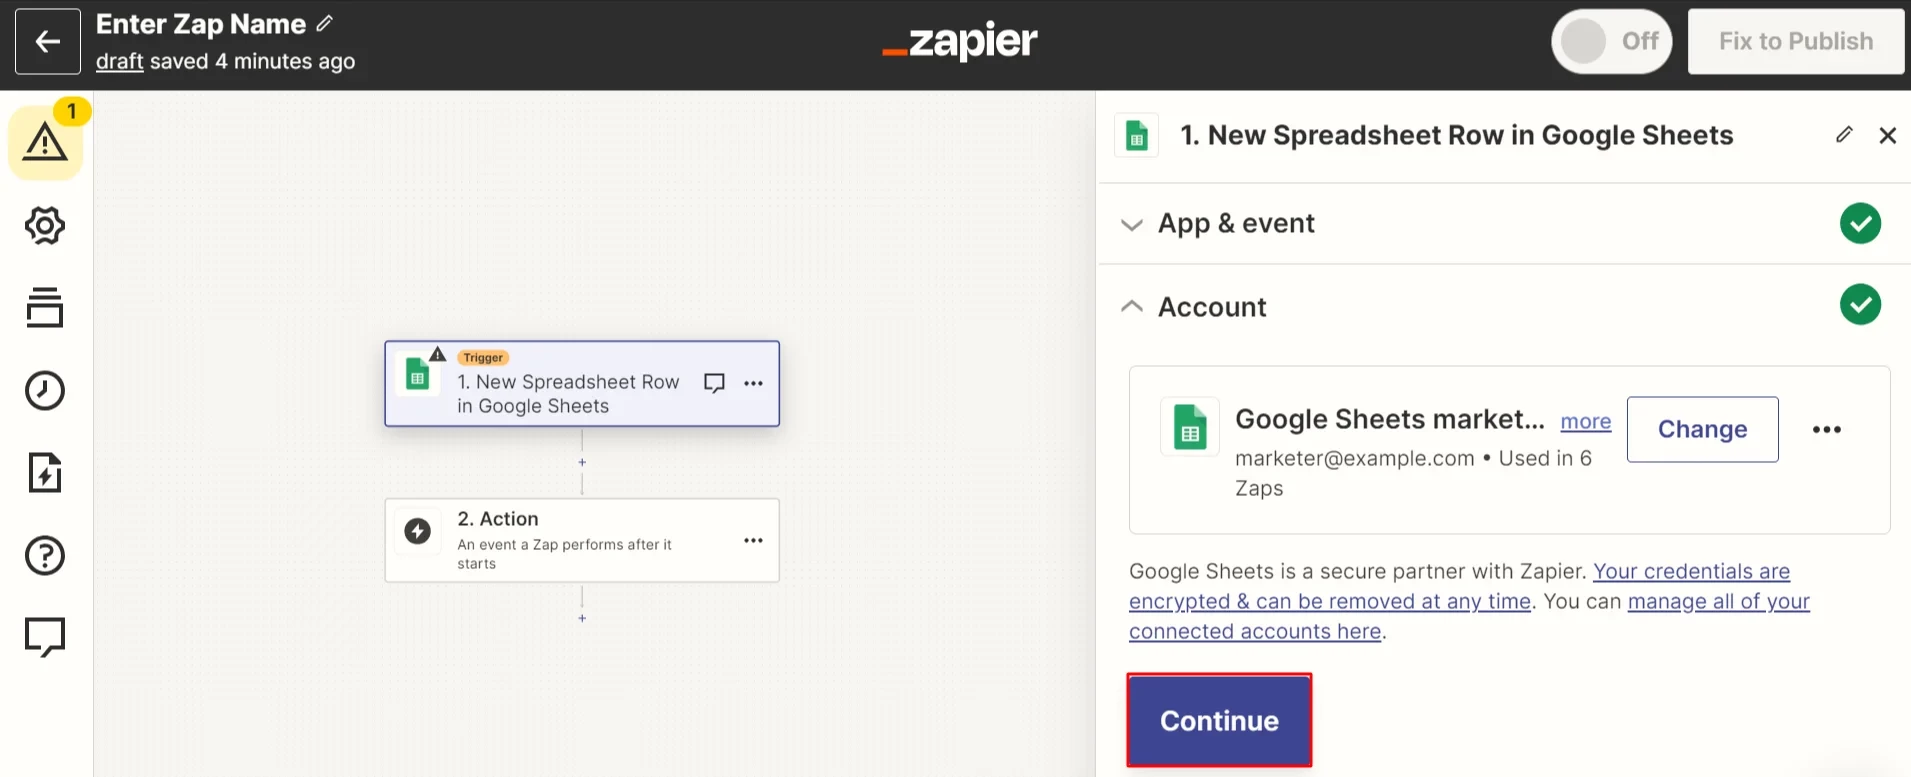
- Log in to Google Sheets and click Continue.
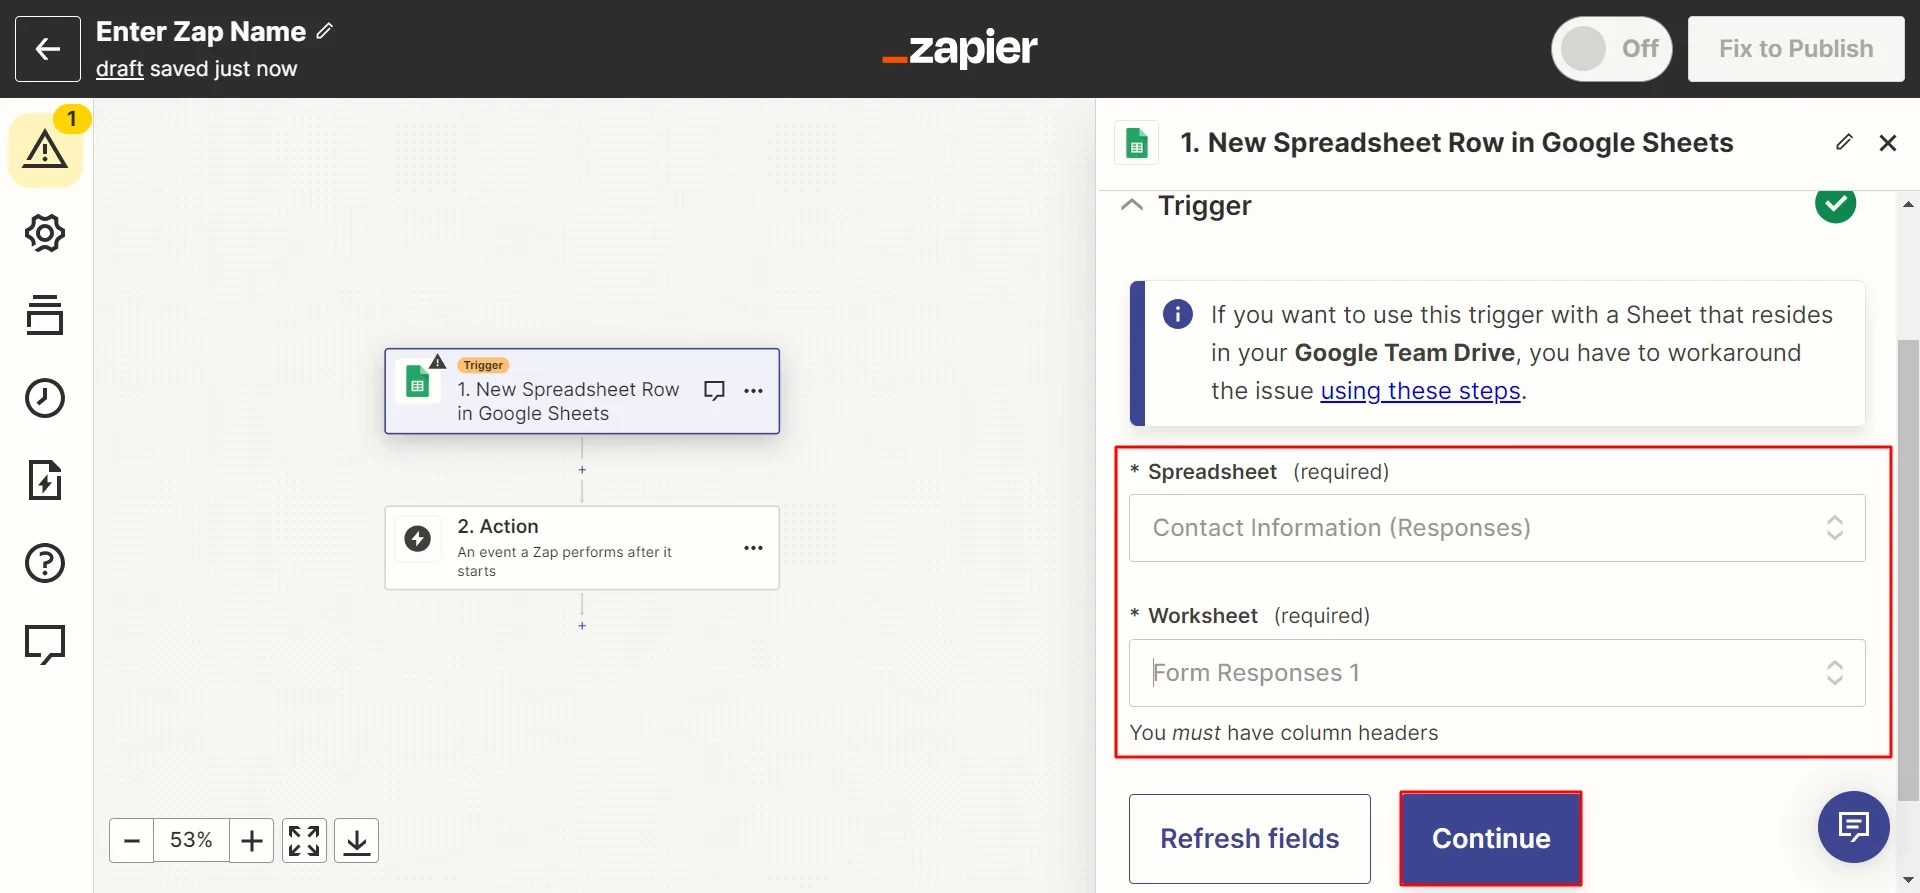
- Specify the spreadsheet and worksheet where the data from the form is transferred; click Continue.
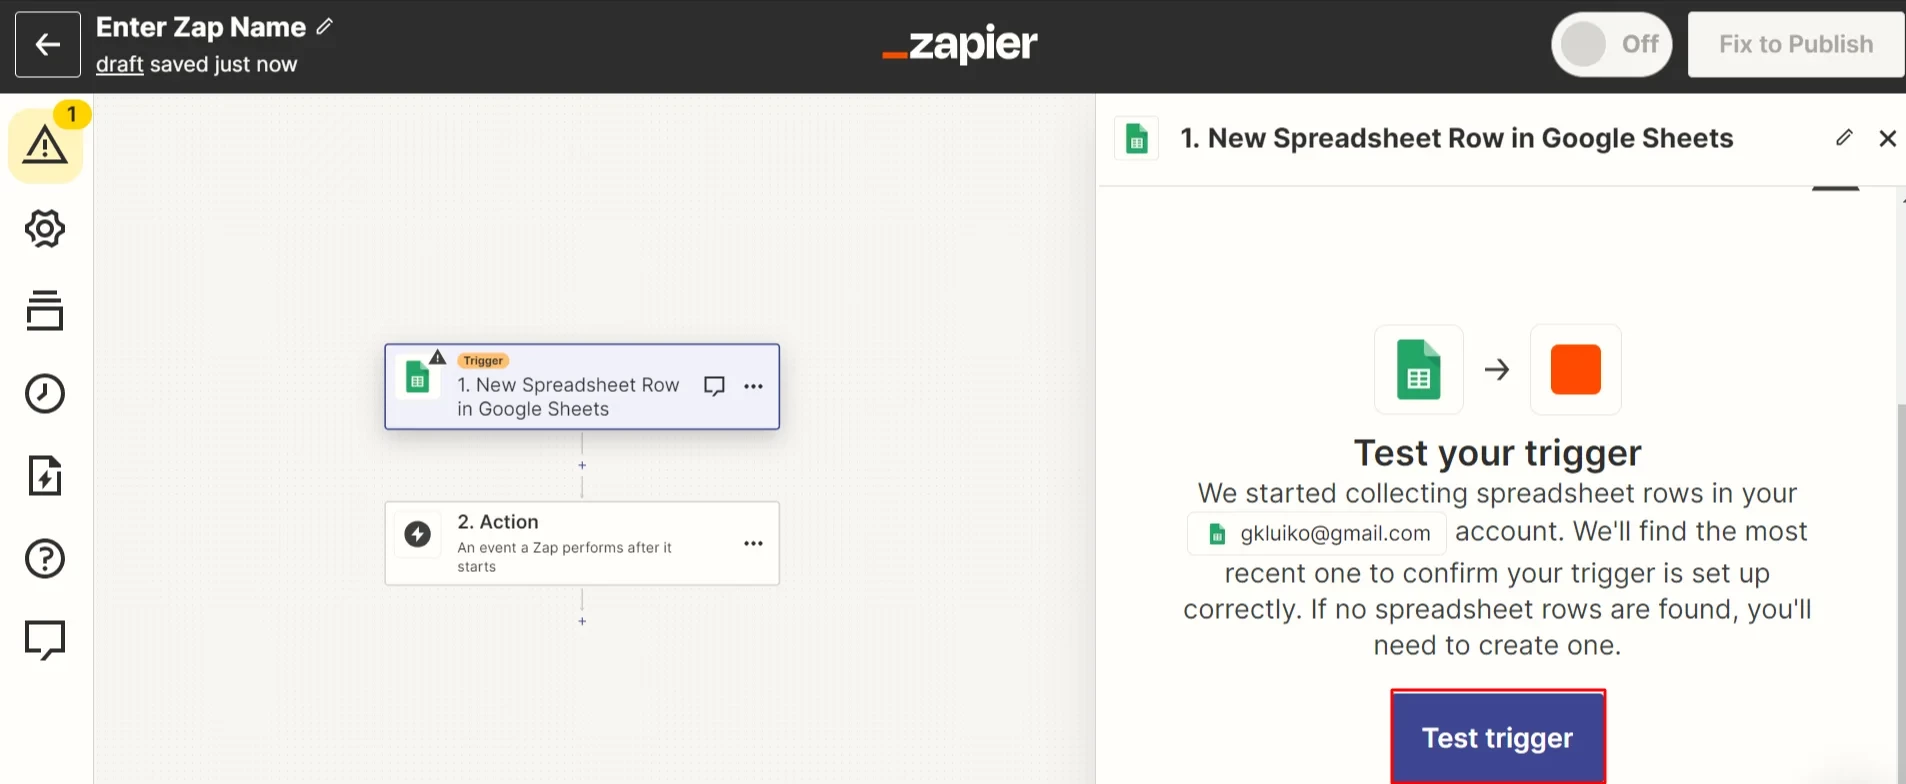
- Test the connection.
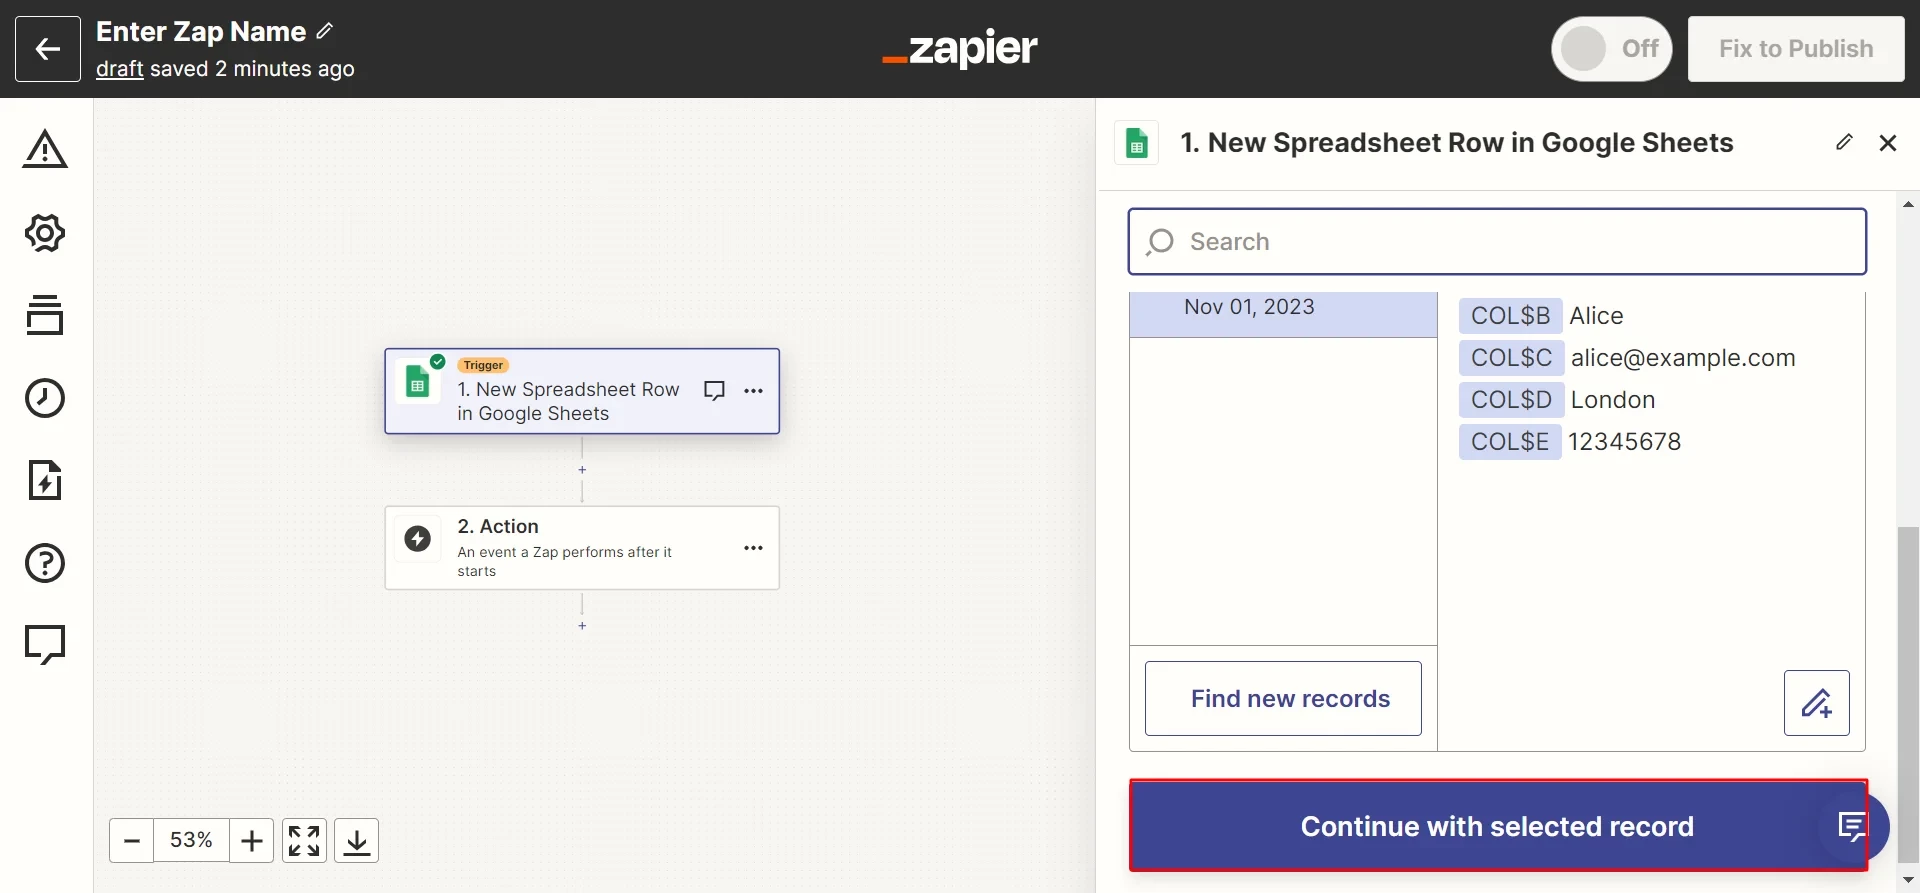
As a result, you should see the data you entered into the form. Click Continue with the selected record to go to the action settings.
Creating an Action
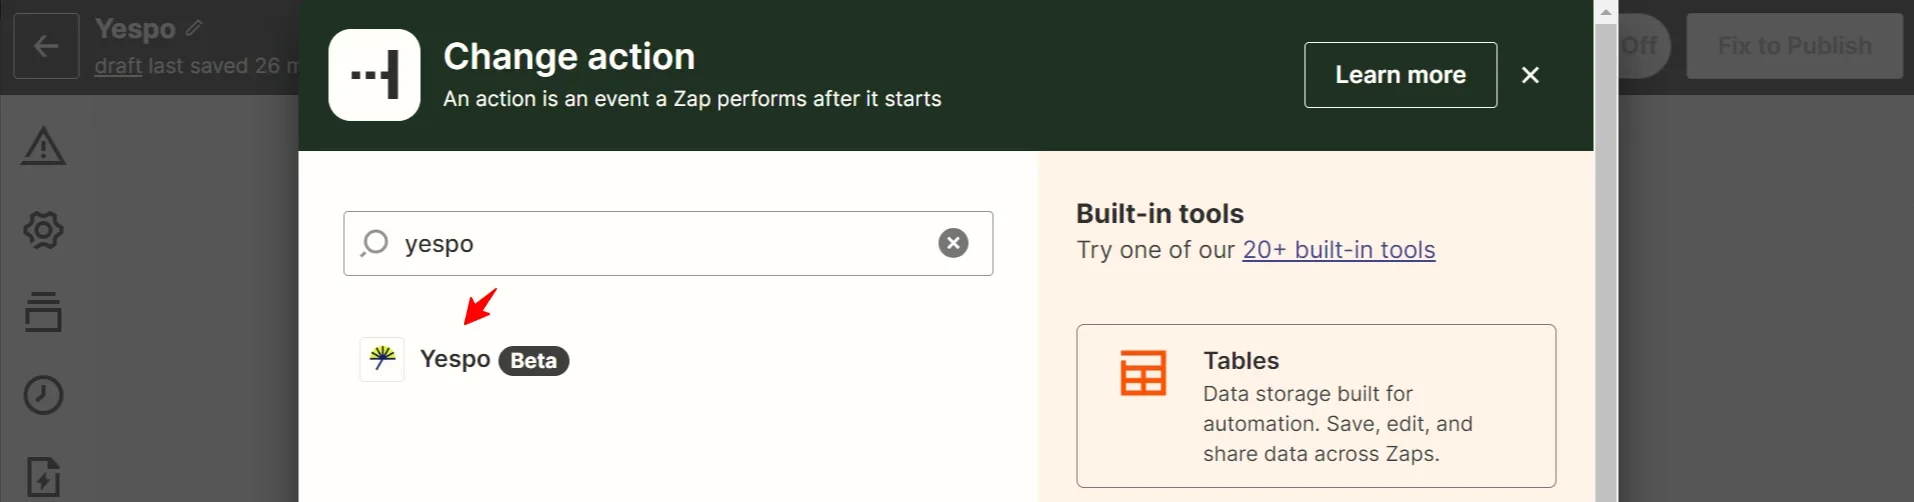
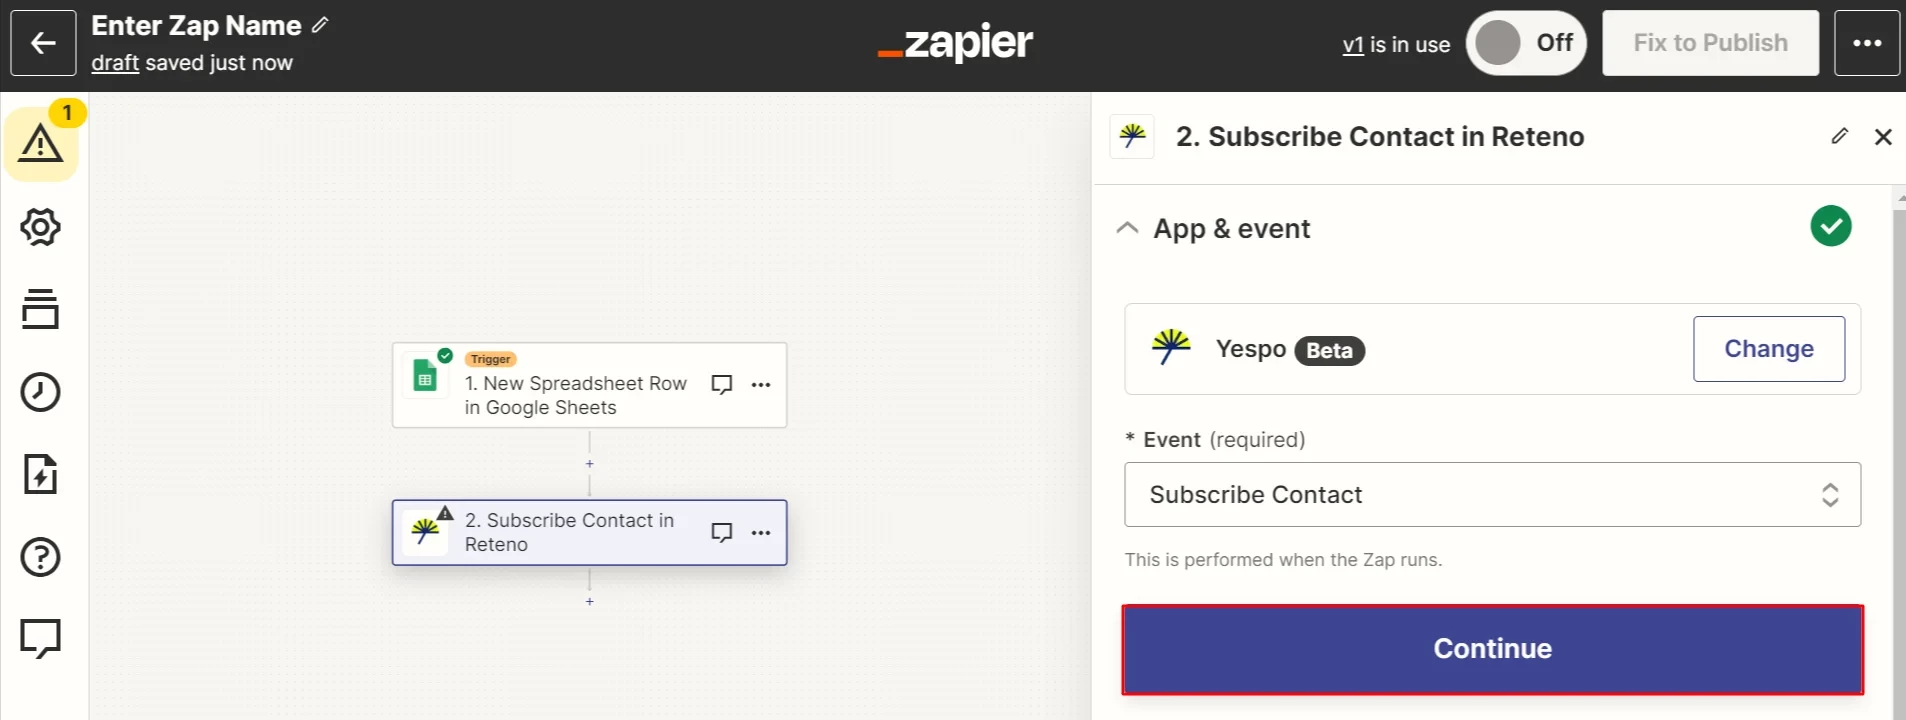
- Choose an action: enter Yespo in the search field and click on the corresponding spacer.
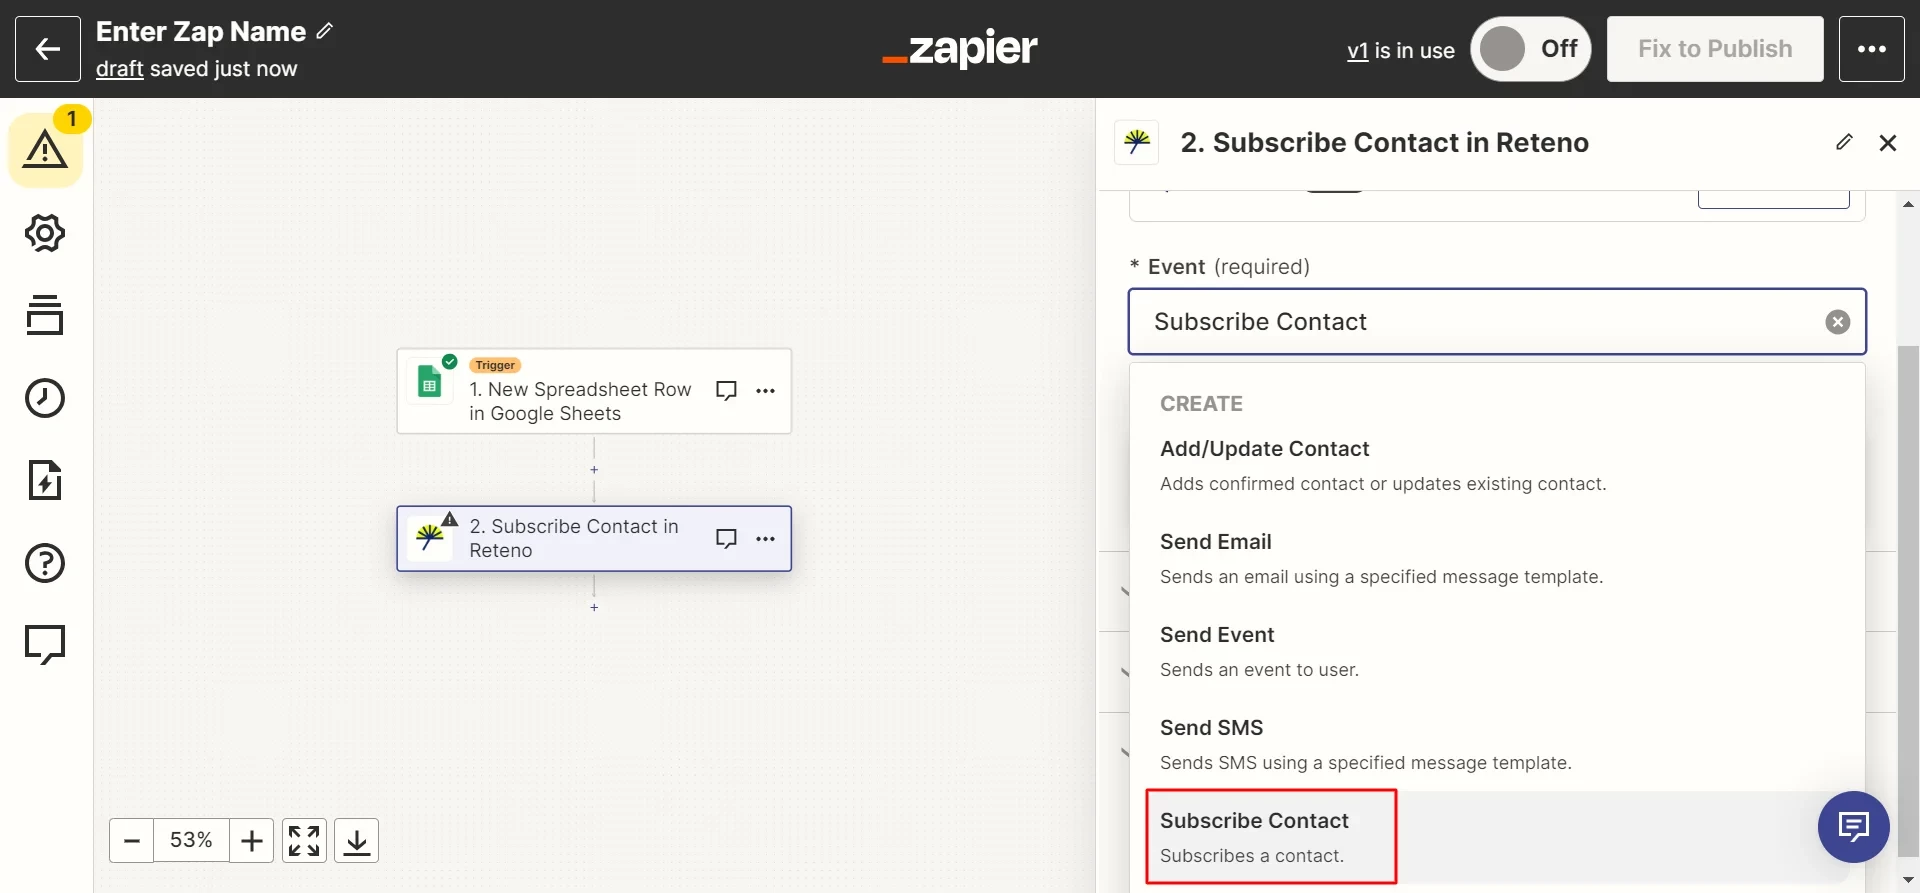
- Select the Subscribe Contact event from the list.
- Click Continue.
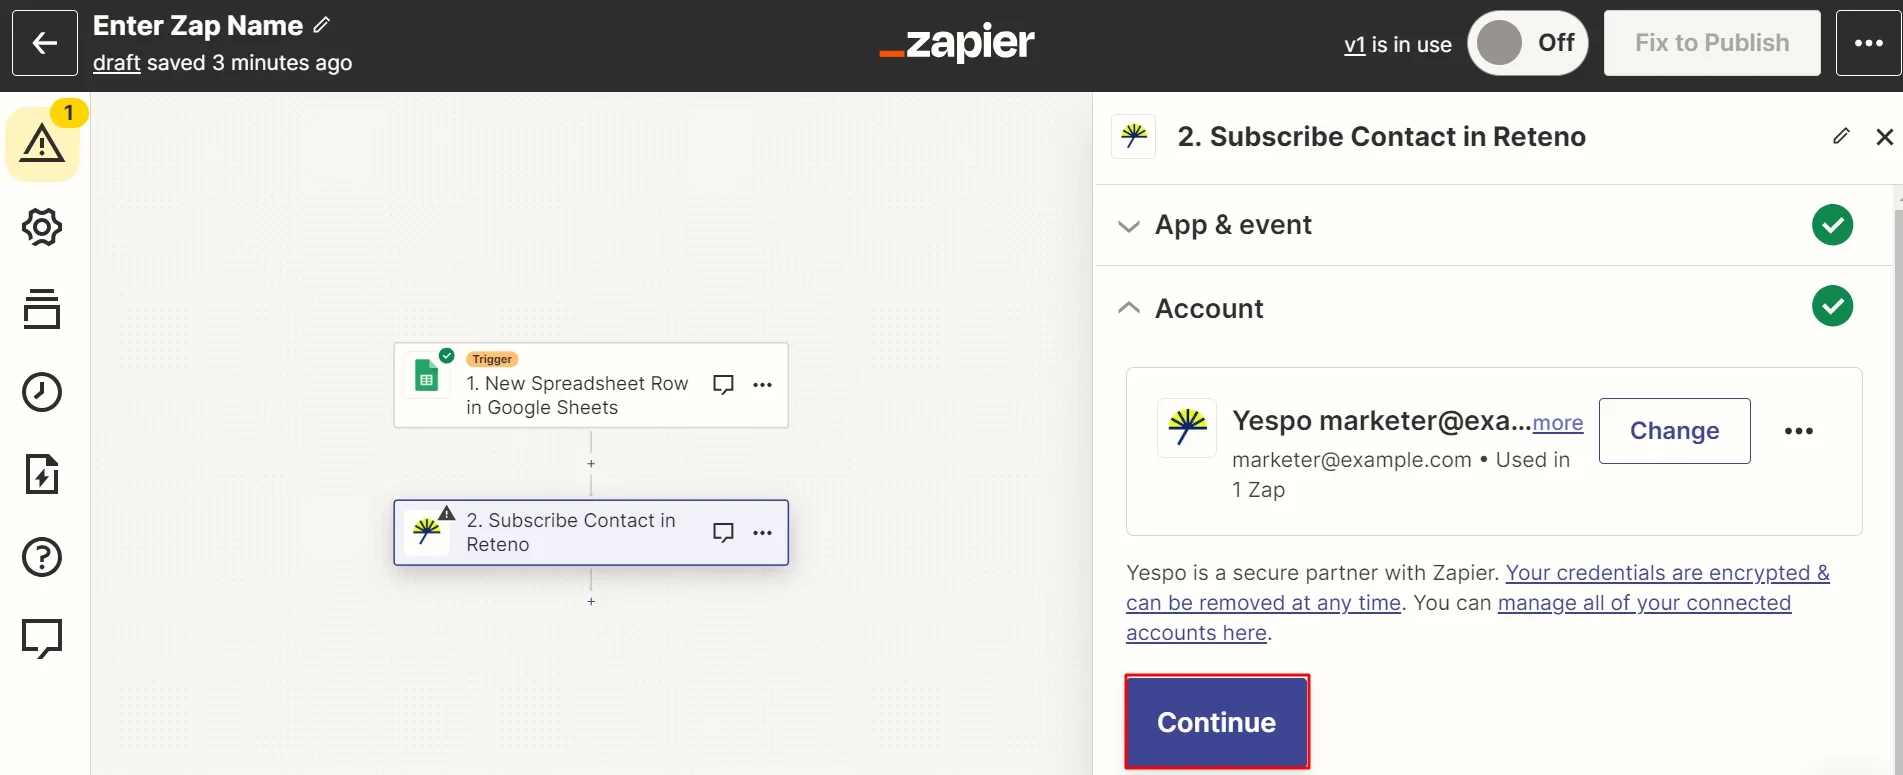
- Log in to Yespo and click Continue.
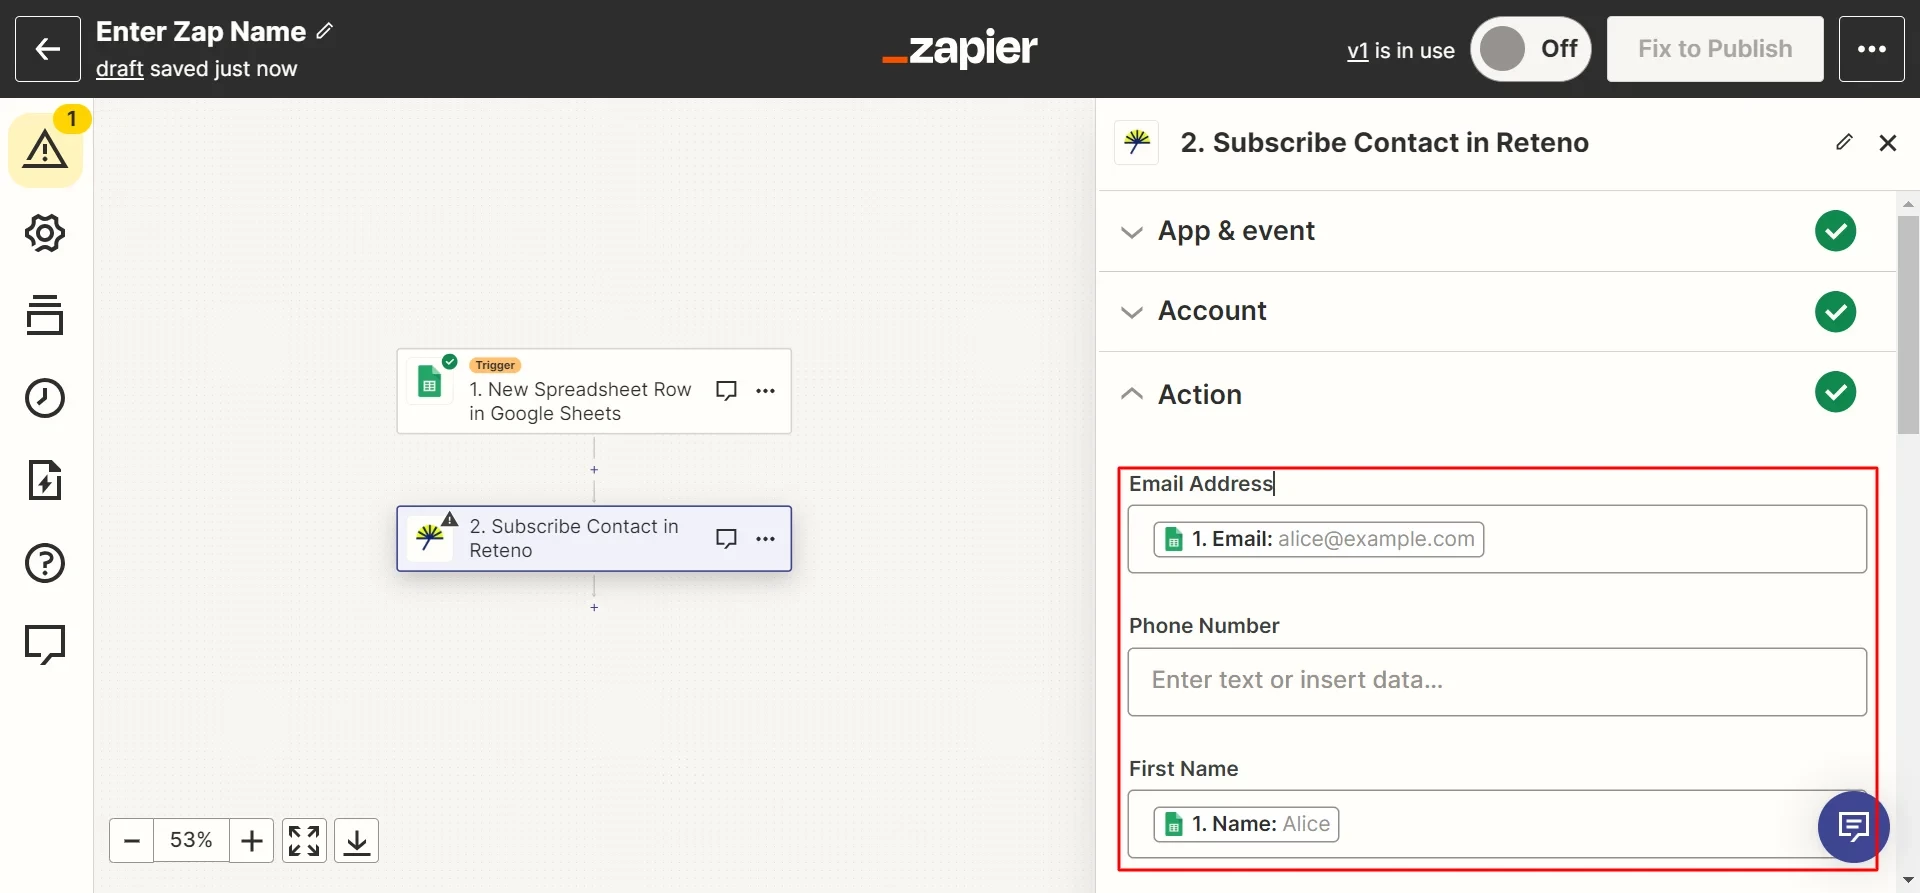
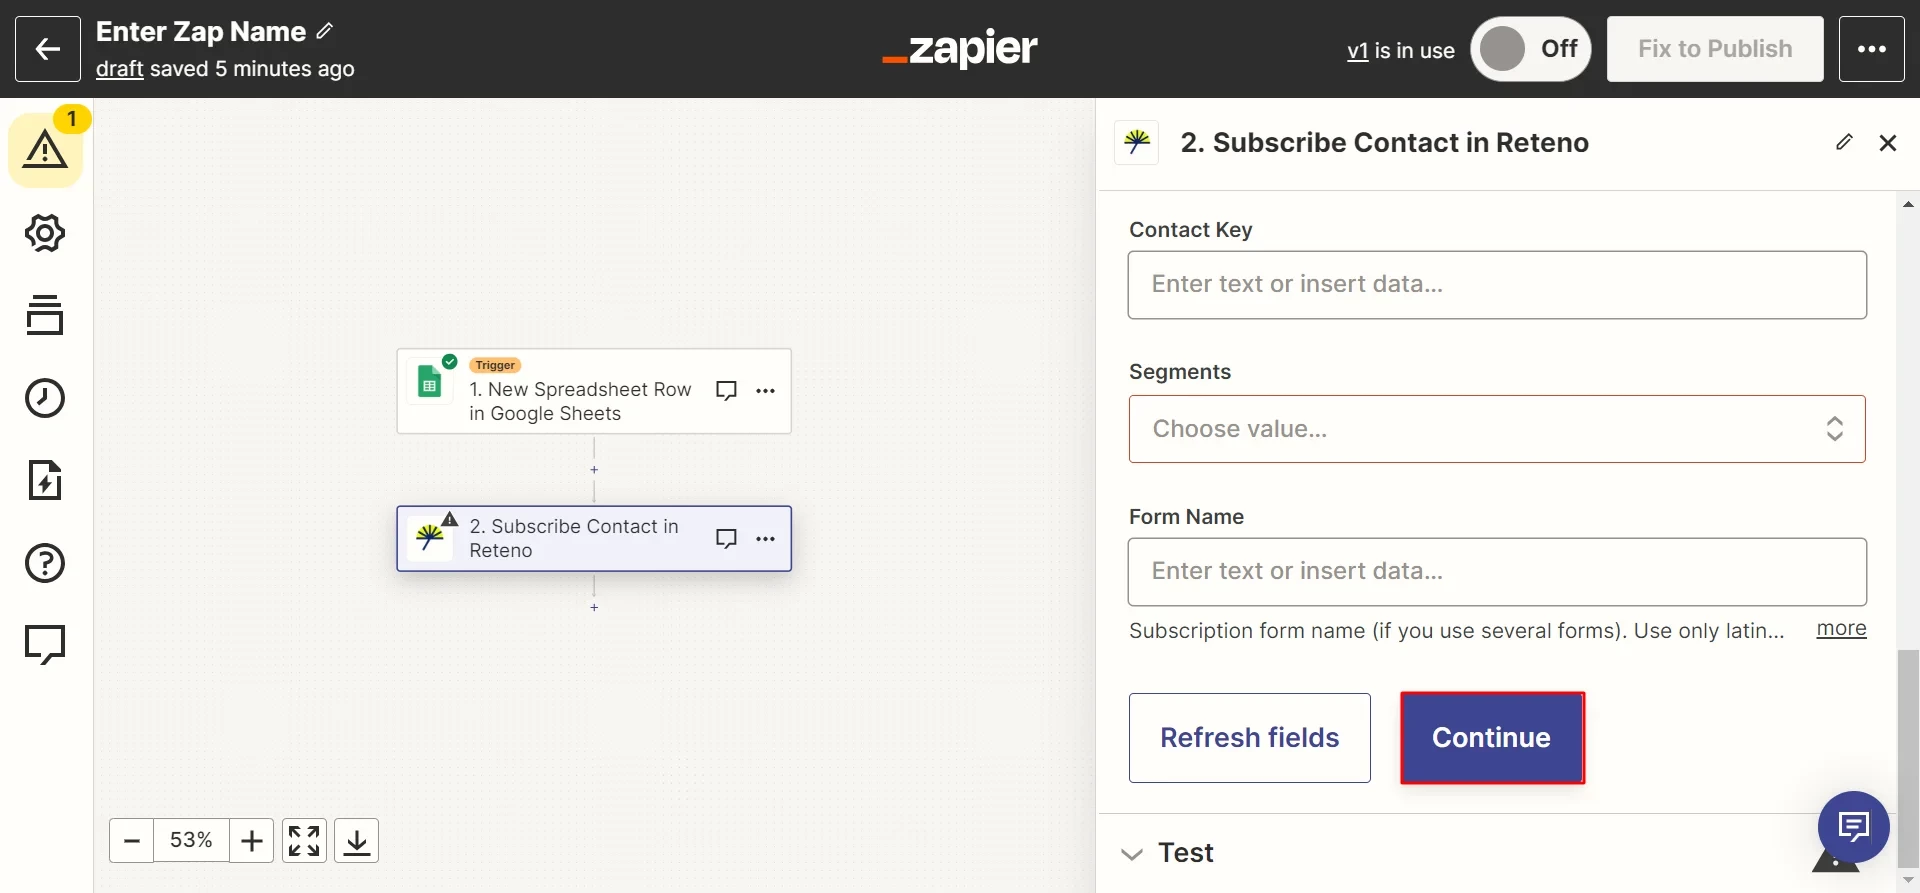
- Match the contact fields in your Yespo account with the answers in the table.
You can also choose in the Action list:
- segment to which contacts from the form should be added (Segments field)
- form name (Form Name field).
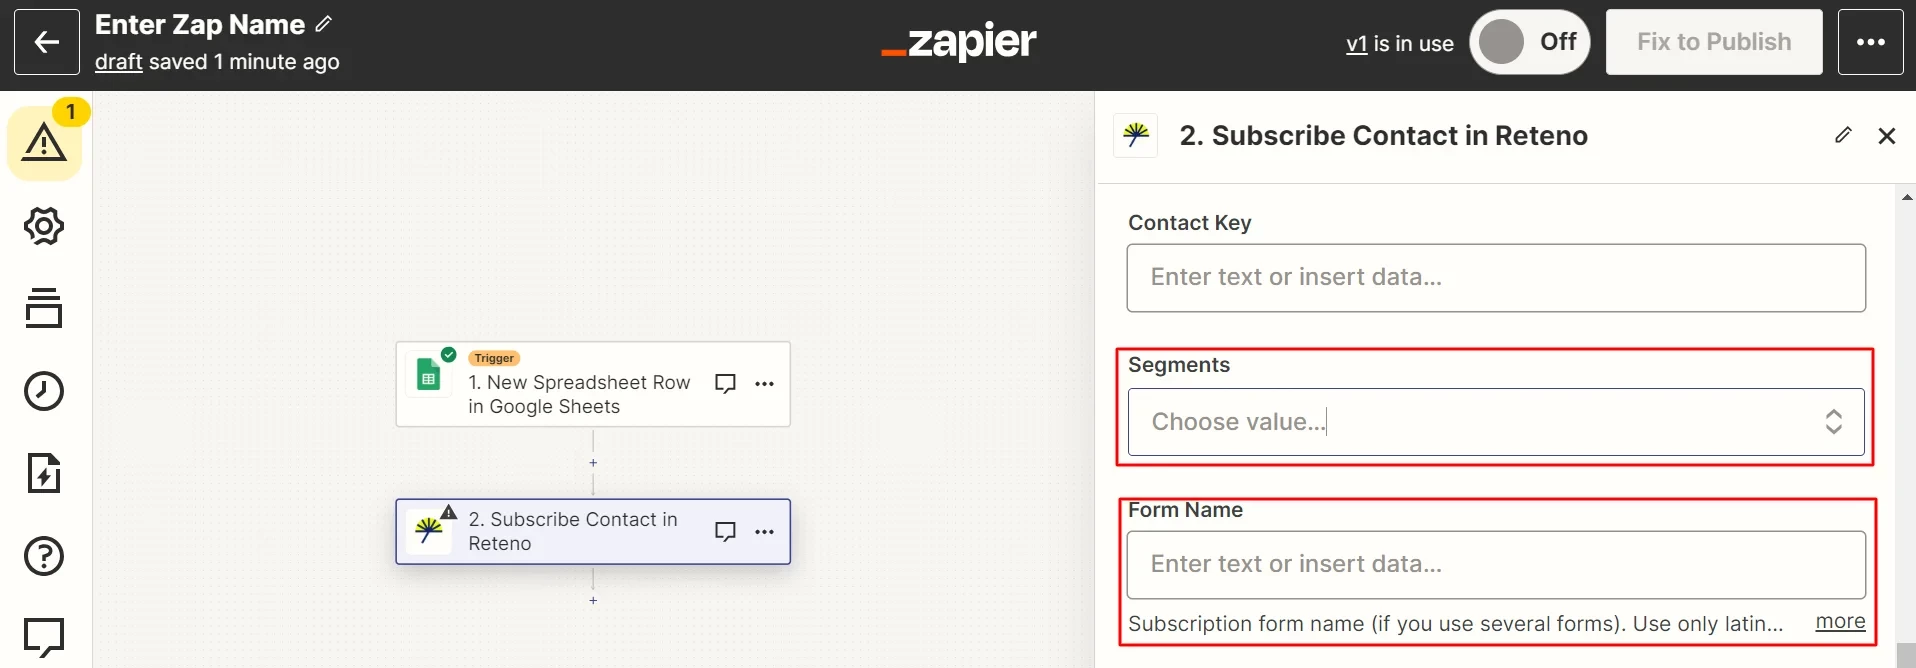
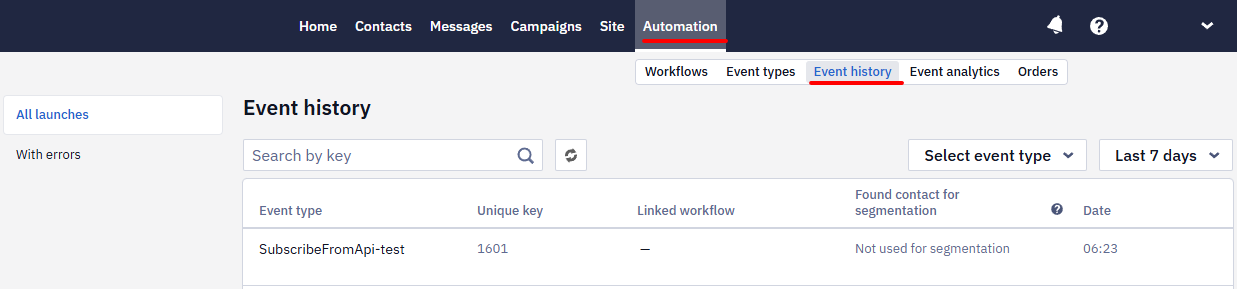
NoteThe form name appears in the event name that is sent to Yespo. For example, suppose you specify the Test form name in the Zap settings. In that case, when the contact fills out the form for the first time, the
subscribeFromApi-Testevent will be sent to Yespo, and when they fill it out again,subscribeUpdateFromApi-Testwill be sent. You can connect the double opt-in workflow to the first event; the workflow for the second event can include a block to check if the contact has confirmed the subscription and other blocks depending on your tasks.
- Click Continue.
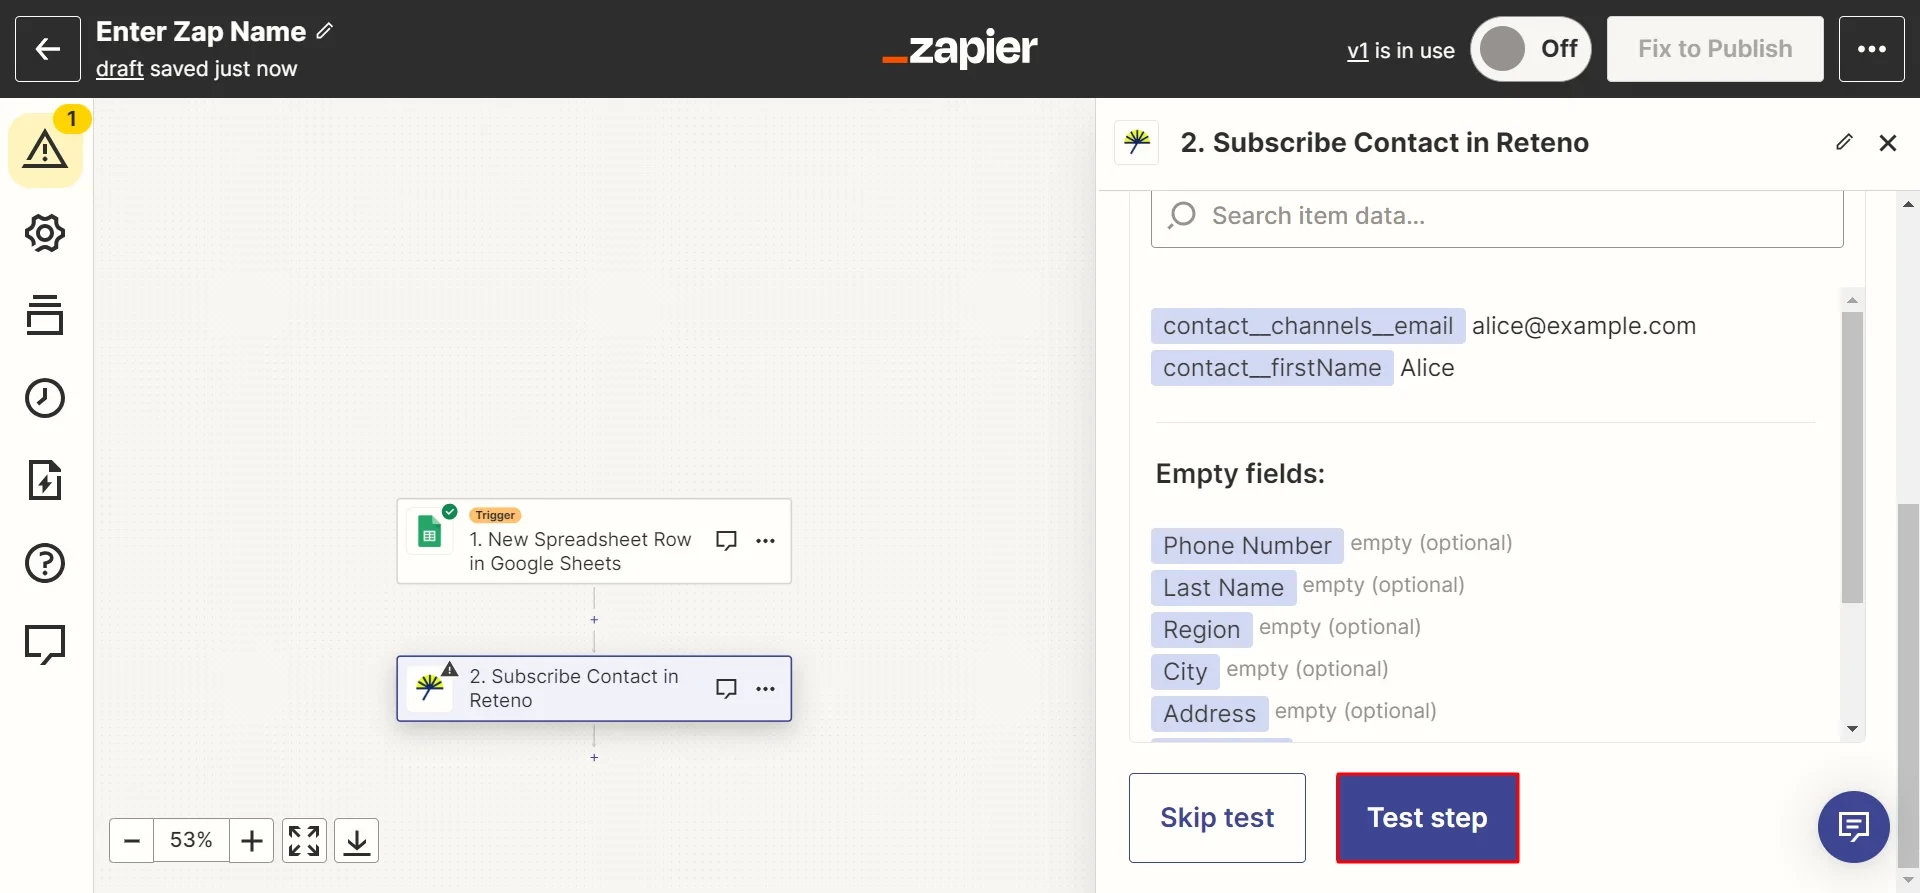
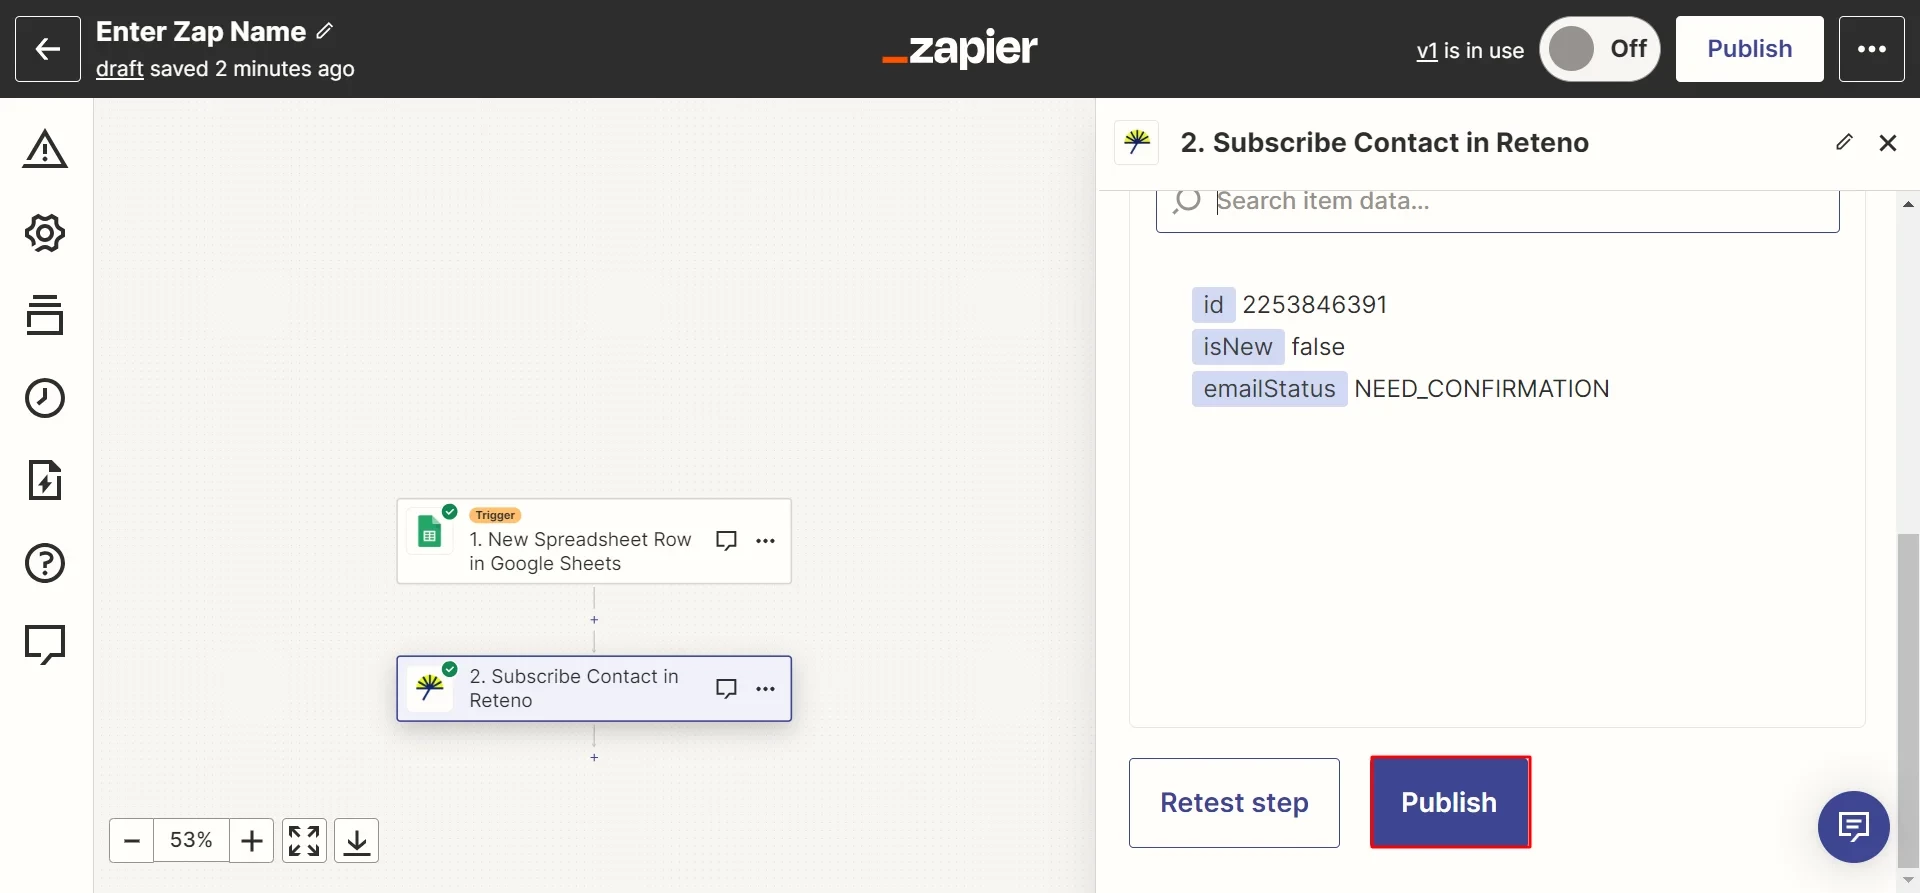
- Test the connection with Yespo.
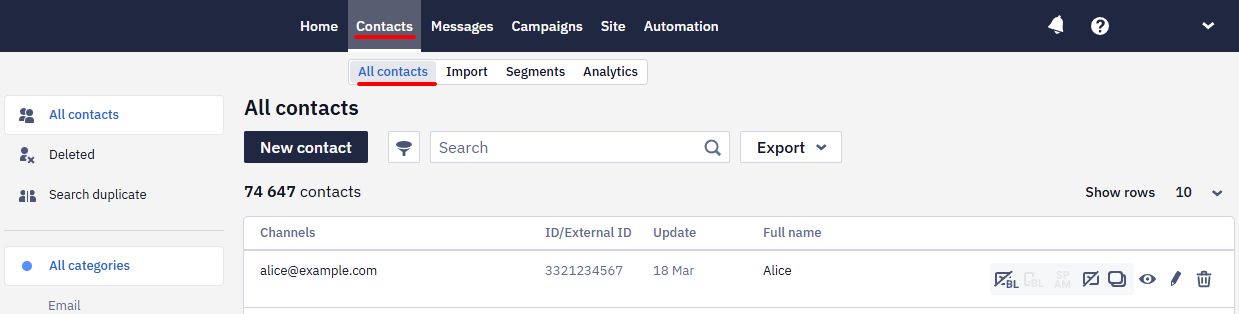
As a result, you should see the contact data that you entered in the form in Yespo contacts (Contacts → All contacts tab).
Also, you should see the subscribeFromApi(-form name) event with the corresponding contact details in the event history (Automation → Event history tab).
Click Publish to activate the Zap.
Other Examples of Integrations with Yespo via Zapier
Below is a list of common examples of integrations with Yespo via Zapier. It is incomplete but is intended to give you ideas based on the specifics of your business.
- Integration with CRM. Connect Yespo to your CRM system (such as Salesforce, HubSpot, or Zoho CRM) to automatically add contacts to mailing lists, generate leads, or perform other CRM actions when contacts sign up for a newsletter or interact with your messages.
- Integration with social networks. Submit new leads from Facebook, Instagram, etc., to Yespo to increase the number of touchpoints and get more contact information.
- Integration with analysis and reporting tools. Transfer data on email openings, clicks, and other events in Yespo to analytical services to create reports and analyze campaign results.
- Integration with Slack or Microsoft Teams. Set up alerts on your communication platforms for essential events in your campaigns, such as email openings or unsubscribes.
- Integration with other marketing automation tools. Connect Yespo with marketing platforms like HubSpot or Marketo to create complex campaigns.
- Integration with survey services. Transfer the results of questionnaires and surveys to external storage for further processing.
- Integration with helpdesk tools. Yespo has no native integration with helpdesk platforms such as Zendesk. Connect them via Zapier, using the triggers and actions described above (for example, create or update a Yespo contact when a new ticket or requester is created in your helpdesk tool).
Updated 3 months ago