
How to Sign Up
To get started with Yespo, complete the following steps:
- Sign up
- Activate your account
1. Sign Up
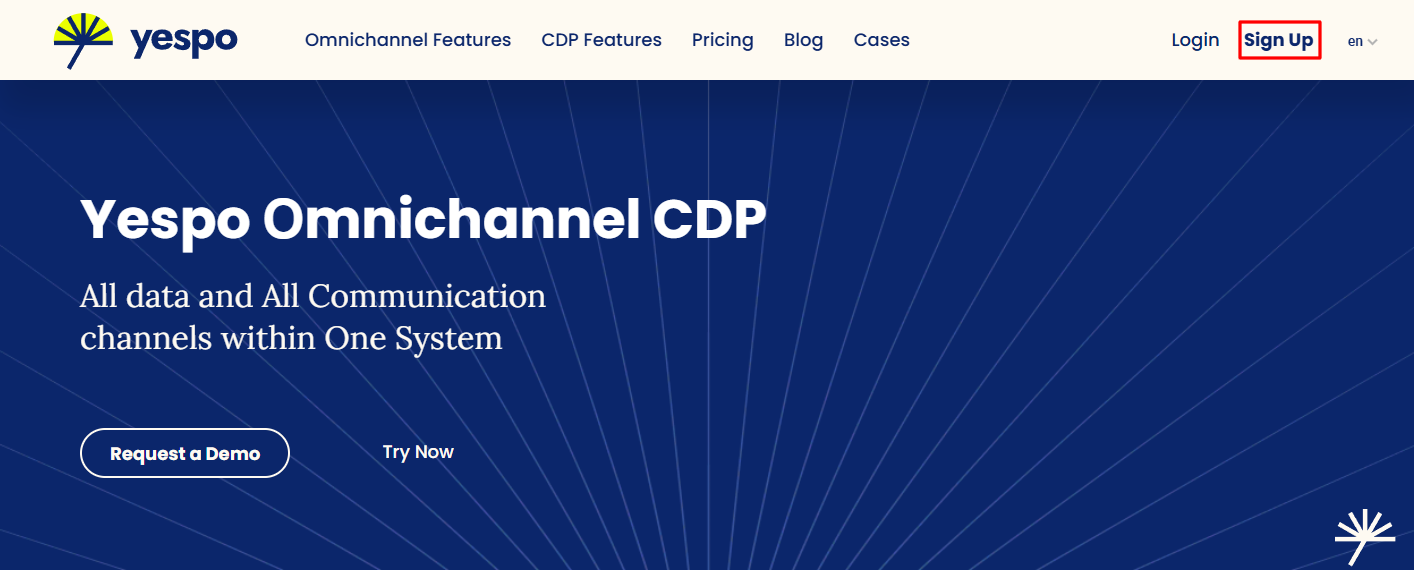
- Click the Sign Up button on the right side of the top panel of our site.
- In the Get Started for Free dialog window:
A. Fill in the following fields:
- First name
- Email address.
- Phone number.
NoteSign-up requires a business email address; personal mailbox domains (for example, Gmail, Yahoo, or similar free providers) aren't accepted. This restriction was introduced against spam sign-ups and applies specifically to Yespo — it isn't part of eSputnik's sign-up flow.
B. Tick the checkboxes to accept:
- Terms of Use
- Privacy Policy
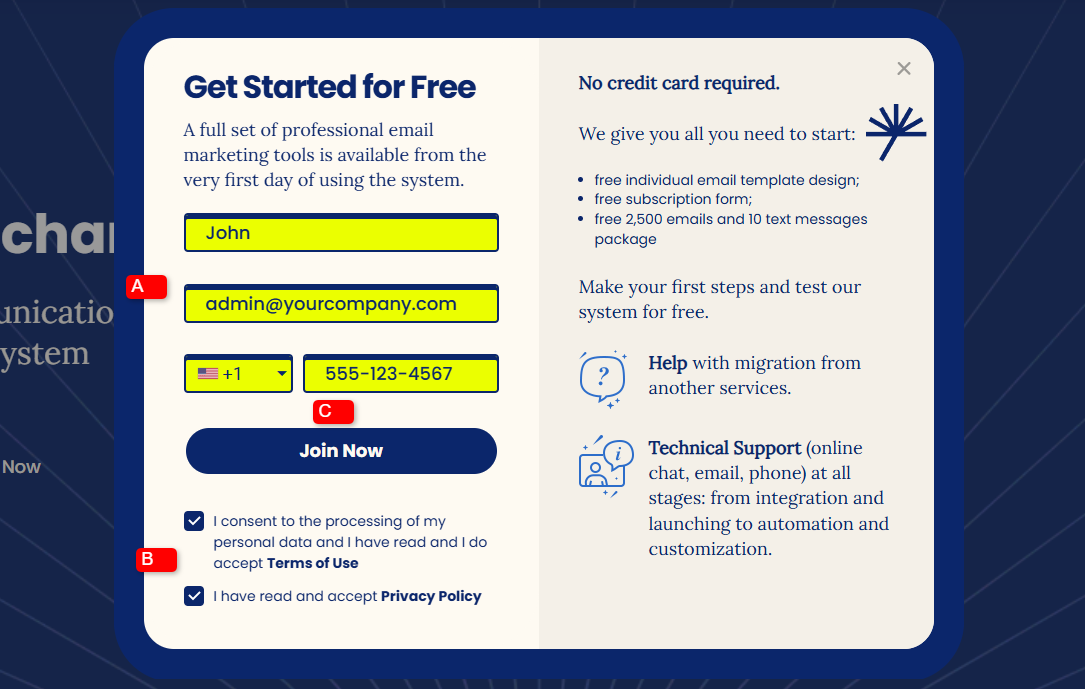
You have to accept the Terms of Use and Privacy Policy to proceed.
NotePlease read our Terms of Use and Privacy Policy carefully before accepting them.
C. Click the Join Now button.
NoteIf you entered an incorrect email address, click the ℹ icon next to the email field and select Resubmit it here to return to the email input step.
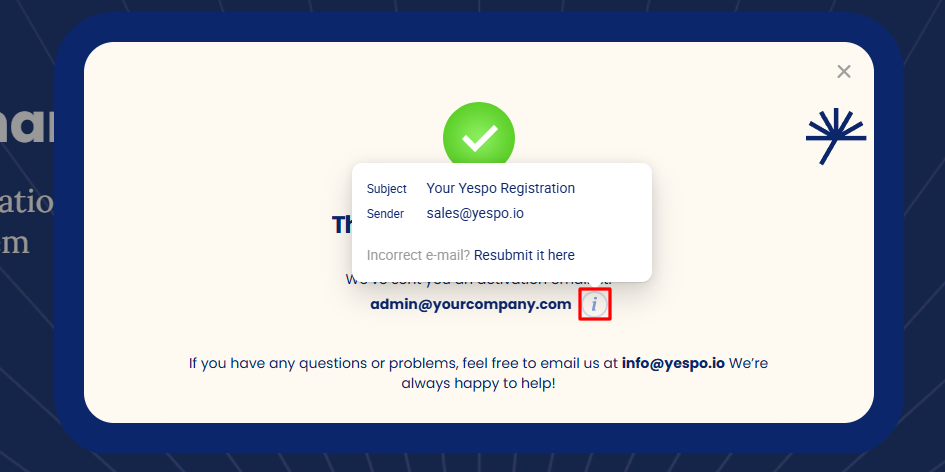
After that, an email with the activation button will be sent to the specified email address.
2. Account Activation
Open the message with Activate Your account subject and click the ACTIVATE button.
Note
- The activation link is valid for 1 hour.
- If you don’t find the message in the Inbox, check the Spam.
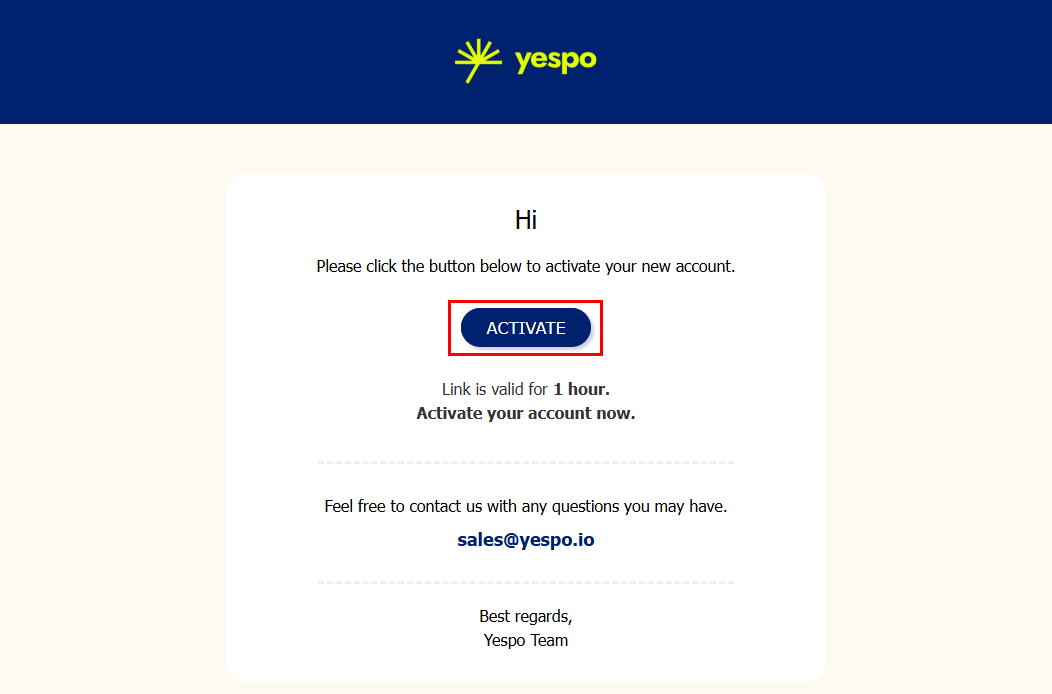
After following the link, the account activation page opens.
To complete the process, you need to:
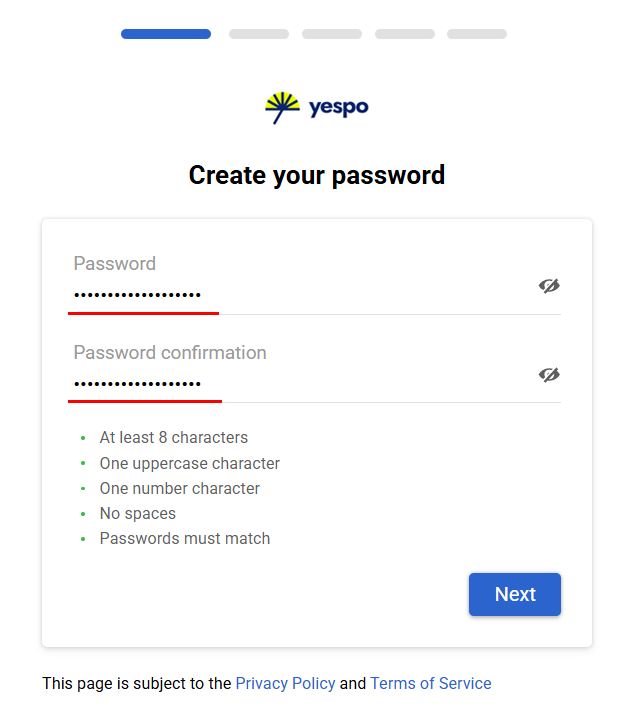
- Create a password for your account.
Enter the password in the Password and Password confirmation fields.
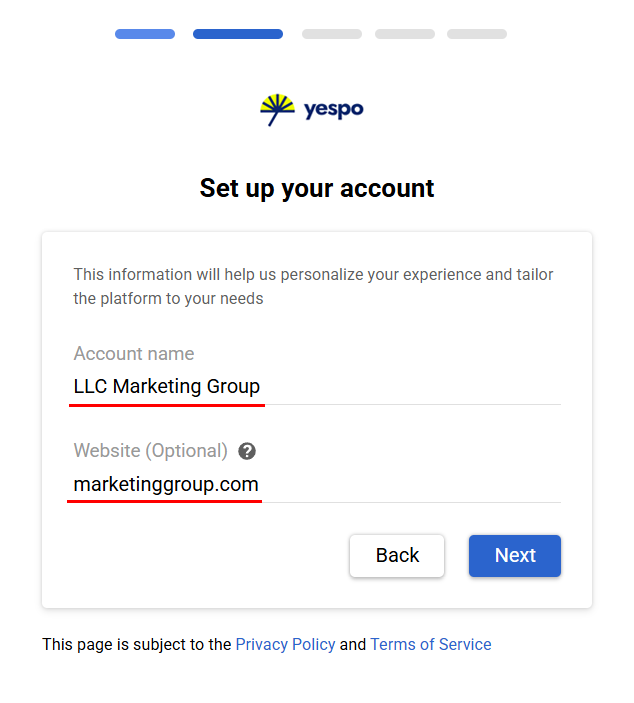
- Add your account details.
Enter your account name and website (optional).
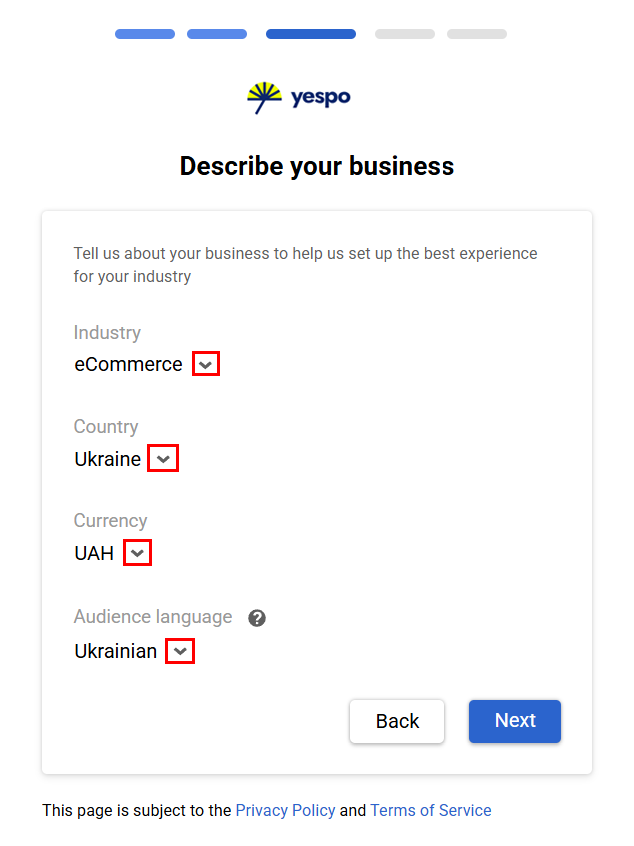
- Describe your business.
Select the following options from the drop-down lists:
- Business type
- Country
- Currency
- Audience language (default language for multilingual messages)
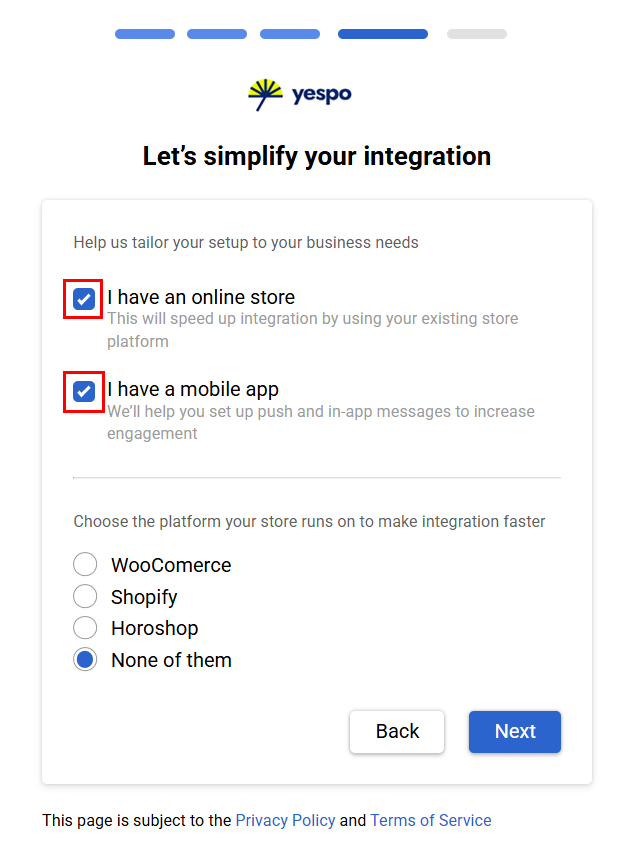
- Select platforms and applications for integration.
- Share audience details.
Select the size and source of your contact base.
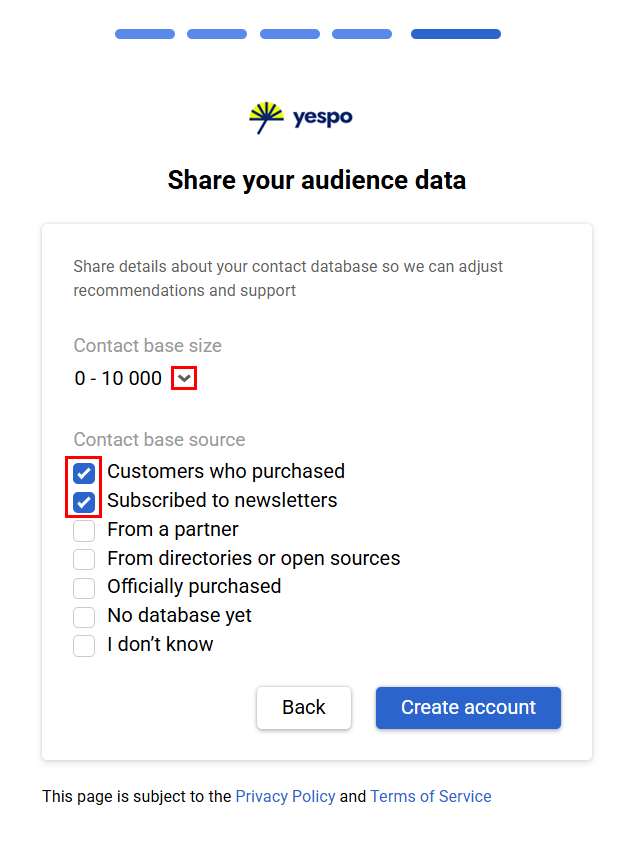
Click Create account to finish creating your account.
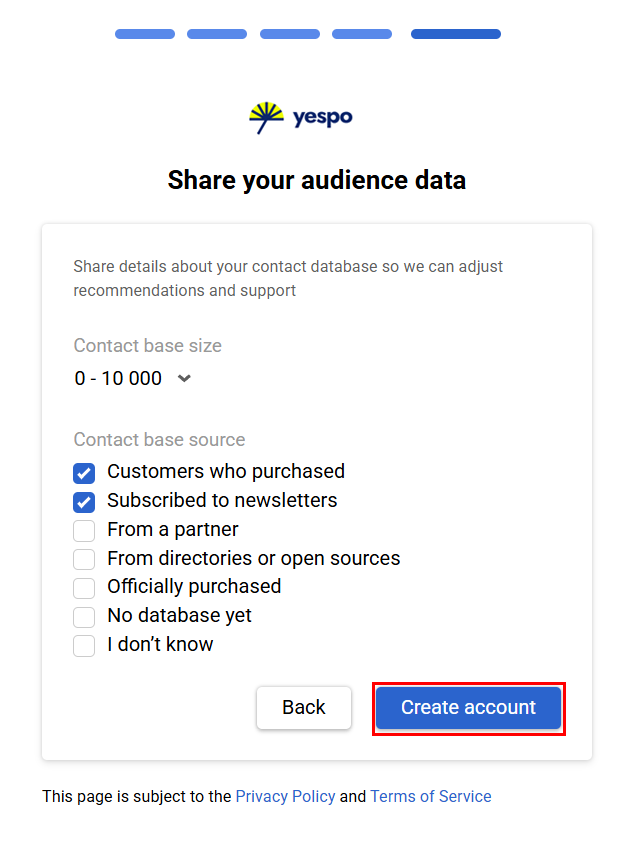
After activating your account, you can access all the features of the Yespo system. More about >
If you have any additional questions, please contact us at [email protected].
Updated 3 months ago