
Setting Up Smart Containers
A smart container is a template element that consists of basic blocks (image, text, button), whose content is automatically pulled from a product page on a website.
Use smart containers when you need to quickly add product cards to an email without manually filling in each element.
ImportantIf the website uses OG (Open Graph) tags, which provide structured data about the web page content, Yespo can automatically insert product information into the email.
If the data is not pulled from the website or you need to display additional product parameters, the required values can be added to existing cards manually.
This guide explains how to check whether content cards are automatically populated and how to configure them manually if necessary.
Automatic Data Substitution from the Website
With this method, you only need to copy the product URL and paste it into the container.
Adding a Smart Container to an Email
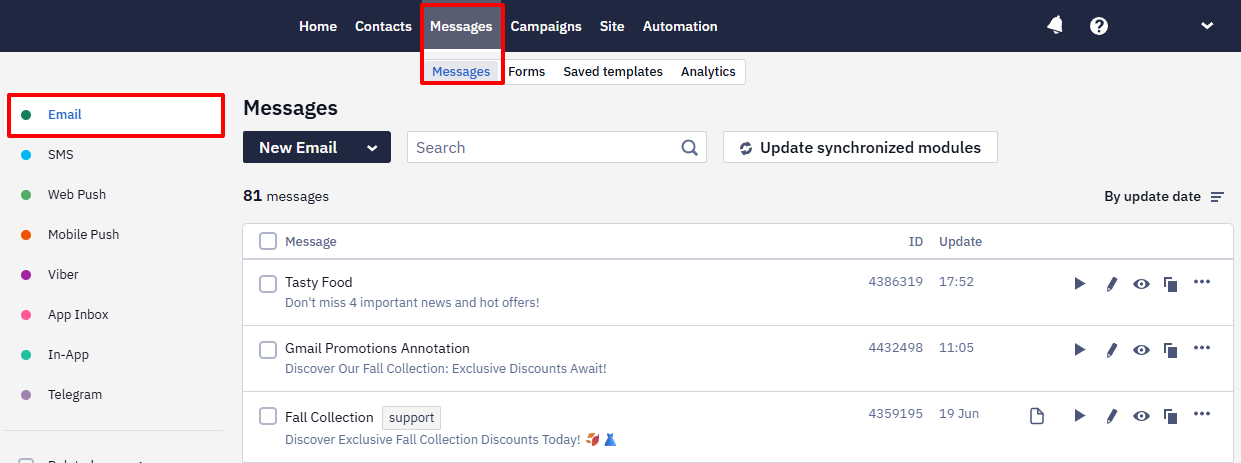
- Go to Messages → Messages → Email.
- Create a new email or open an existing one.
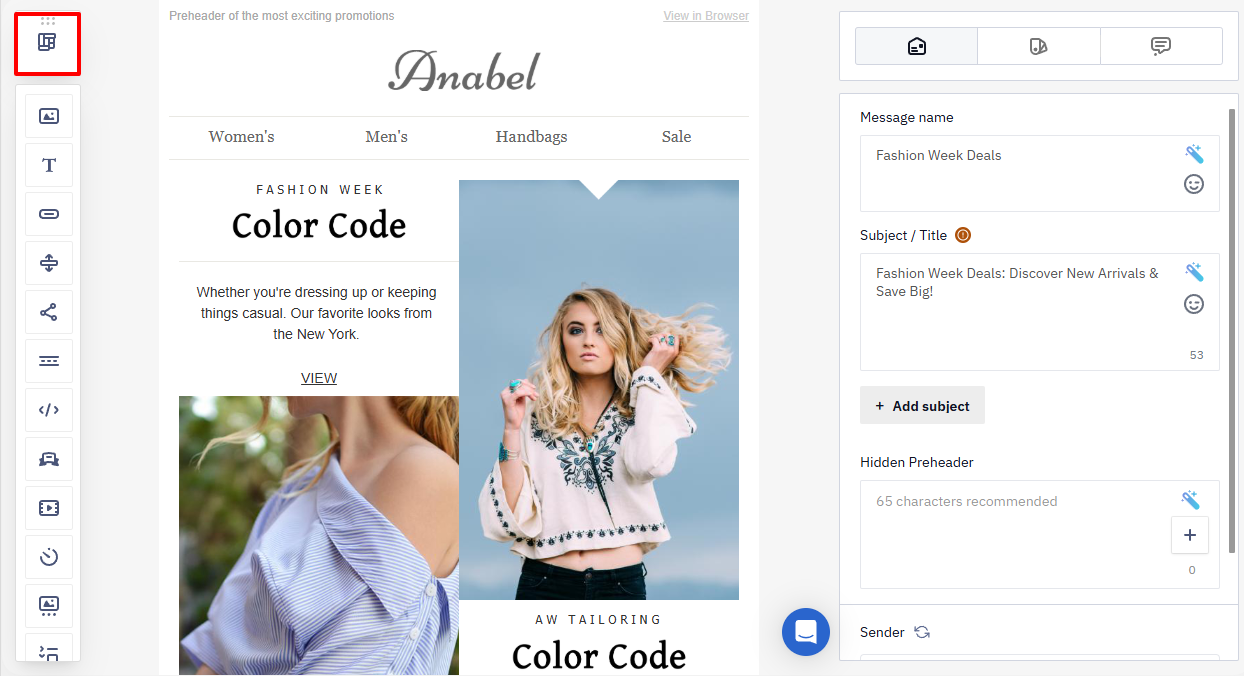
- Open the Structures and Modules panel.
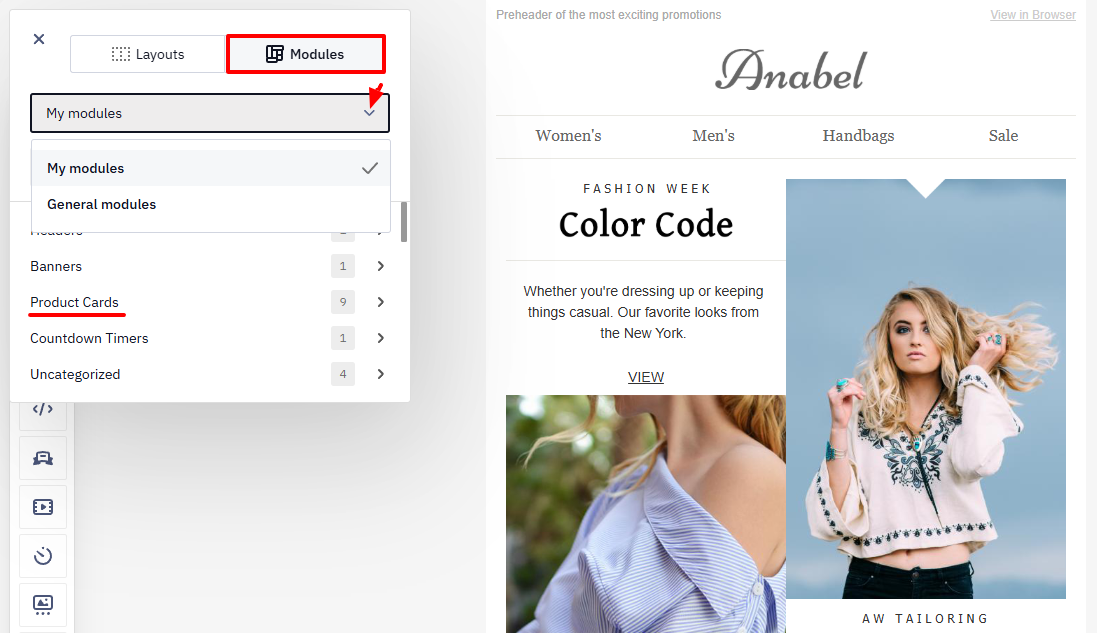
- Go to the My Modules or General Modules tab.
- Select the Product Cards category.
For this example, we will configure containers containing:
- product image
- product name
- price
- button
- Drag the module into the email.
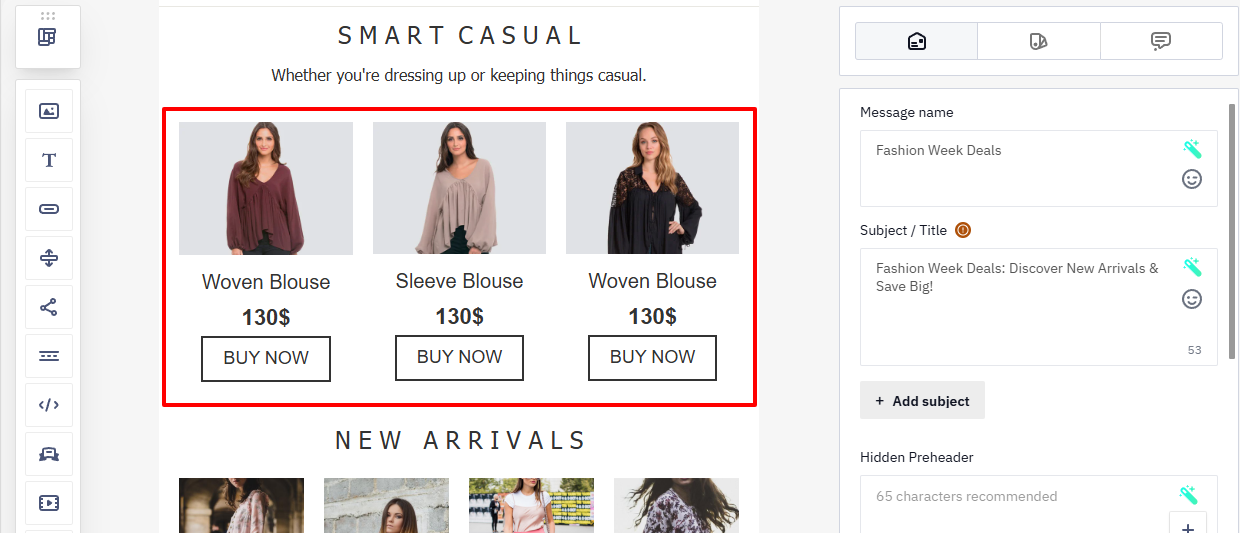
NoteIf the email already has styles configured, they will automatically apply to the added module.
Inserting Data from the Website
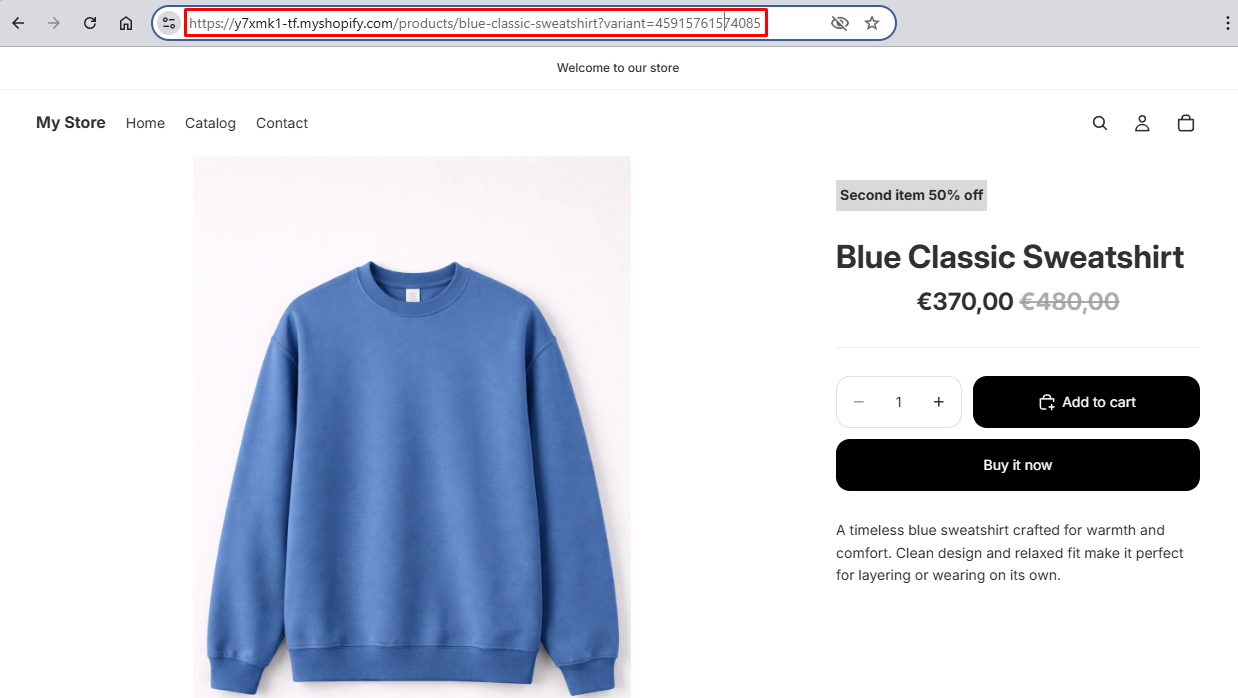
- Open the product page and copy its URL.
- In the smart container settings, open the Data tab.
- Paste the URL into the Link field and click Get.
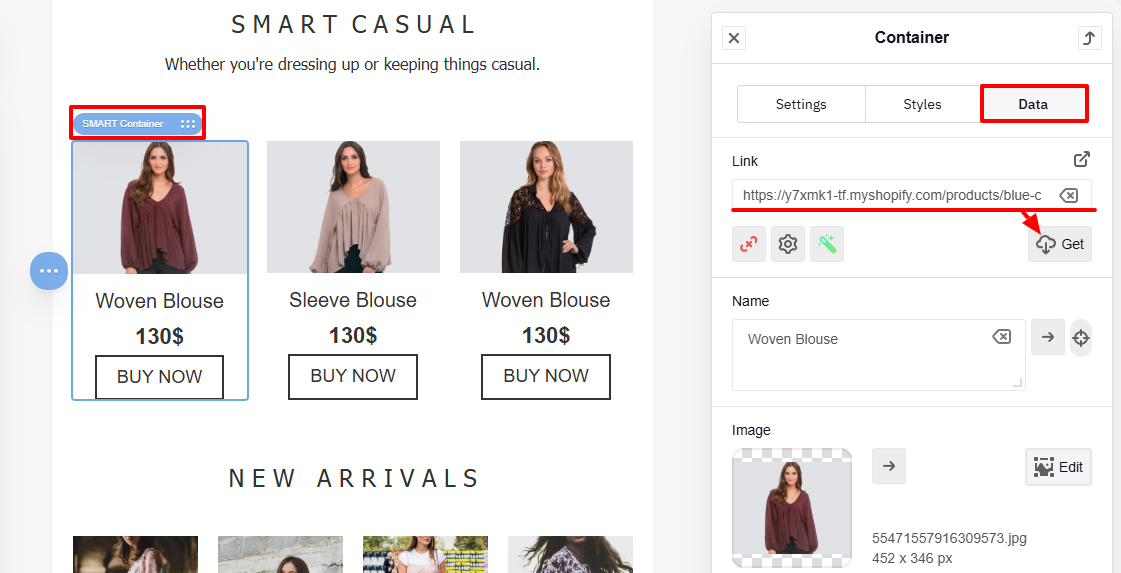
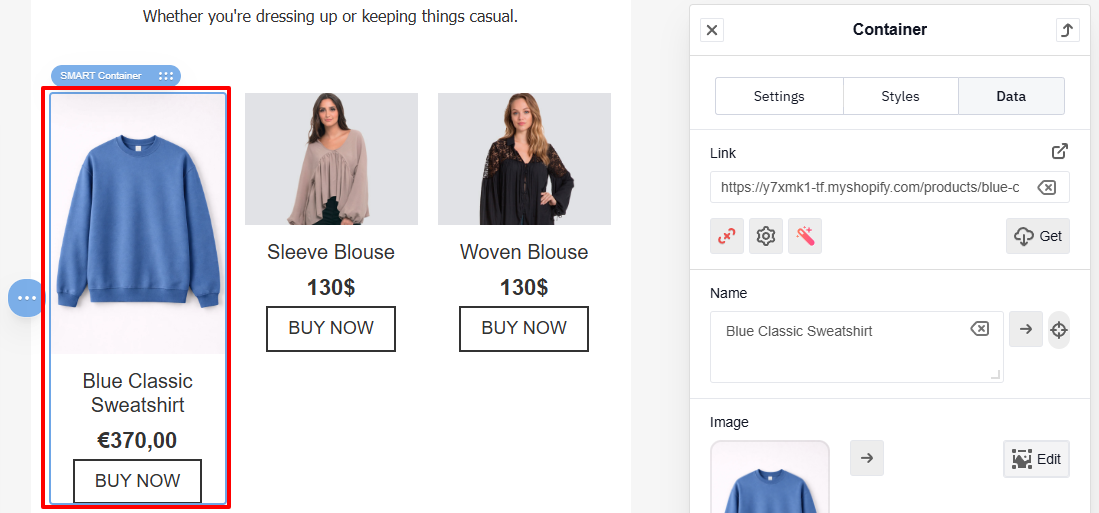
The system automatically retrieves the available data
NoteThe button text is not changed automatically. Edit it manually if necessary.
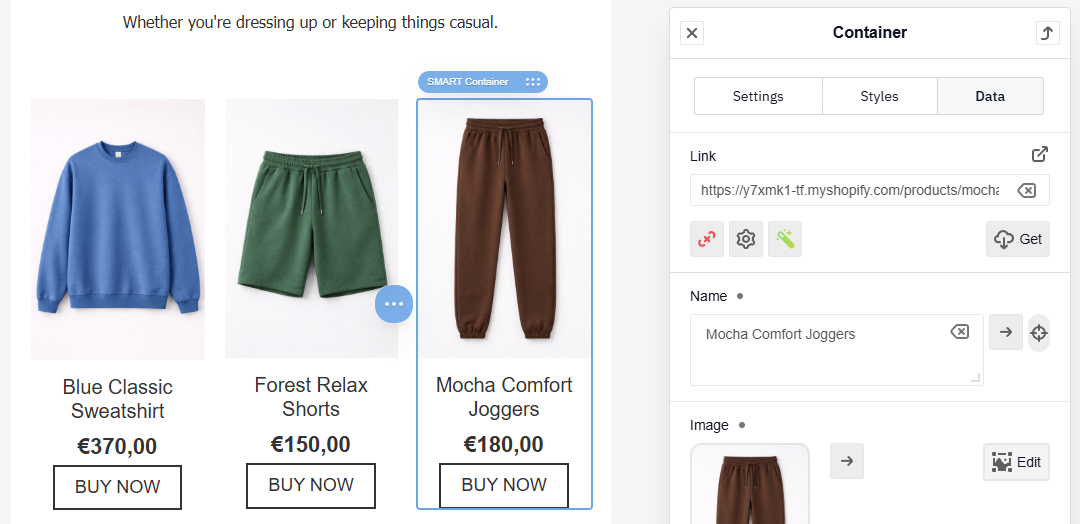
Repeat steps 1–3 for each container.
NoteThere's no separate action for deleting a smart container. To remove its content, select the container level and use the content clearing option — the container itself stays in the template and becomes empty.
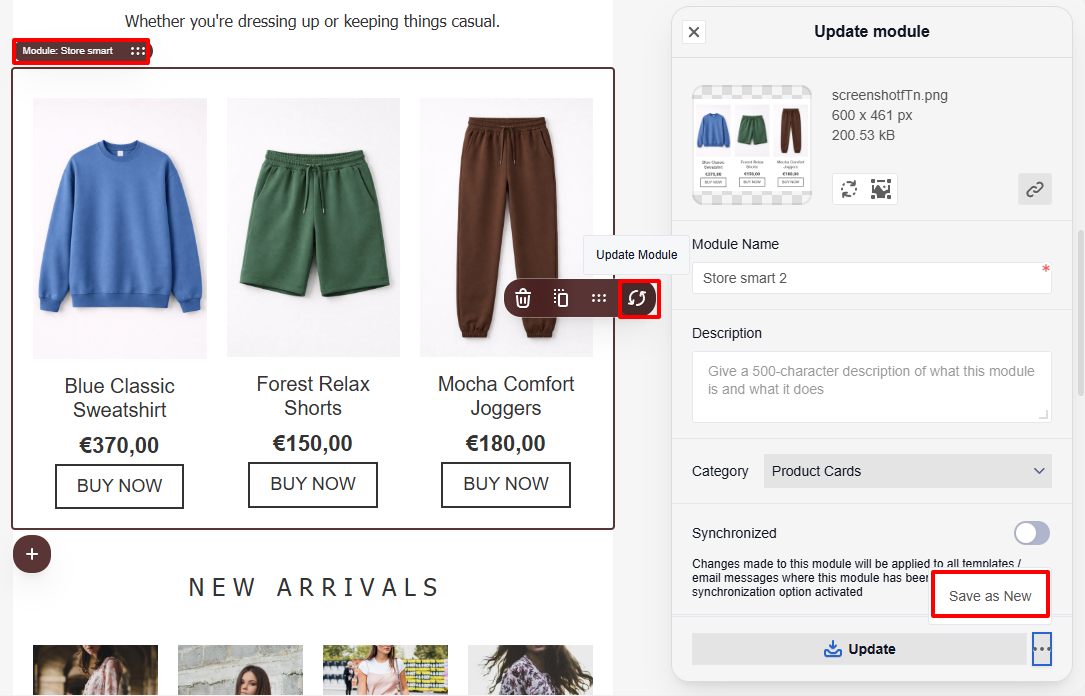
If you plan to use this module in other campaigns, update the module or save it as a new one.
Adding Additional Parameters
NoteThis method provides more flexibility for customizing email content but requires basic HTML knowledge.
Use this method if you need to add non-standard product parameters, such as:
- discount amount
- color
- SKU
- country of origin
- promotion expiration date
To configure additional parameters, follow these steps:
- Add a block to the container.
- Create a variable.
- Configure CSS selector matching rules.
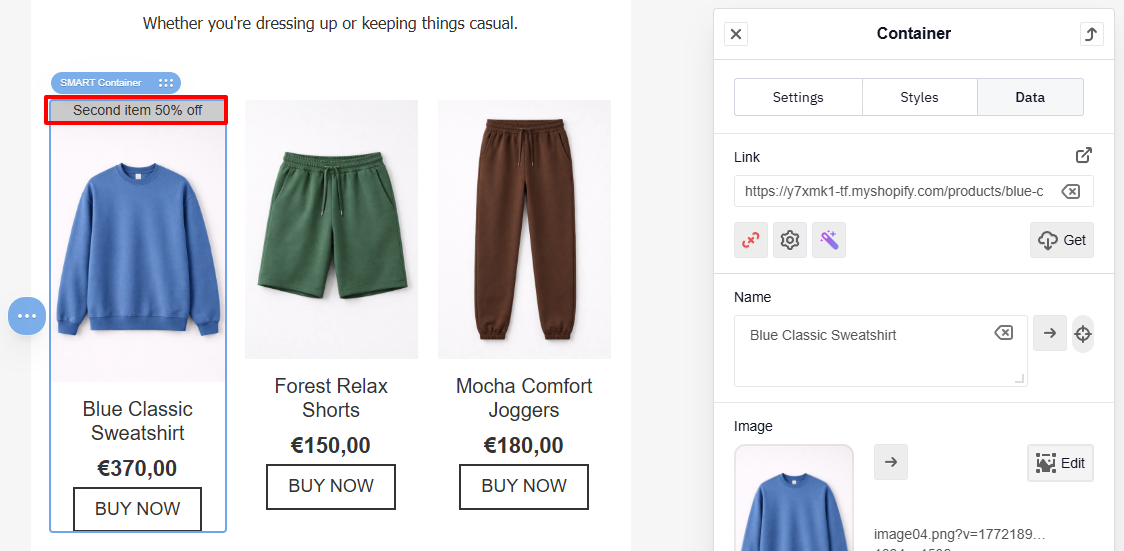
Below is an example of adding additional discount information to a product card.
Adding a Block
- Add a Text block to the container.
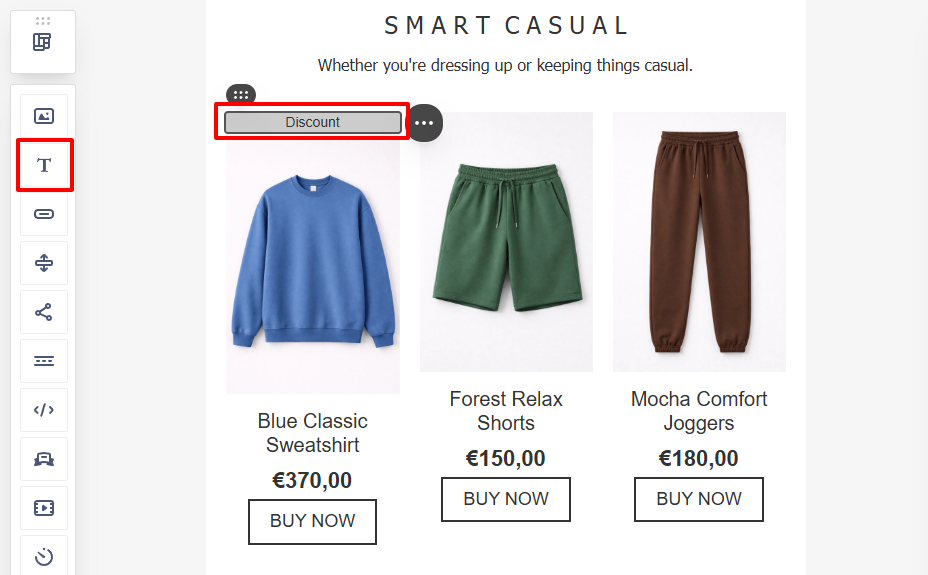
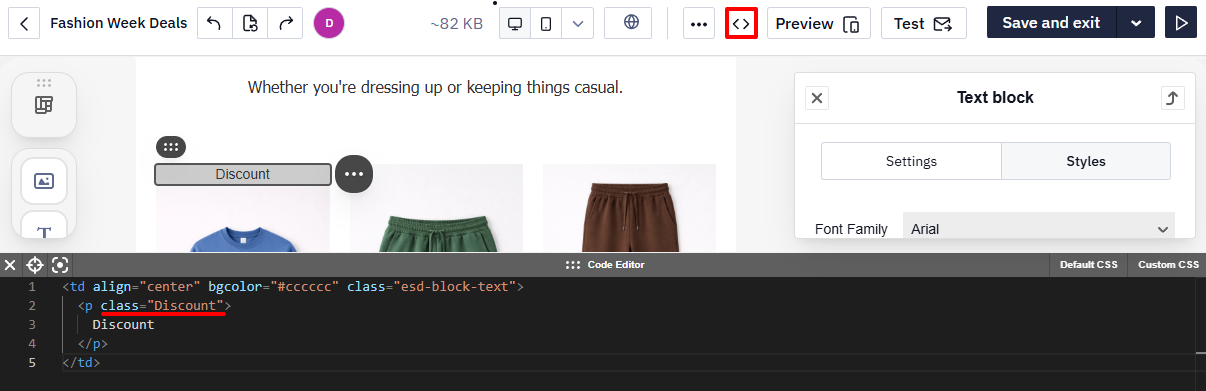
- Select the block and open the code editor.
NoteThe code editor isn't limited to smart containers — you can open it for any selected block, container, structure, or stripe (or for the whole message if nothing is selected) to edit its HTML directly. It's organized into an HTML tab and separate tabs for default and custom CSS, plus a formatting tool that makes the code easier to read.
- Add an HTML attribute, for example:
class="Discount".
Creating Variables
- In the container settings, click the Configuration icon.
- Click +.
- Add a new Element and select the value from the dropdown menu. In our example, this is a field for displaying an additional discount.
- Specify:
- Variable name: Discount
- Variable value:
discount
- Save the configuration.
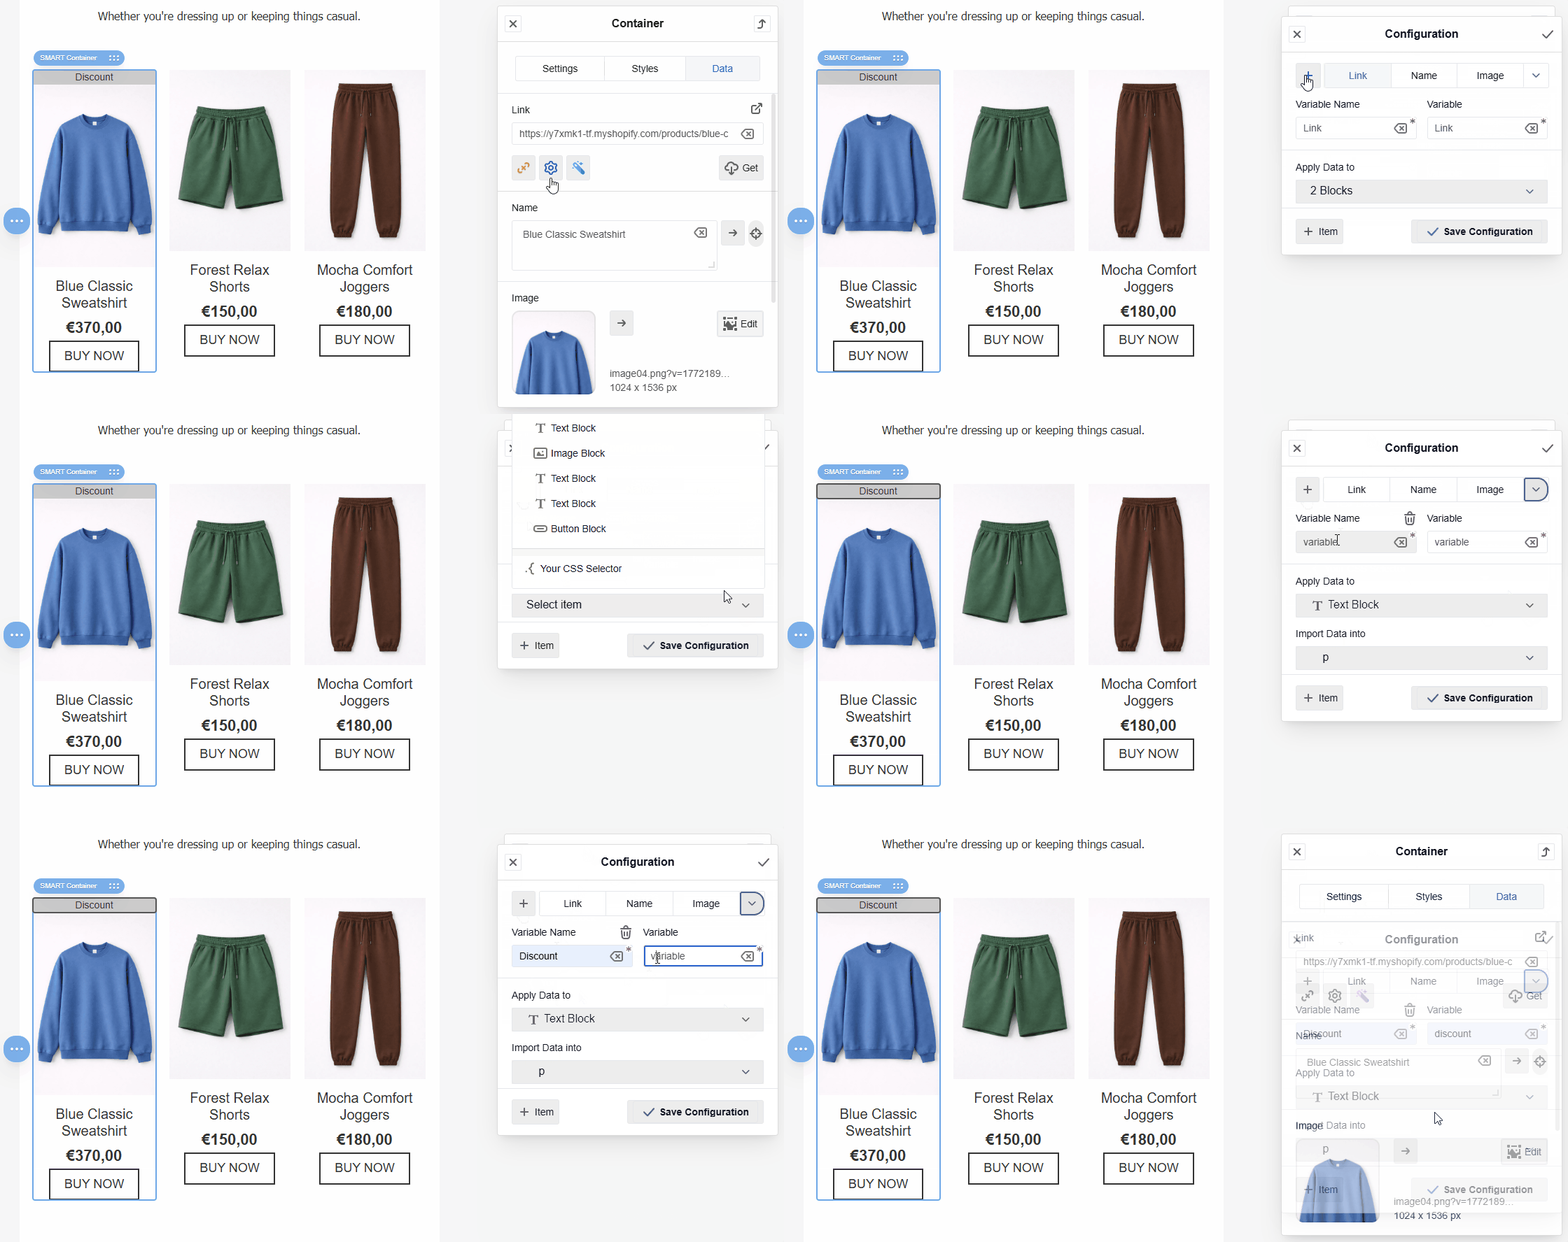
After that, a new Discount field will appear in the container settings.
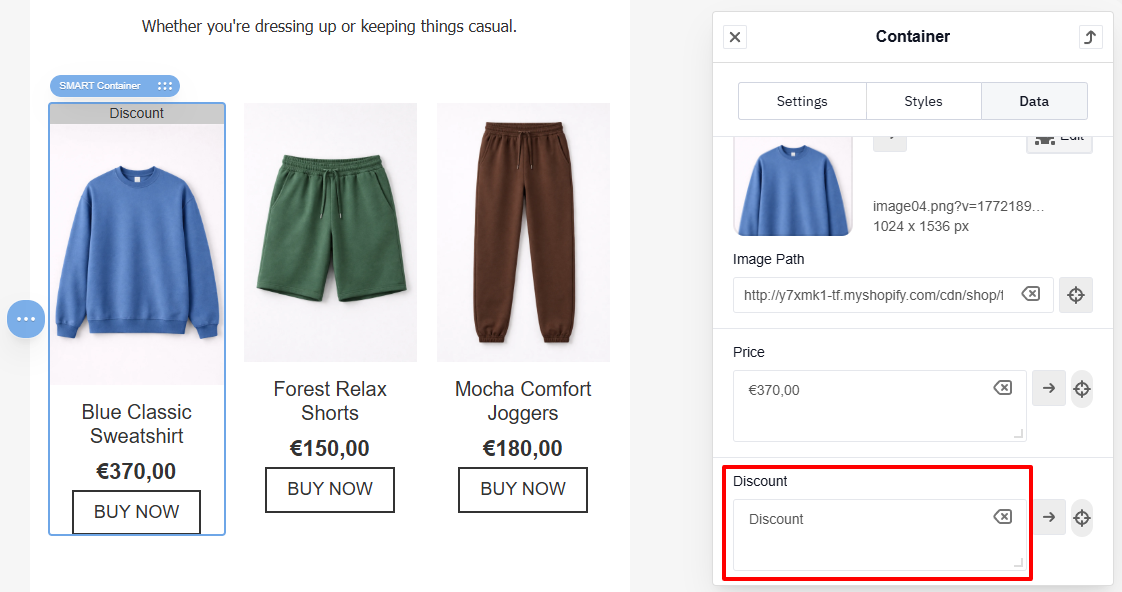
CSS Selector Direction Rules
- Open the product page in a browser.
NoteThis example demonstrates a basic way to inspect webpage elements using DevTools in Google Chrome for Windows. If you use another browser or operating system, refer to the documentation for inspecting elements using DevTools.
- Open DevTools to inspect the page element: press
Ctrl + Shift + IorF12. - Activate the element selection tool: press
Ctrl + Shift + Cor click the cursor icon in the upper-left corner of the DevTools panel.

- Click the required element (for example, the discount value).
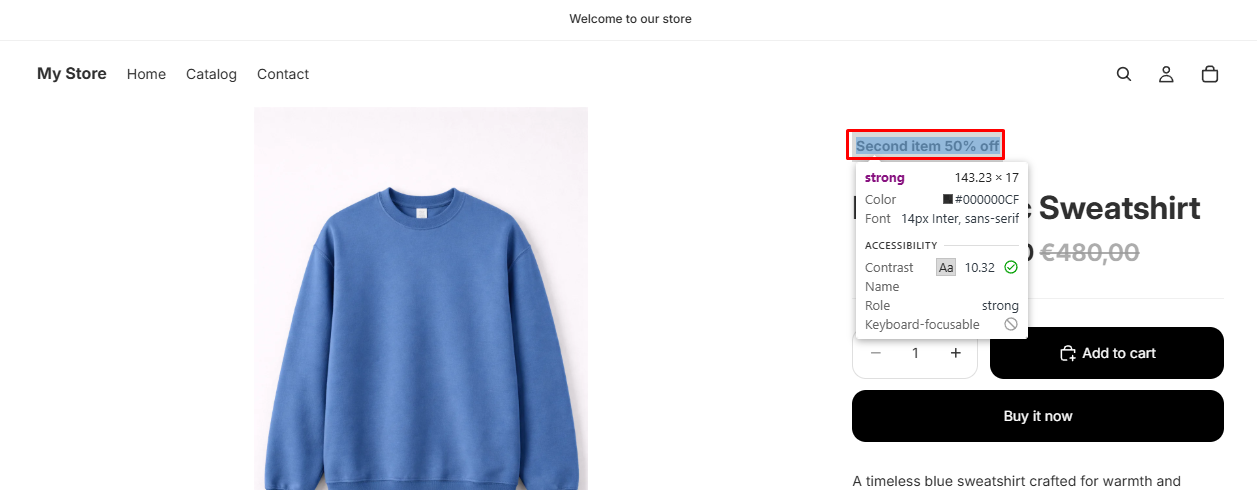
- Copy the element's CSS selector.
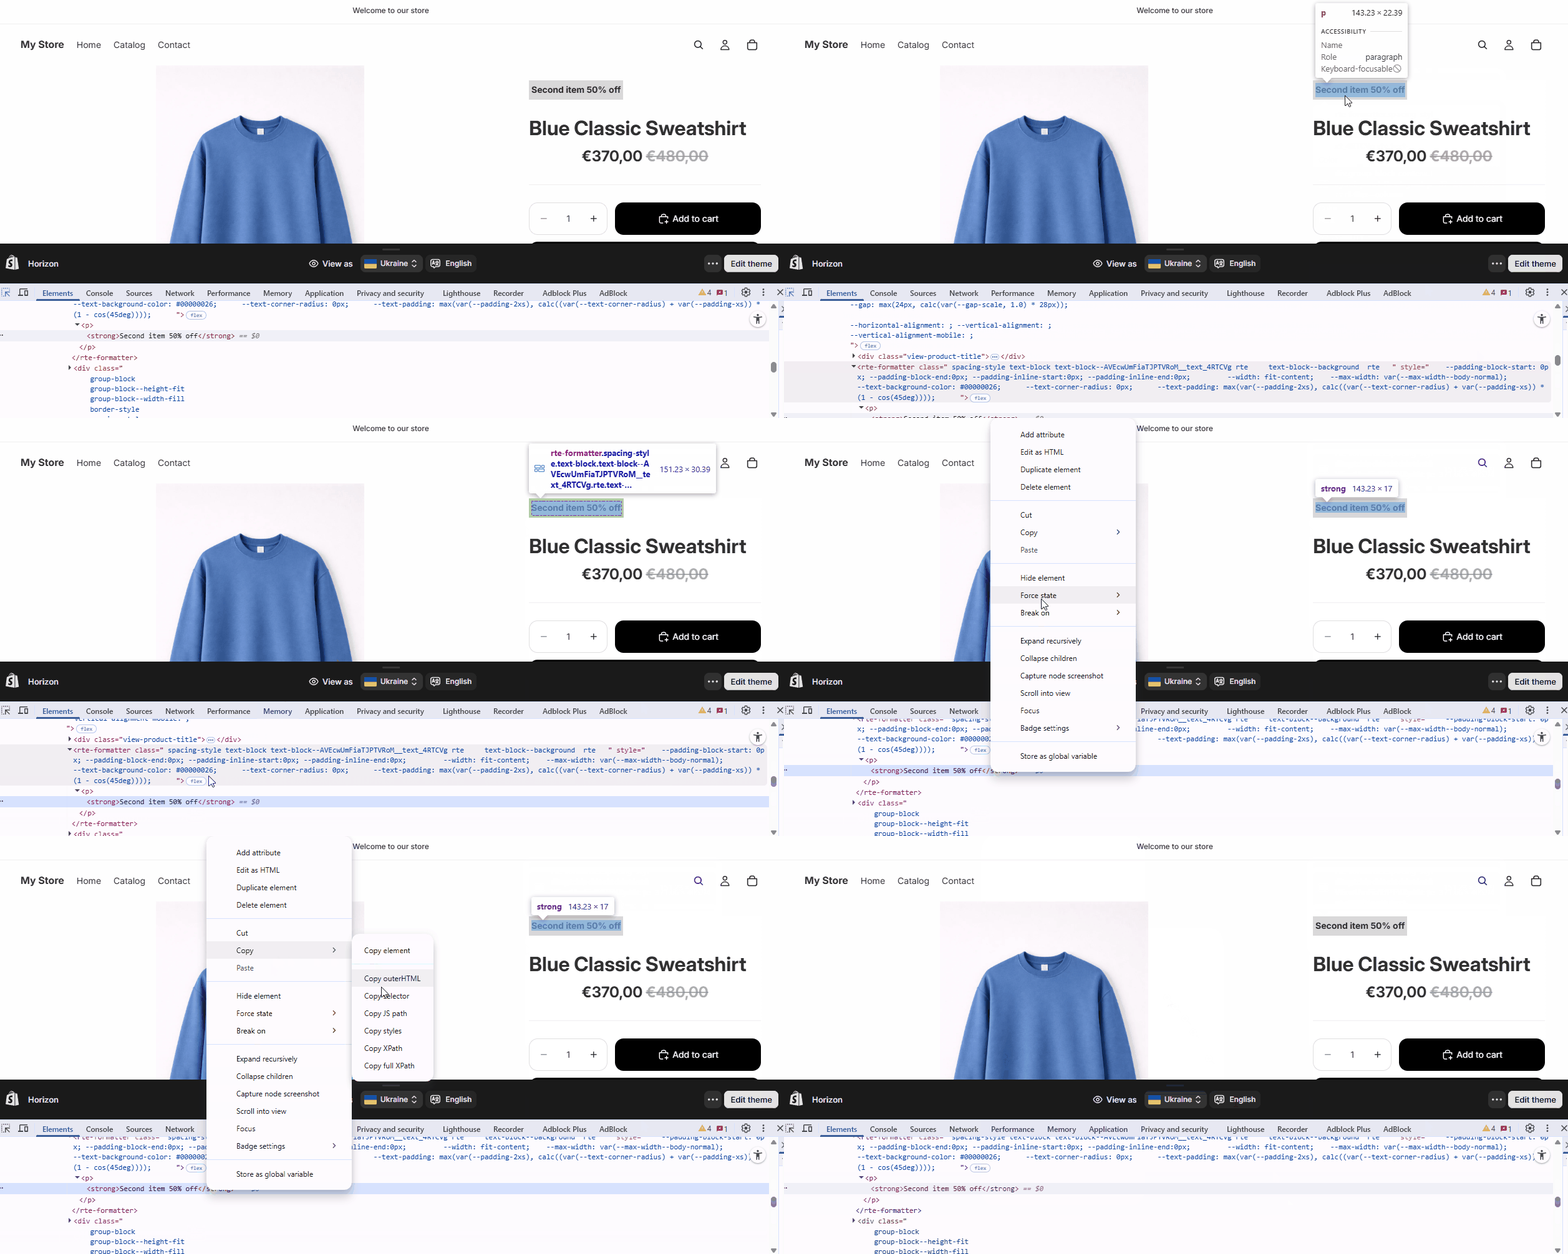
- In the smart container, open the Discount field and click Direction rules.
- Paste the selector into the field.
- Click Check Rule and Save.
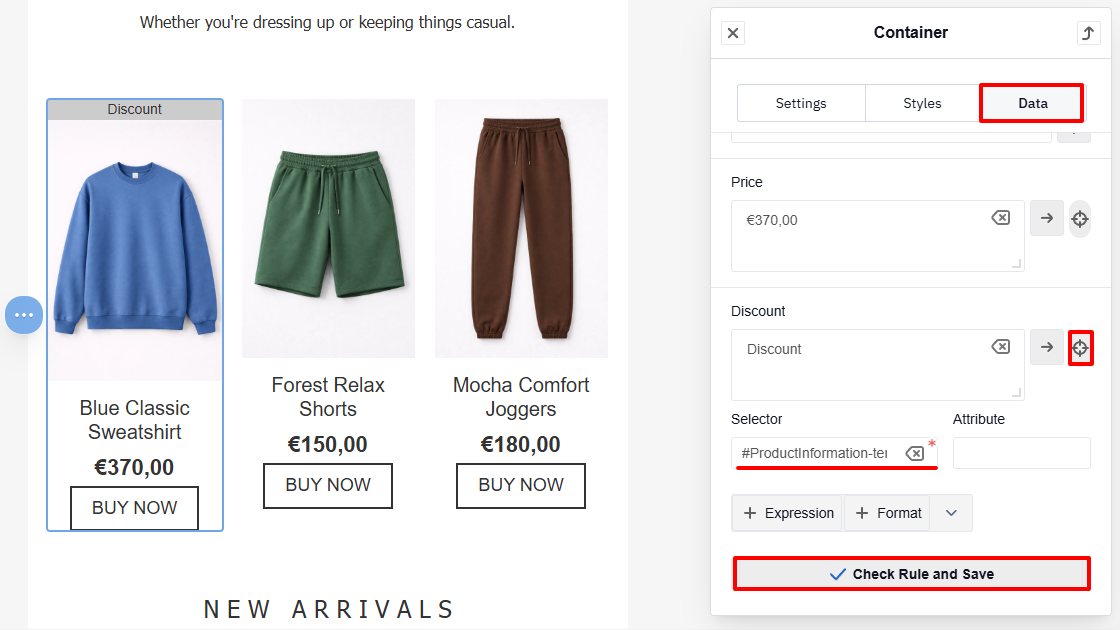
If the rule is configured correctly, the value will be pulled from the product page.
NoteWebsites usually use standard CSS selector naming conventions. Therefore, smart container settings can often be reused for most pages that follow standard CSS practices.
However, some pages may contain custom selector names or non-standard attributes. In such cases, additional configuration or creating a new smart container may be required.
The steps for configuring a new container are similar to those described in the Adding Additional Parameters section. Variables and matching rules must be created separately for each element.
If you have any questions about configuring smart containers, contact support at [email protected]
Updated about 1 month ago