
Widget Calling
Yespo provides a wide range of options for flexible customization of widget display conditions so that they work as efficiently as possible in each situation.
To set the widget display rules, click on the edit button in the corresponding section of the Parameters tab:
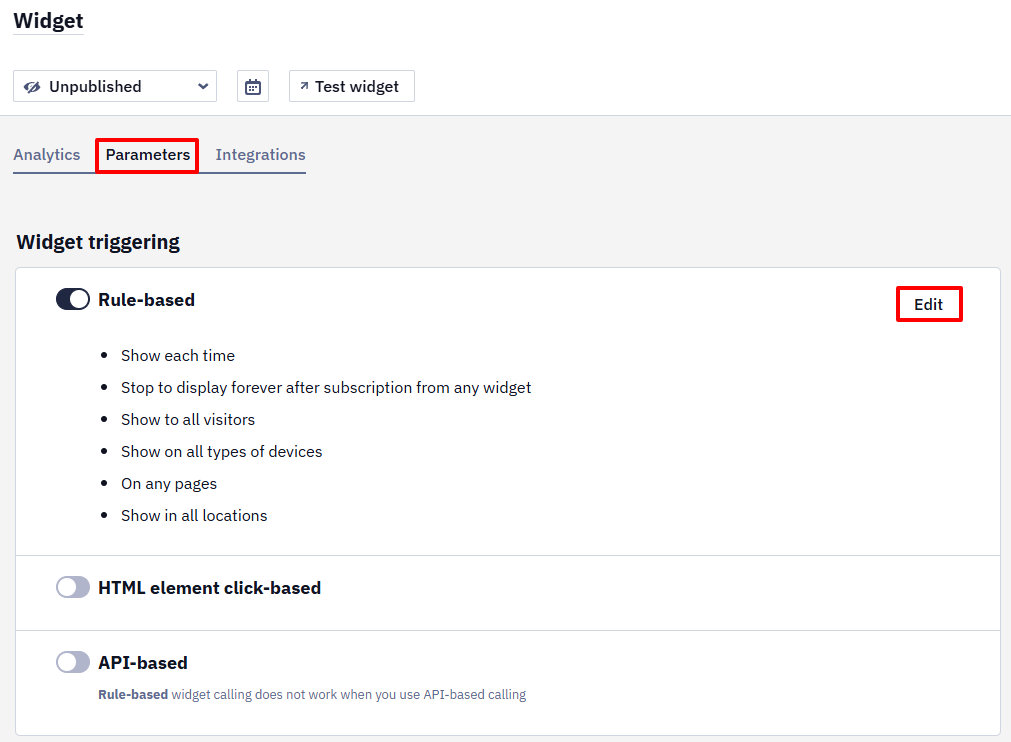
Widget Triggering Rule-based
The widget will appear only when the display rules listed below are met.
The following parameters are available:
Display Frequency
- Do not limit
- Only once
- Once per session
- One time per N minutes, hours, days, or weeks. Enter a number and select a period: minutes, hours, days, or weeks.
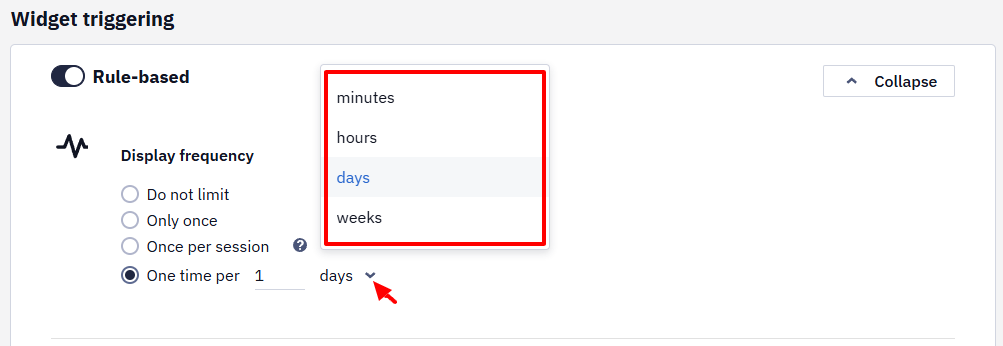
When selecting the Once per session option, the widget will be displayed throughout the current web session for the customer.
For all widgets except Verify Age, the period specified in the One time per N minutes, hours, days, or weeks option is calculated from the last time the widget was displayed. For example, if set to Once per 7 days, the next display becomes possible 7 days after the previous display, regardless of when it was closed. For the Verify Age widget, the period starts after the widget is closed.
To check which widgets have already been shown in a particular browser — for example, when debugging display frequency — open the browser's storage in the developer tools: the f.fv.view key contains the identifiers of the displayed widgets and the time they were shown.
A user web session is an interactive period during which a user engages with your website, where the service script is installed.
During a session, a user may perform various actions, such as navigating between pages, interacting with content, submitting forms, or using specific features.
Examples of interactions:
- Cursor movements
- Clicks
- Keyboard pressings
- Taps
- Scrolls
A new session starts when a user enters a page where the service script is installed, and the user’s previous session has timed out or there was no previous session.
The session ends after 30 minutes of inactivity.
Examples of user inactivity:
- A user does not interact for 30 minutes with the site where the service script is installed.
- A user closes all tabs with the site where the service script is installed and does not return to this site for at least 30 minutes.
When to Display
You can choose to display a widget immediately or when all or any of the following conditions are met:
- Spent some time on the page
- Spent some time on the website
- Read the page by some percentage
- Visited some amount of pages
- Not active on the page for some time
- Left the cursor off the page
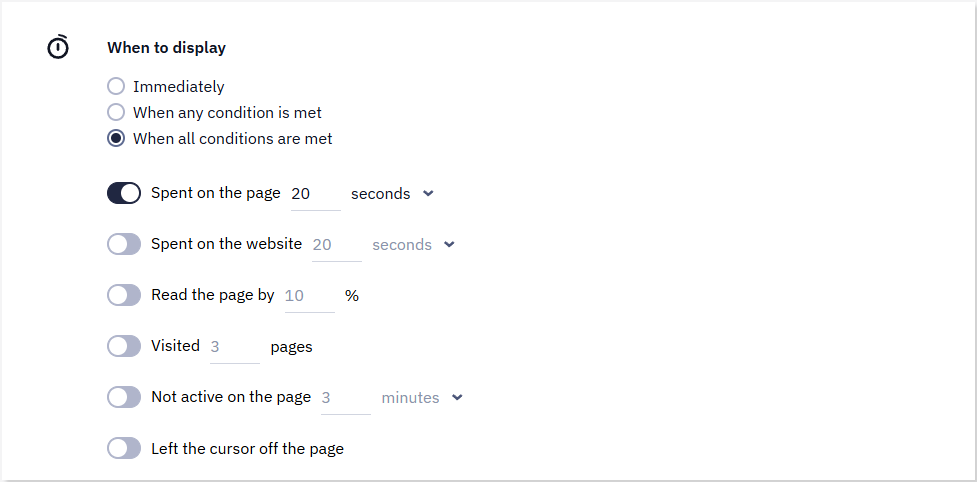
For widgets of the Popup and Floating box types, an additional display condition is available - By clicking on the teaser
When to Stop Displaying
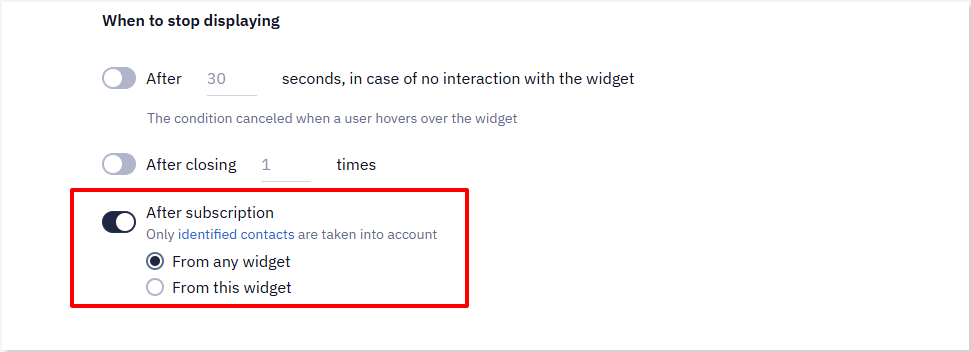
- After a certain amount of seconds, in case of no interaction with the widget (the condition is canceled when a user hovers over the widget)
- After closing a certain amount of times
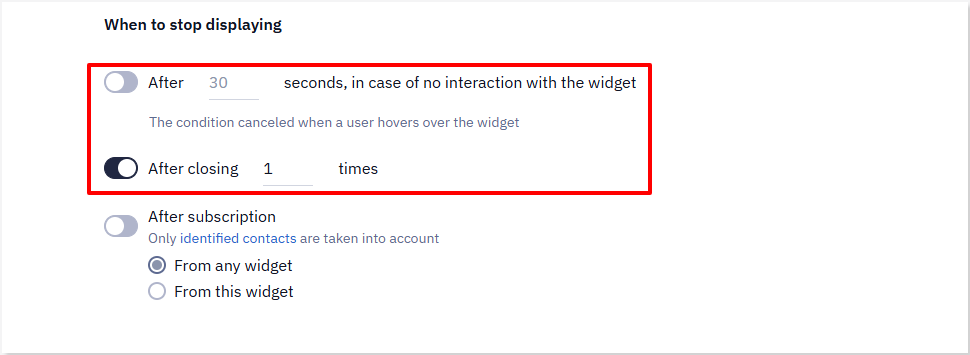
- After subscription (from any or this widget): do not show the widget to the contacts with the subscribed status.
NoteThe subscribed status is checked only for the contacts who subscribed using their email. Other channels are not taken into account.
Our system identifies the subscription status of a contact based on the contact ID. When a contact visits your site, the script requests the system to check the subscription status. This request includes the contact ID, which is stored on the site as the result of the following events:
- A contact subscribed using any or this particular widget.
- A contact clicked a link in an email message redirecting to the site where our script is installed. The contact ID is retrieved from the URL’s UTM tags.
- A contact subscribed to the web push notification.
You can select the After subscription from any widget option for general subscription types, for example, weekly digests. This widget will not be displayed if a contact has already signed up using any widget or channel.
If you select the After subscription from this widget option, the widget will not be displayed only in case the contact has already subscribed using this widget.
NoteIf a contact has any status other than Active, the widget will be shown to that contact when the After subscription condition is enabled.
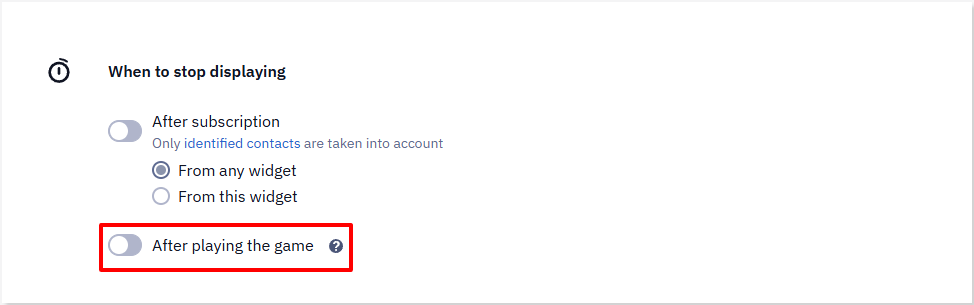
- After playing the game (for widgets with gamification): allows you to limit the number of draws.
The prize is tied to the visitor: when the same visitor opens the widget again, the game shows the prize they have already won. This keeps visitors from replaying for a better prize, and the rule applies even when the widget has no email field.
Annoyance Safeguard
Set annoyance safeguard when several floating widgets must be displayed on one screen based on their triggering rules. See details >
To Whom
Visitors
You can show your widget to:
- All visitors
- New
- Returning
The visitors are identified as new when:
- They have not visited the site after the installation of our script on it.
- They previously visited the site in incognito mode.
- After the past visits, they cleared the cache, cookies, and local data.
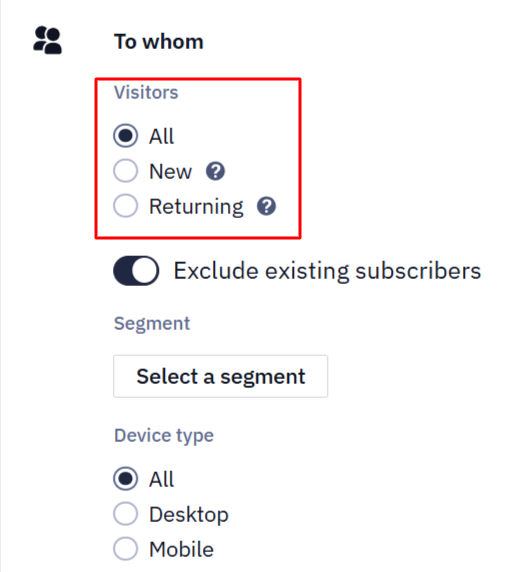
To prevent the widget from being shown to contacts who are already subscribed, enable Exclude existing subscribers. For example, this lets you show first-time offers or subscription discounts only to new visitors.
To identify existing subscribers, the system uses available signals, including clicks on links in email messages, website login status, and analytics data. When enough data is available to identify a visitor, the system can recognize them as returning, including on another device or after they follow a link from an email campaign. Returning visitors can be detected immediately after the widget script is installed on your website.
Segment
You can display a widget only to contacts included into a specific segment.
To add a segment to the To whom condition:
- Click the Select a segment button.
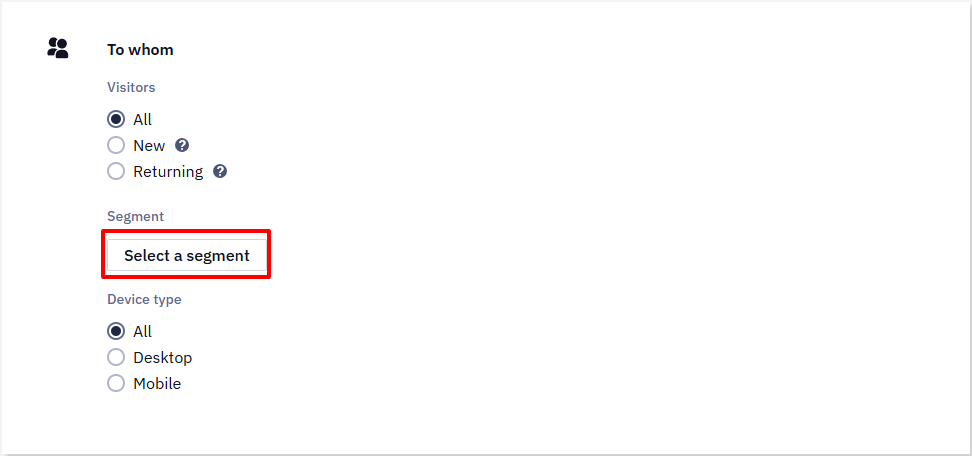
- Select the segment in the Select a segment to display the widget window.
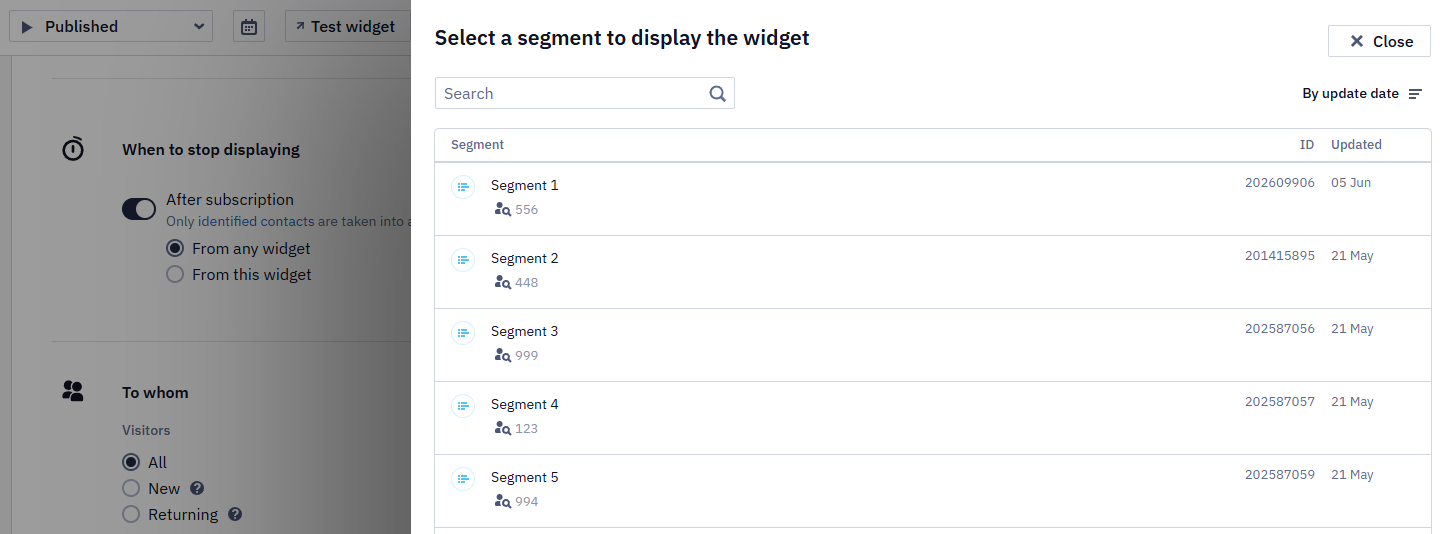
You can add both lists and dynamic segments.
The widget will be displayed to the identified and unidentified site visitors if they are included into the segment. The system uses the following information to identify whether a site visitor is included into the segment:
- Cookies: For unidentified contacts if the segment contains only the Web Tracking conditions.
- Contact ID: For identified contacts.
The widget will be displayed only to identified contacts in the segment if the segment includes at least one condition that is not a Web Tracking condition.
The identified contacts are:
- Those who subscribed using any or this particular widget.
- Those who click a link in an email message redirect to the site where our script is installed.
- Those who subscribed to the web push notifications.
Segment preview is available for a dynamic segment.
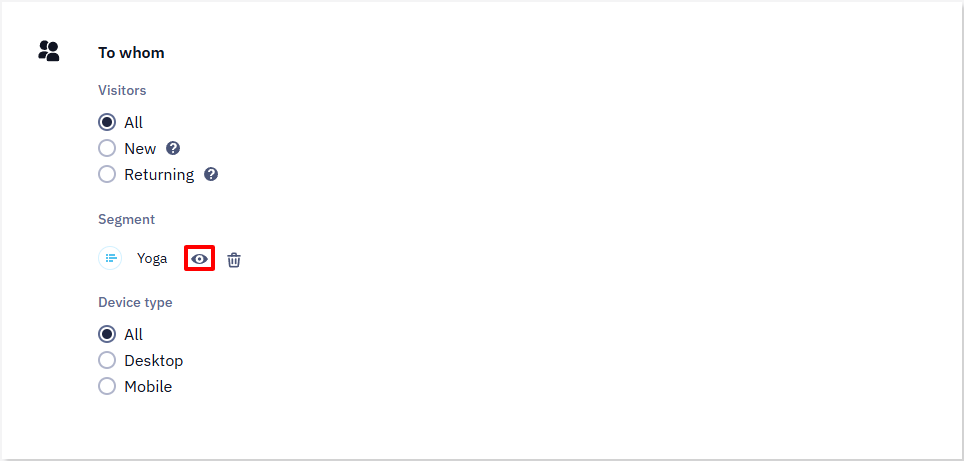
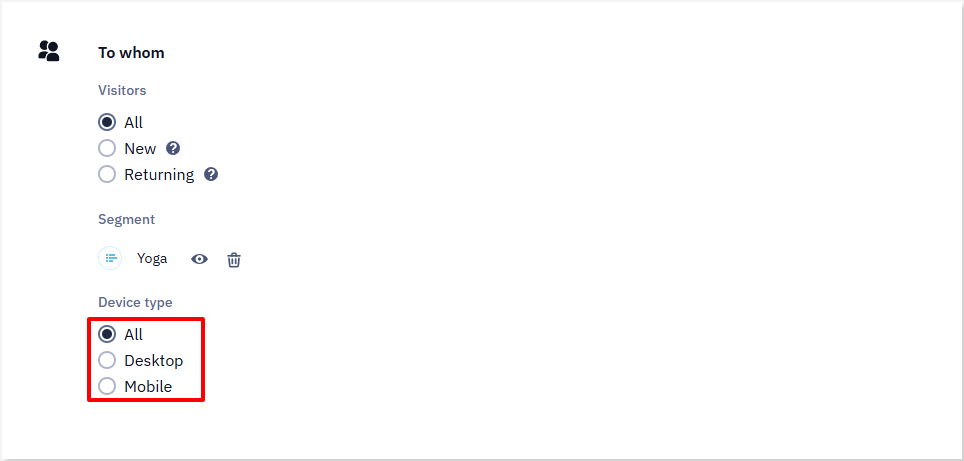
Device type
The widget can be displayed on:
- All device types.
- Desktop.
- Mobile.
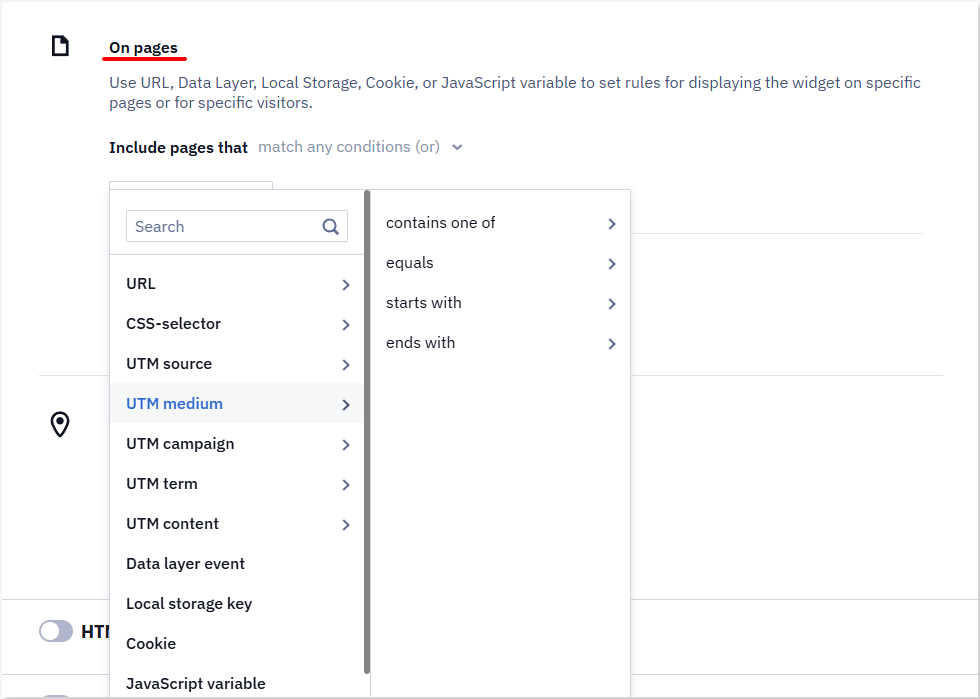
On Pages
Similar to dynamic segments builder, you can choose where to display or not to display the widget. Use this widget-calling rule to show promotions depending on products and their categories, the site’s sections, etc.
How to hide a popup from users who already have the app
If your mobile app writes a token to Local storage upon first launch (e.g., the key has_app = true), you can hide the popup prompting users to download the app from those who already have it. To do this, in the display conditions exclude pages where Local storage key has_app equals true.
The same result can be achieved with JavaScript variable targeting: if your app sets a variable on every page load, exclude pages where JavaScript variable has_app equals true.
How to show a floating bar on blog articles but not on the blog index
To show a floating bar on all blog article pages but not on the blog's index page, combine two conditions on the same display-rule card: URL contains blog (matches any URL containing this segment) and URL does not equal set to the exact index URL, for example https://example.com/blog. The URL does not equal condition matches the URL character-for-character, including the protocol and trailing slash, so make sure the value matches your index page's URL exactly.
How to show a widget only to visitors who aren't logged in
If your site sets a cookie for logged-in visitors — for example, session_id — exclude pages where that Cookie is set. The widget then appears only to visitors who don't have it.
- UTM parameters are available as separate condition types — UTM source, UTM medium, UTM campaign, UTM term, and UTM content — so you can target visitors by traffic source (e.g., a specific ad platform), channel (e.g., CPC or email), campaign name, paid search keyword, or the specific ad/link variant they clicked.
- The UTM tag is considered when visiting the page within one session. When revisiting the page without the tag, the widget will still be shown if a user previously followed a link with the tag within one session. If you want the widget to be displayed only on a page with a specific tag, set the display rules for this URL.
- An exact URL equals/does not equal match includes the protocol and subdomain — for example,
https://example.comandhttps://www.example.comare treated as different URLs. - Read about using data from Data layer, JavaScript variable, Cookie, and Local storage separately.
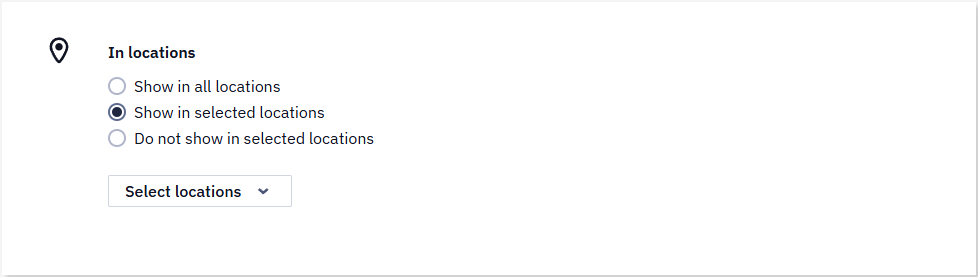
In Locations
Read Setting Up Locations for the Widget Calling Rules to learn details.
On Clicking an HTML Element
Specify one or more CSS selectors of the call elements.
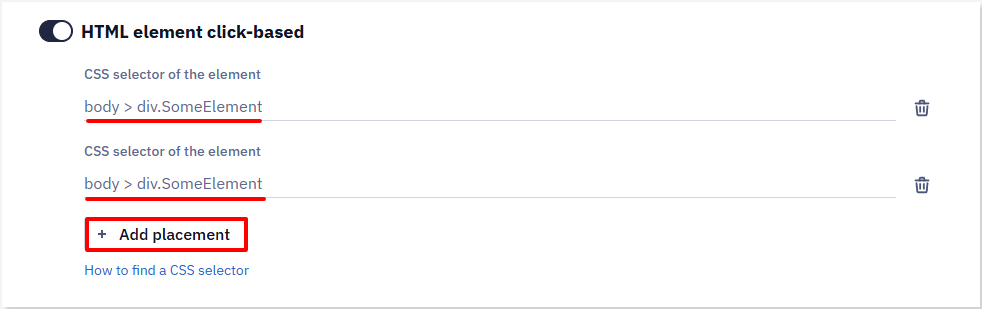
To learn about finding an element and copying its CSS selector, click on the How to find a CSS selector link.
Our script checks for the presence of any specified HTML element (including the ones with the hidden status) when the web page starts loading. The system will not show the widget if the element appears after some time.
API Based
You can show a widget programmatically — with the eS('showForm', ...) call via the JavaScript API. Copy the ready-made function with the widget's identifier in the Call with JavaScript API section and add it to your site code or Google Tag Manager.
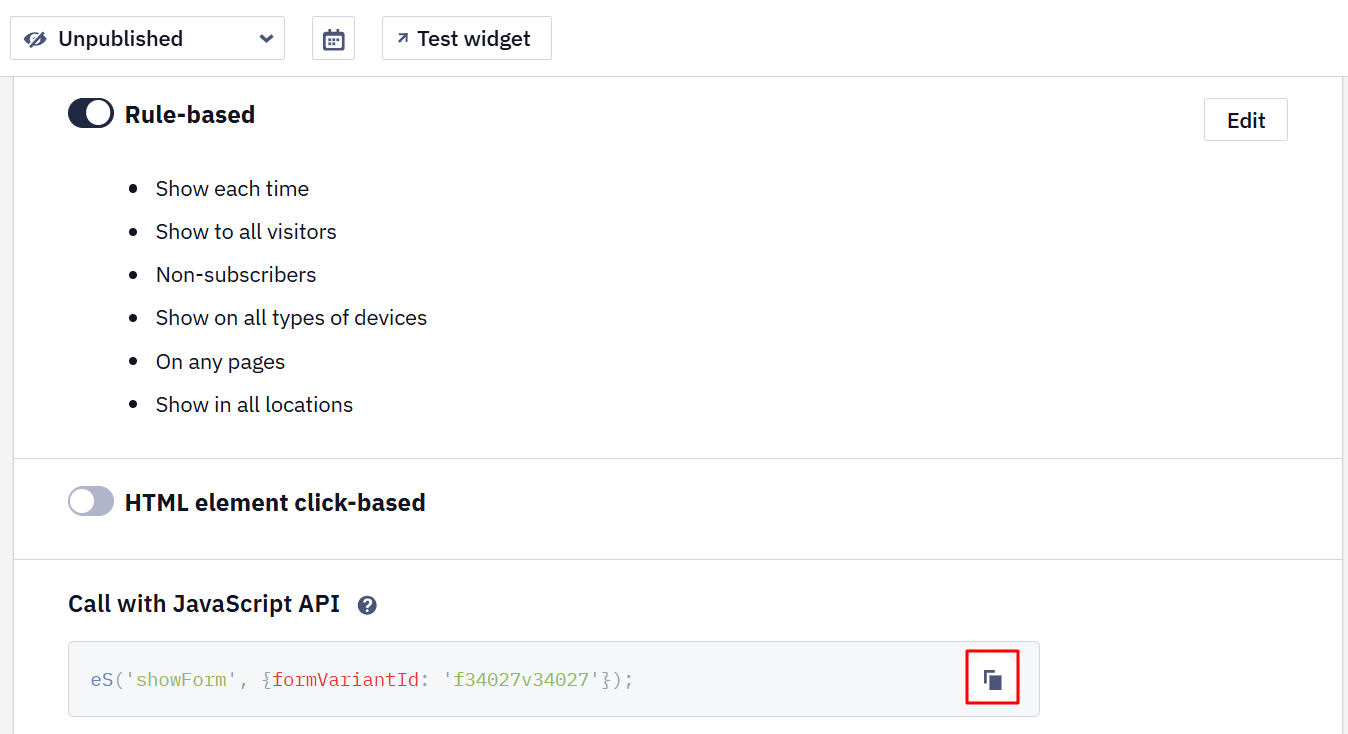
NoteThe API call shows the widget immediately, without checking the calling rules, and does not disable the Rule-based mode — both calling methods work independently of each other.
For the function syntax, examples for your site and Google Tag Manager, and troubleshooting, see Calling a Widget via JavaScript API.
By Click on Launcher
The launcher calls the widget (Subscription form/Informer types) regardless of the widget display conditions.
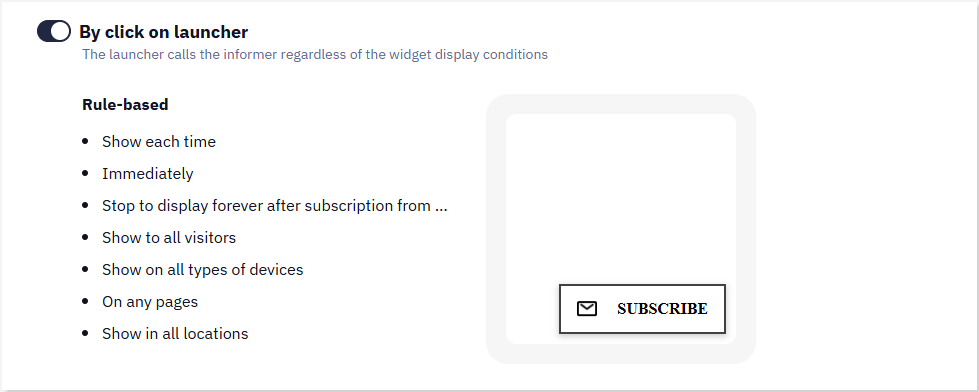
Rules for forms that showed by clicking on a launcher:
- Show each time
- Immediately
- Stop to display forever after subscription from any widget
- Show on all types of devices
- On any pages
- Show in all countries
Teaser Display Rules
For Popup and Floating box widgets, you can add a Teaser page. A teaser is a small clickable element that reminds visitors about the widget and lets them open it when convenient. It does not cover the main page content or interfere with website interaction.
The teaser's text and design are edited the same way as other widget elements: double-click its text to replace it, then use the right panel to adjust font, size, color, corner roundness, and shadows. Use the Text roller element to display a rotating, animated message inside the teaser.
If no teaser is configured, the system prompts you to add one when you save a subscription form or request form for the first time. You can configure its position and display rules immediately or save the widget without a teaser.
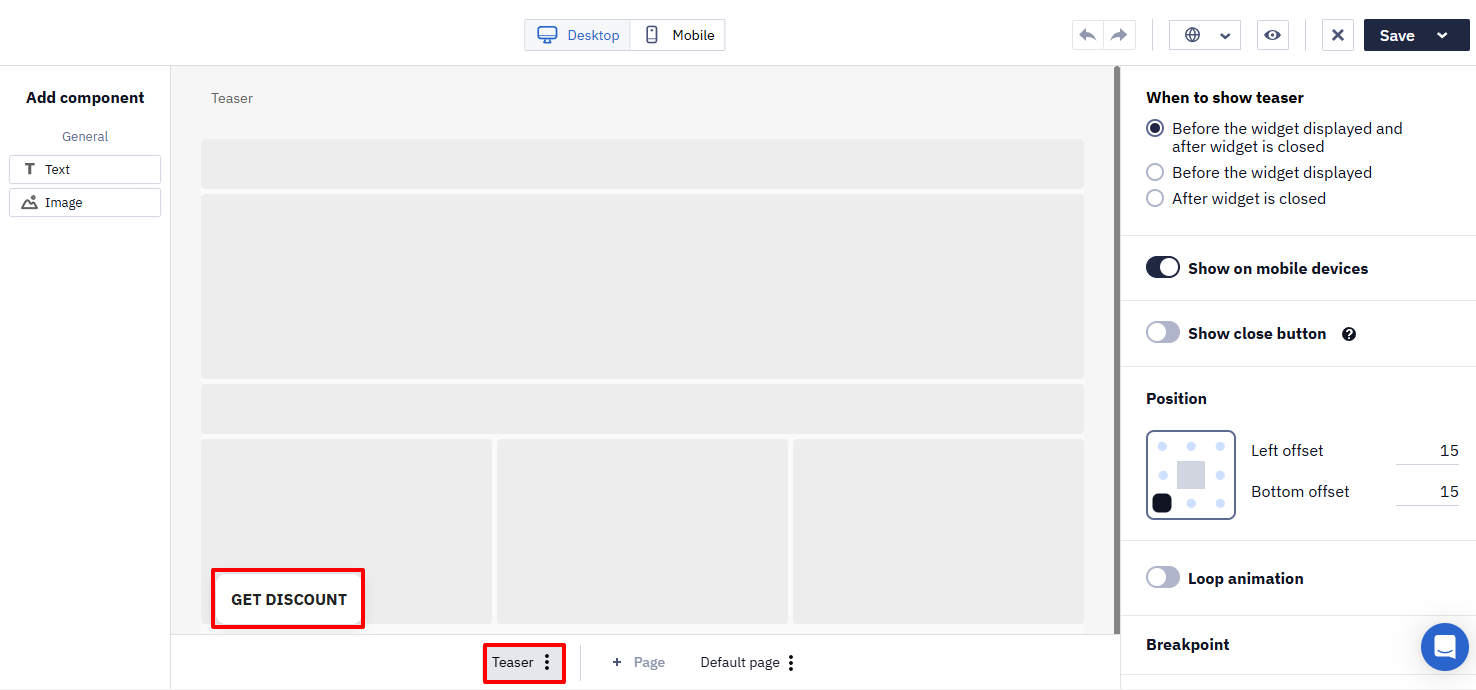
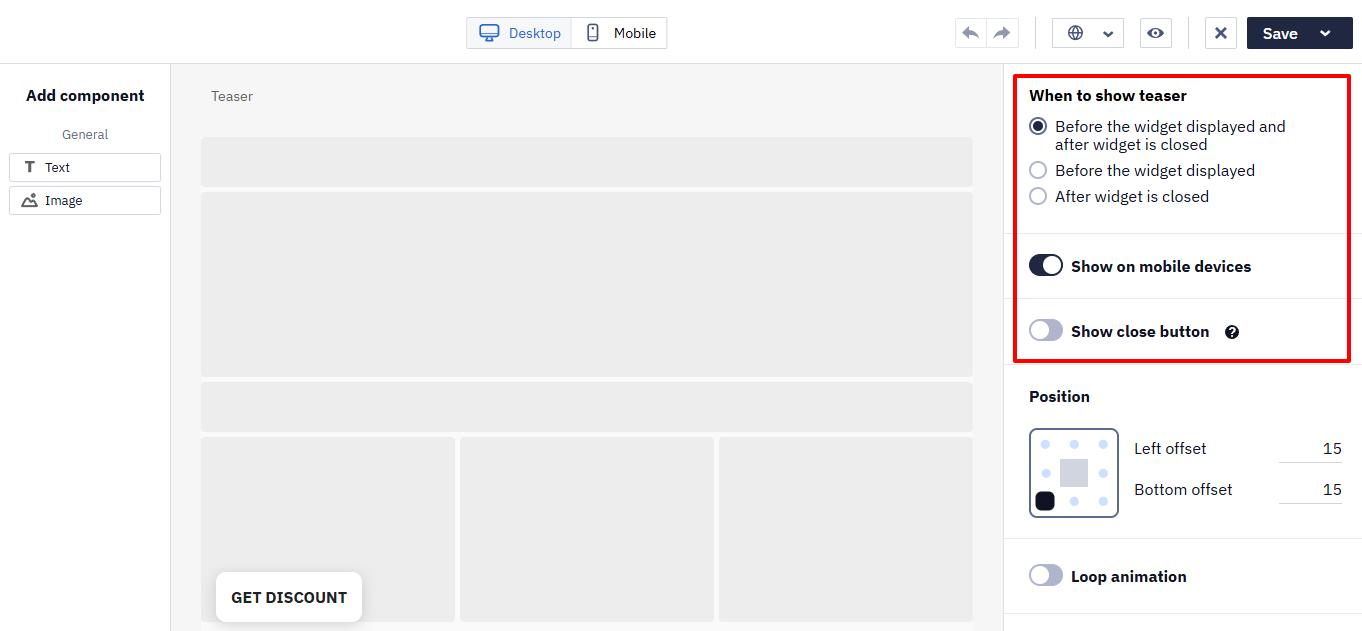
The following conditions for displaying a teaser are available in the editor:
- When to show a teaser:
- Before the widget displayed and after widget is closed
- Before the widget displayed
- After widget is closed
- Show on mobile devices
- Show close button (when closing the teaser with this button, its display stops forever)
The teaser's position on the screen is also set in the same editor: top, bottom, left, or right, with an offset from the edge. Left and right positions display the teaser vertically, as a slim tab along the side of the page, while top and bottom positions stretch it horizontally — useful when you want to avoid overlapping content at the top or bottom of the page.
The teaser may also be displayed depending on the following widget display calling rules:
- When to stop displaying: the teaser stops displaying after the target action in the widget (subscription or game) is performed, if these options are enabled.
- The display rules To whom, On pages, In locations limit the teaser's display time in the same way as the widget itself.
The next step required to configure the widget display is Actions after subscription.
Updated 17 days ago