
Bulk Contact Import via Get Started Section
Yespo offers two methods for importing contacts: through the Contacts section and the Get started section.
For details on importing via the Contacts section, refer to this guide. This article specifically covers importing contacts through the Get started section.
NoteFollow this link to learn how to prepare a contact data file for import.
Uploading File
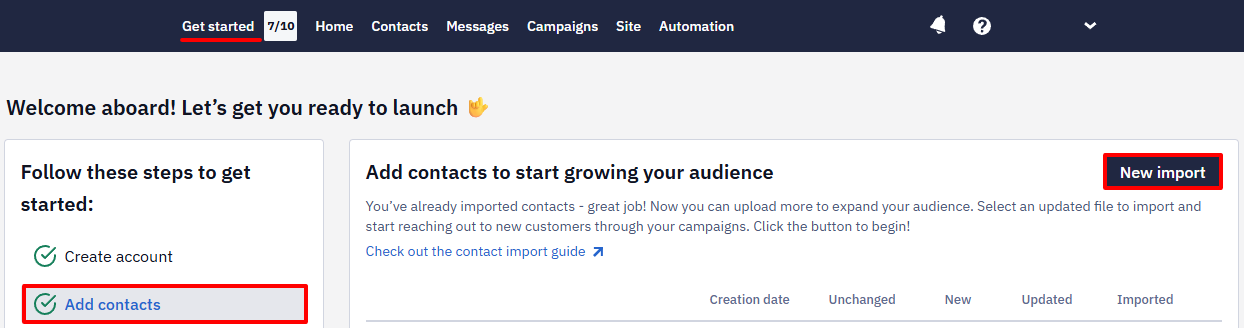
- Go to the Get started → Add contacts section and click Start import.
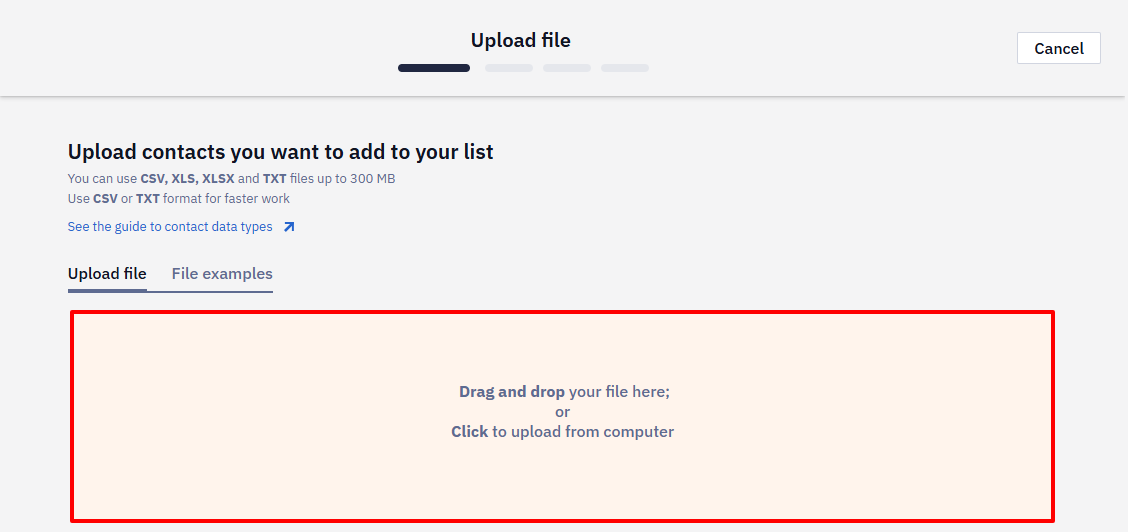
- Drag the file into the drop area or upload it from your computer.
Mapping Fields
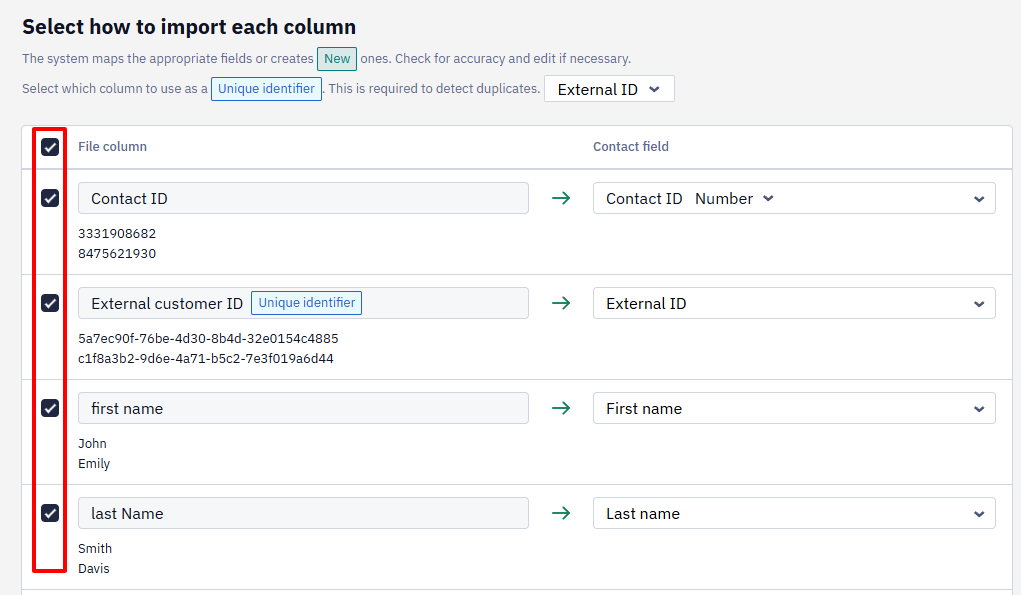
Each column of your file contains contact data type, such as emails, phones, etc. The system maps the appropriate fields or creates new ones in your Yespo account. Check the mapping correctness and make changes if necessary.
- Select which column to use as a unique identifier. The basic identifiers include External ID, Email, and Phone Number, but any field can serve as an identifier if desired.
NoteWe recommend using an external ID as the main contact identifier. The link provides use cases to help you better understand how to optimize contact identification.
- Select which columns to import.
- Check the mapping correctness and make changes if necessary.
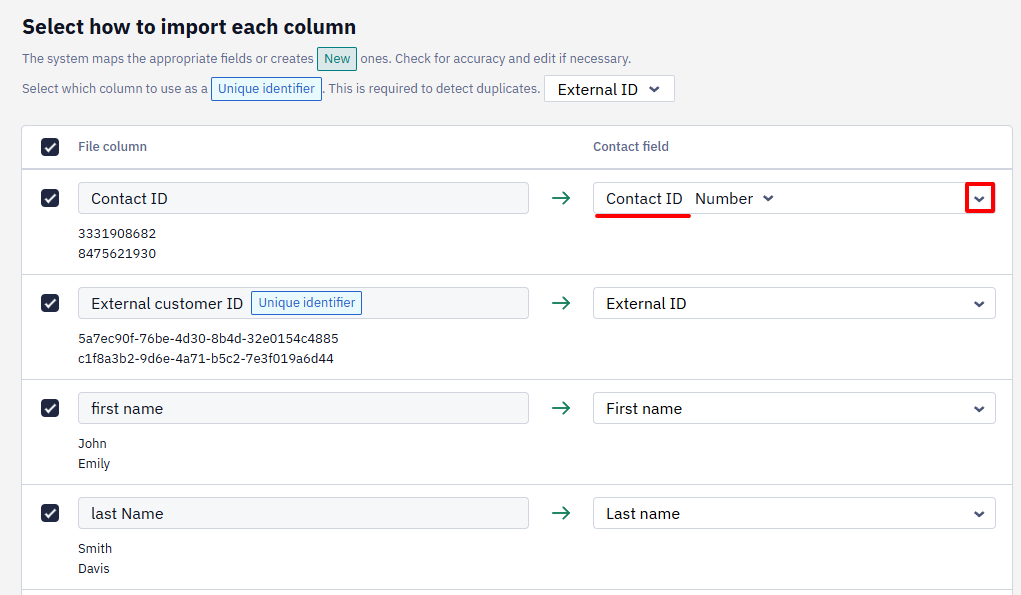
- Field names — To make changes, open the dropdown list, select a field name from the existing ones, or create a new one.
NoteNewly created fields are tagged as New. New contact fields are added to the default Accessorial list when your import is completed. Further, you can move them manually to another list.
- Contact data format — To make changes, click on the format name and select the appropriate from the following options:
- Text box
- Text area
- Number
- Fractional number
- Date
- Date with time
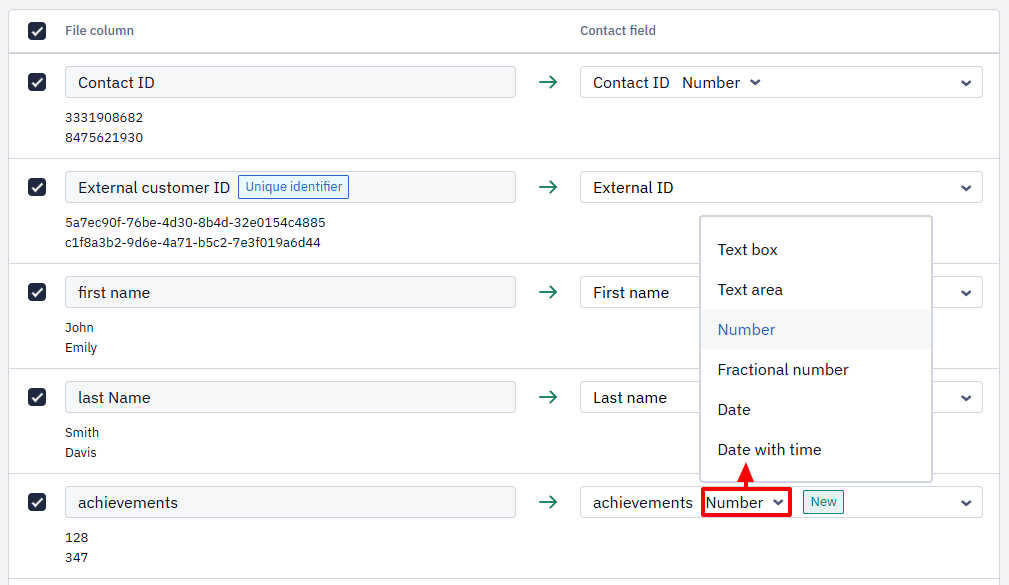
NoteYou can change the format only for new fields
- Click Next.

Validating Data
If your contact list contains errors, the system will mark them as:
- Red — Mistakes in emails and phone numbers
- Orange — Warnings about inconsistencies in all other fields
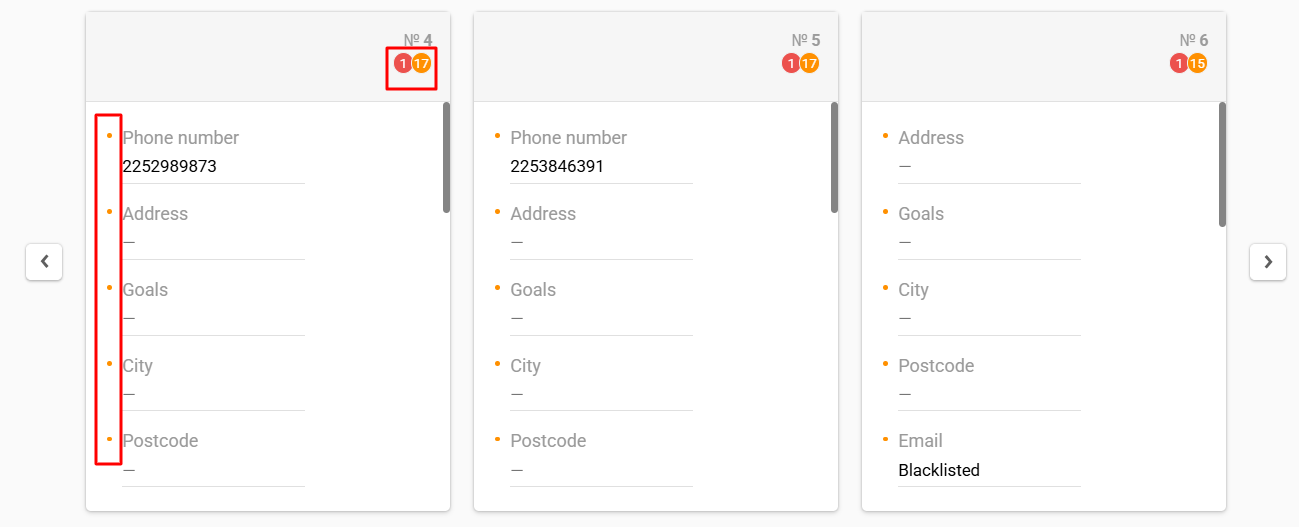
Contacts with errors are not saved or updated in the system, and fields with warnings are not updated.
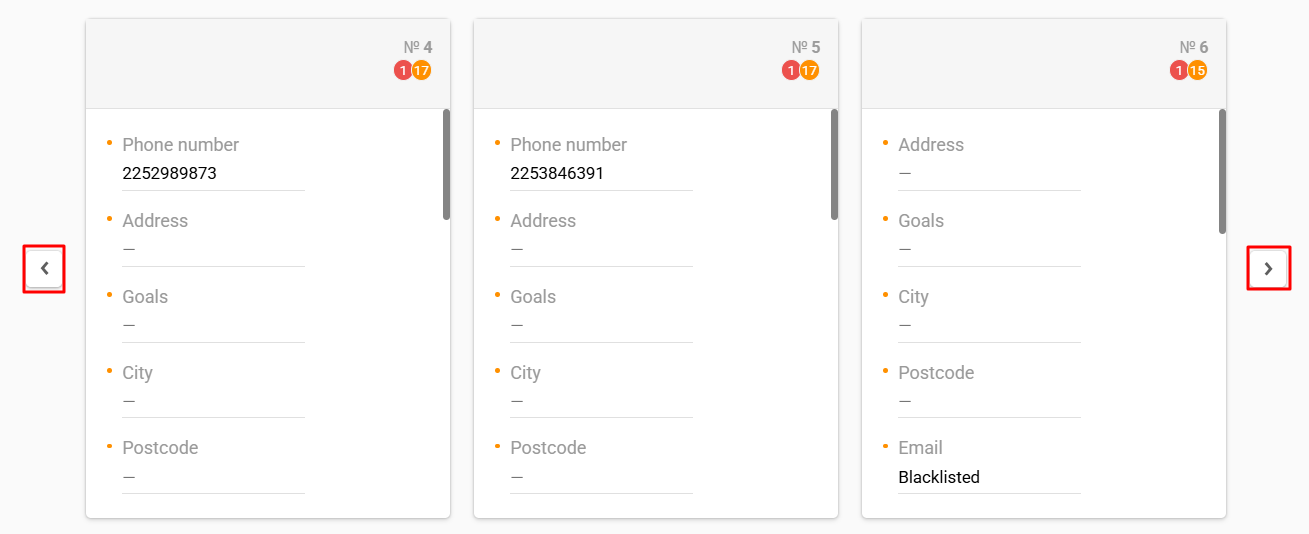
All fields are editable inline. You can fix them manually or skip this step by clicking Next.
NoteManual corrections in contacts will not be saved when changing the field mapping.
Click the left/right arrows to see the previous/following contact cards.
After fixing all errors and warnings in the contact card, it will be marked with a green checkmark.
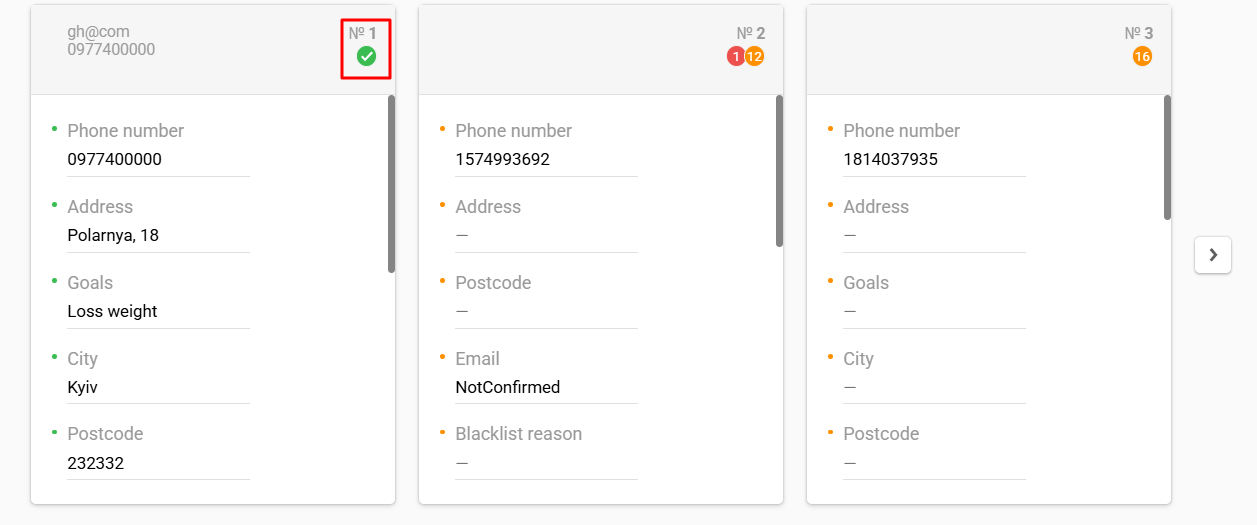
Click Next to proceed to the next step.
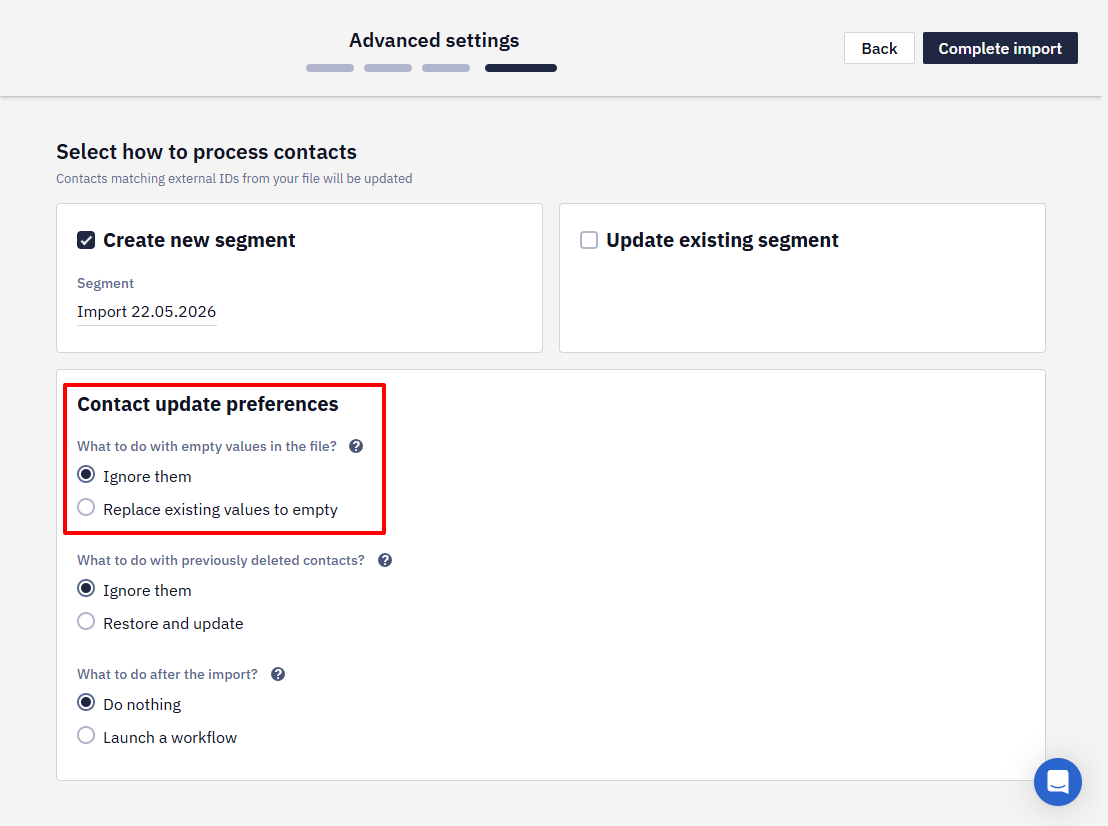
Advanced settings
- Determine which segments your contacts should fall into after import. This can be a new list segment or one or more existing ones.

- Select whether to import empty values. If this option is enabled, filled contact fields will be replaced by empty values from the file when updated as a result of import.
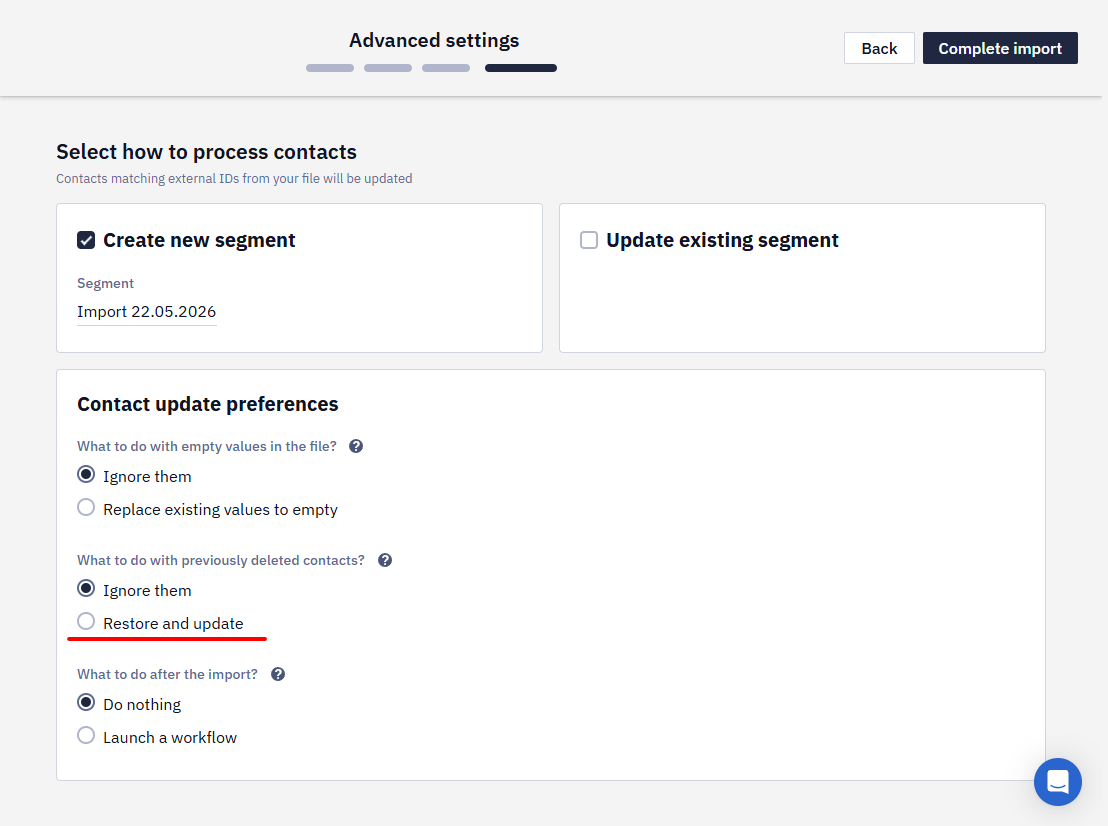
- You can restore and update the contacts from the file by importing them.
- Click Complete import.
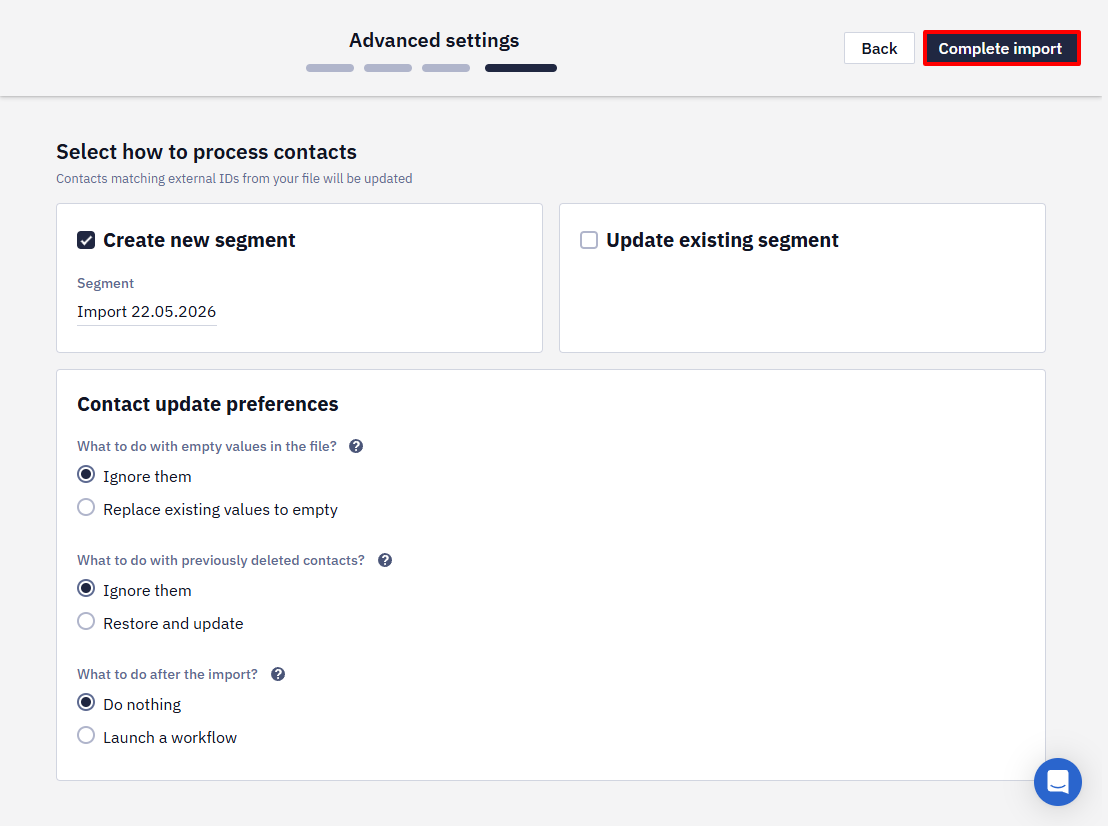
The import will be running in the background, and you can continue working with the system.
Updated about 1 month ago