
Creating Email
To create your first email, follow the next steps.
Step 1. Go to Email Creation
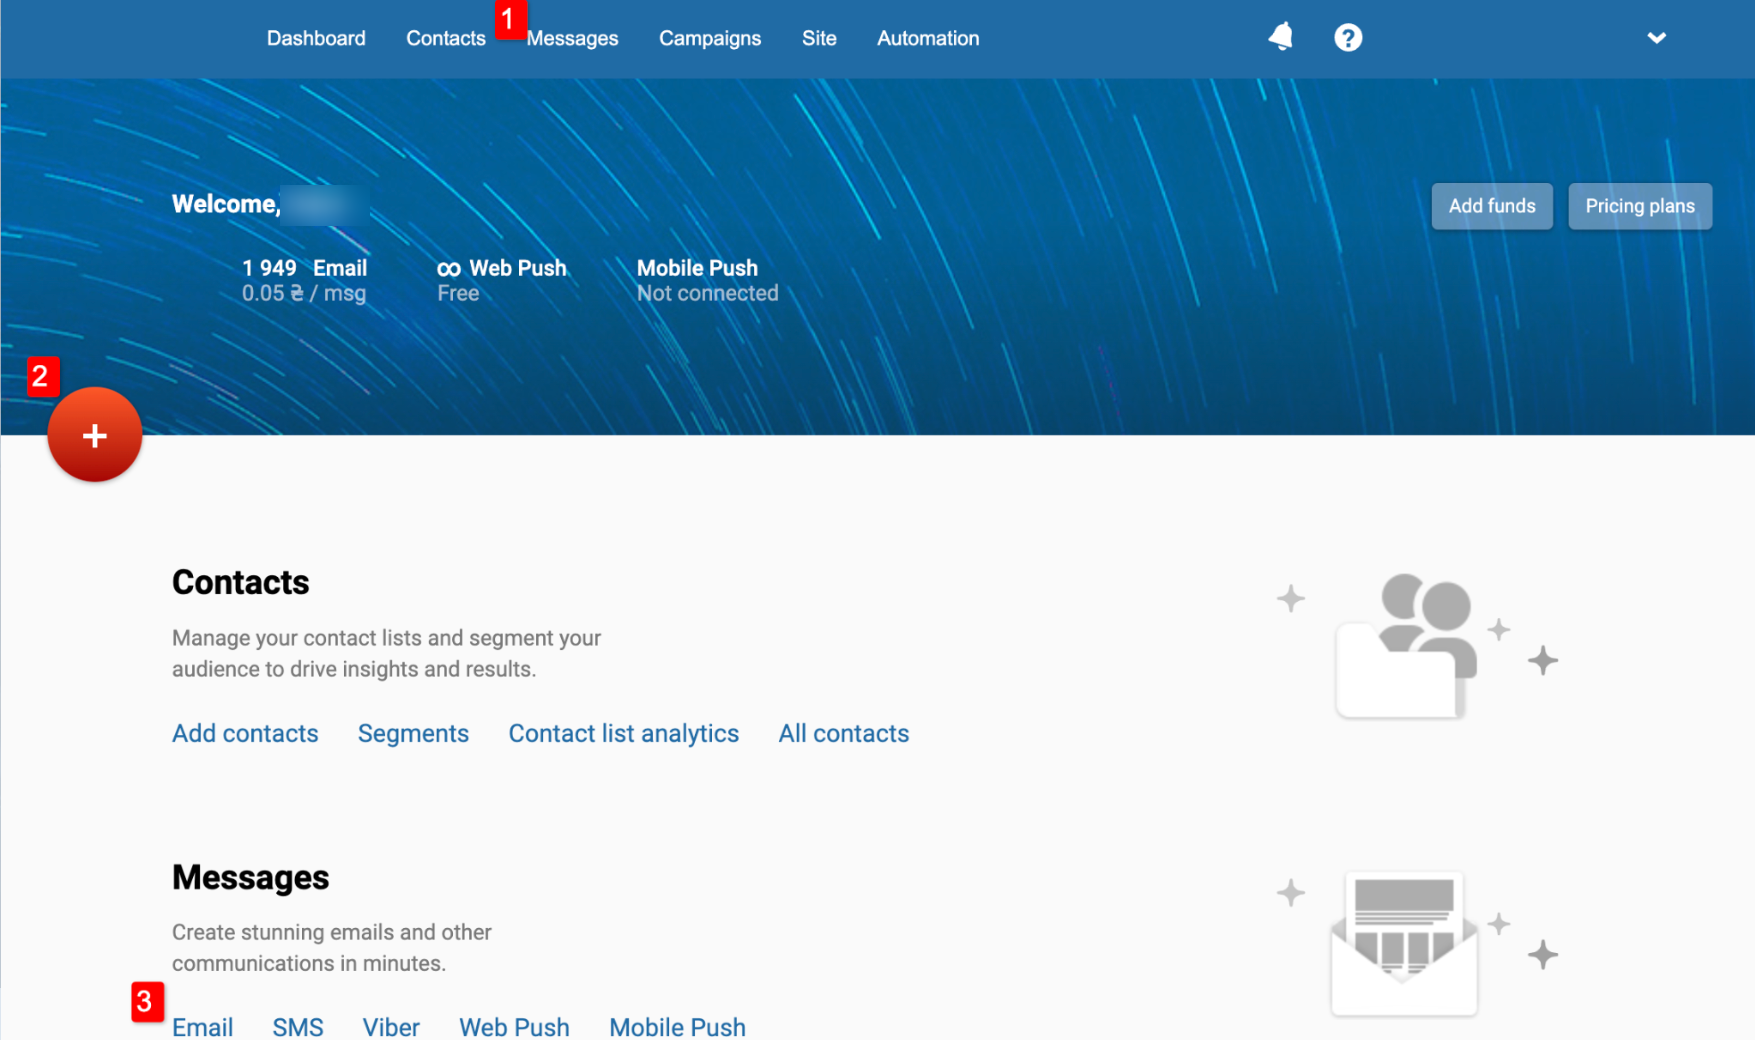
To start building an email, choose one of the following options:
Yespo system dashboard
- Go to Messages → Messages and click Create Email.
- On the main page, click the plus icon → New message → Email.
- On the main page, in Messages click Email → Create Email.
Step 2. Choose a Template
Choose a template from one of the categories:
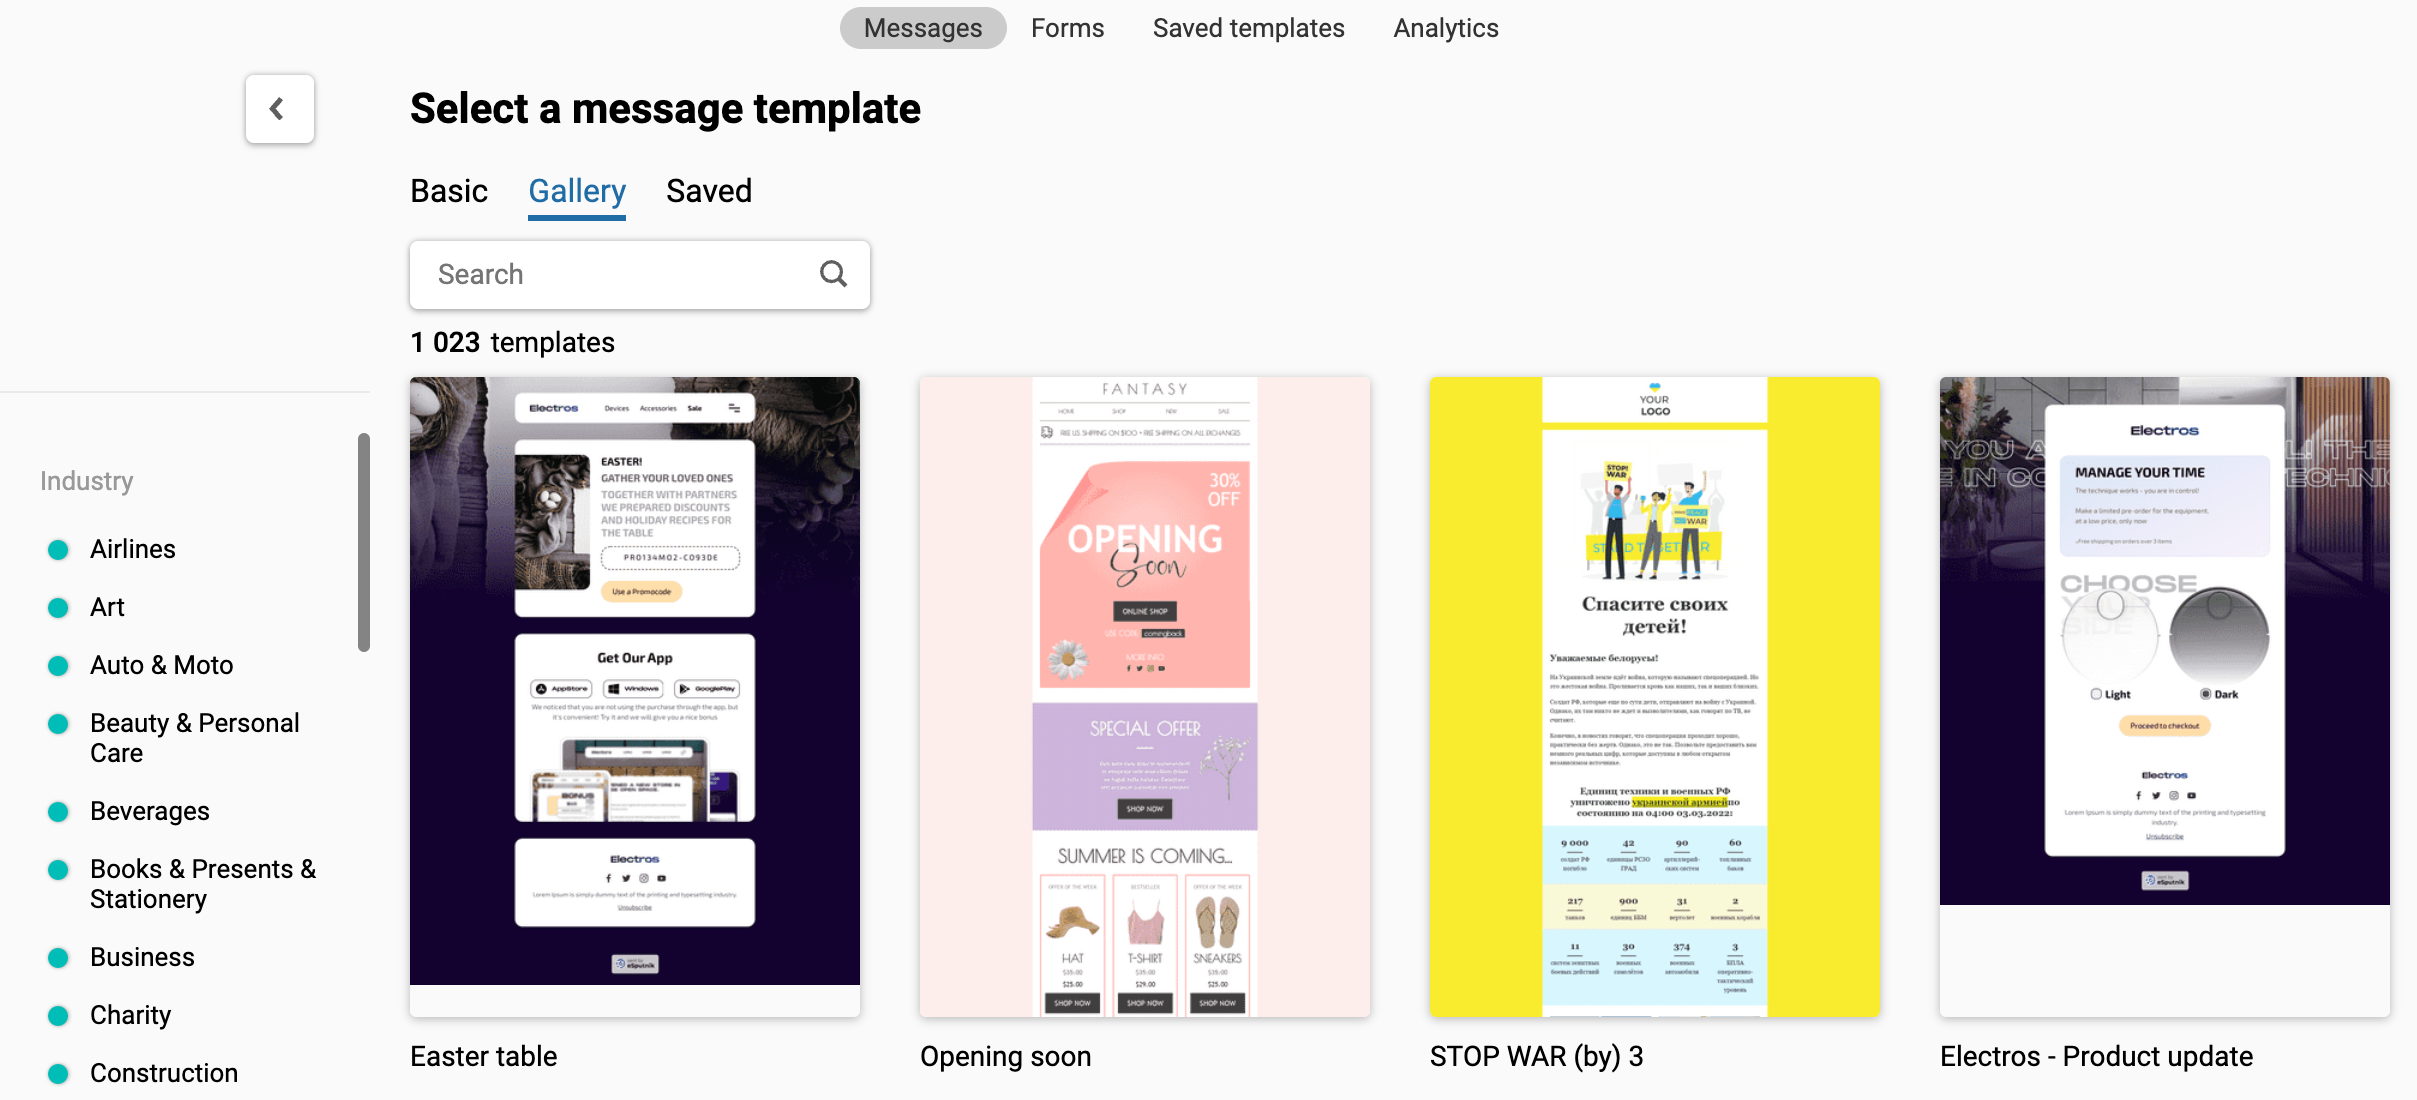
- Basic: nineteen ready templates, one empty and one HTML template.
- Gallery: 350+ ready templates grouped by industry.
- Saved: emails you have saved as a template. You can save any email as a template and further use it for similar campaigns with the same layout and design.
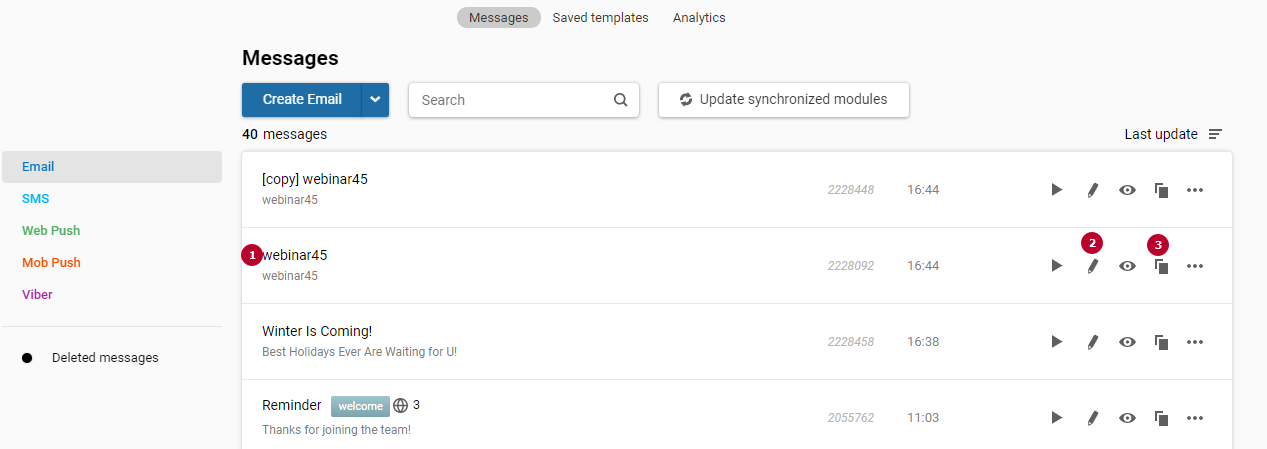
You can edit any template in Messages and Saved Templates by
- clicking its name,
- clicking Edit on the right,
- also, you can click Copy to copy and edit the chosen template.
Step 3. Create an Email Design
In our drag-and-drop editor, you can edit one of our ready templates, insert the code of your template and further edit it if needed, or create a custom HTML template from scratch. The main advantage of a visual editor is the built-in block responsiveness so that your emails will be displayed correctly on different devices.
The main tools of the editor are organized in three sections: two tabs (Appearance/Content) on the left and a settings menu in the upper right toolbar.

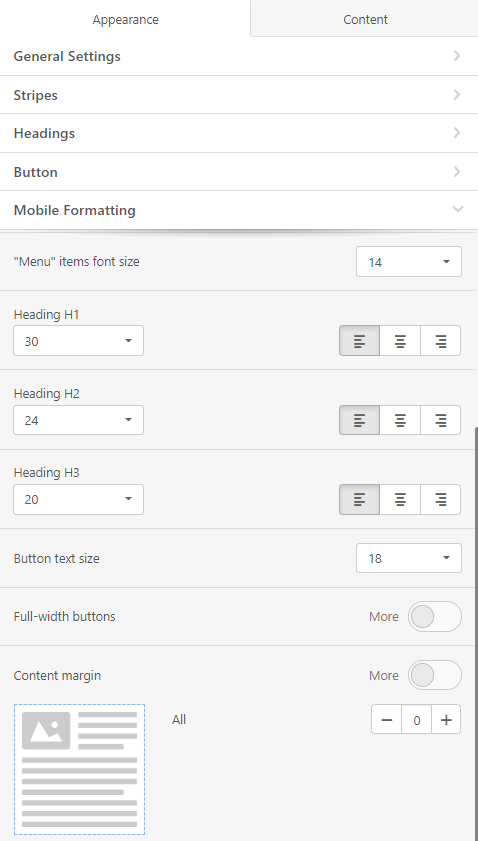
Appearance
This tab includes 5 subtabs:
- General Settings;
- Stripes;
- Headings;
- Button;
- Mobile Formatting.
It allows to design a whole layout of your email, or its separate elements (header, content, footer, info area). The subtab Mobile Formatting enables to adjust settings that regulate the mobile display of the email.
Content
This tab includes 3 subtabs:
- Structures;
- Blocks;
- Modules.
1. Structures
This section allows to add a structure to the template horizontally. Drag any structure to the necessary stripe and add the necessary blocks.
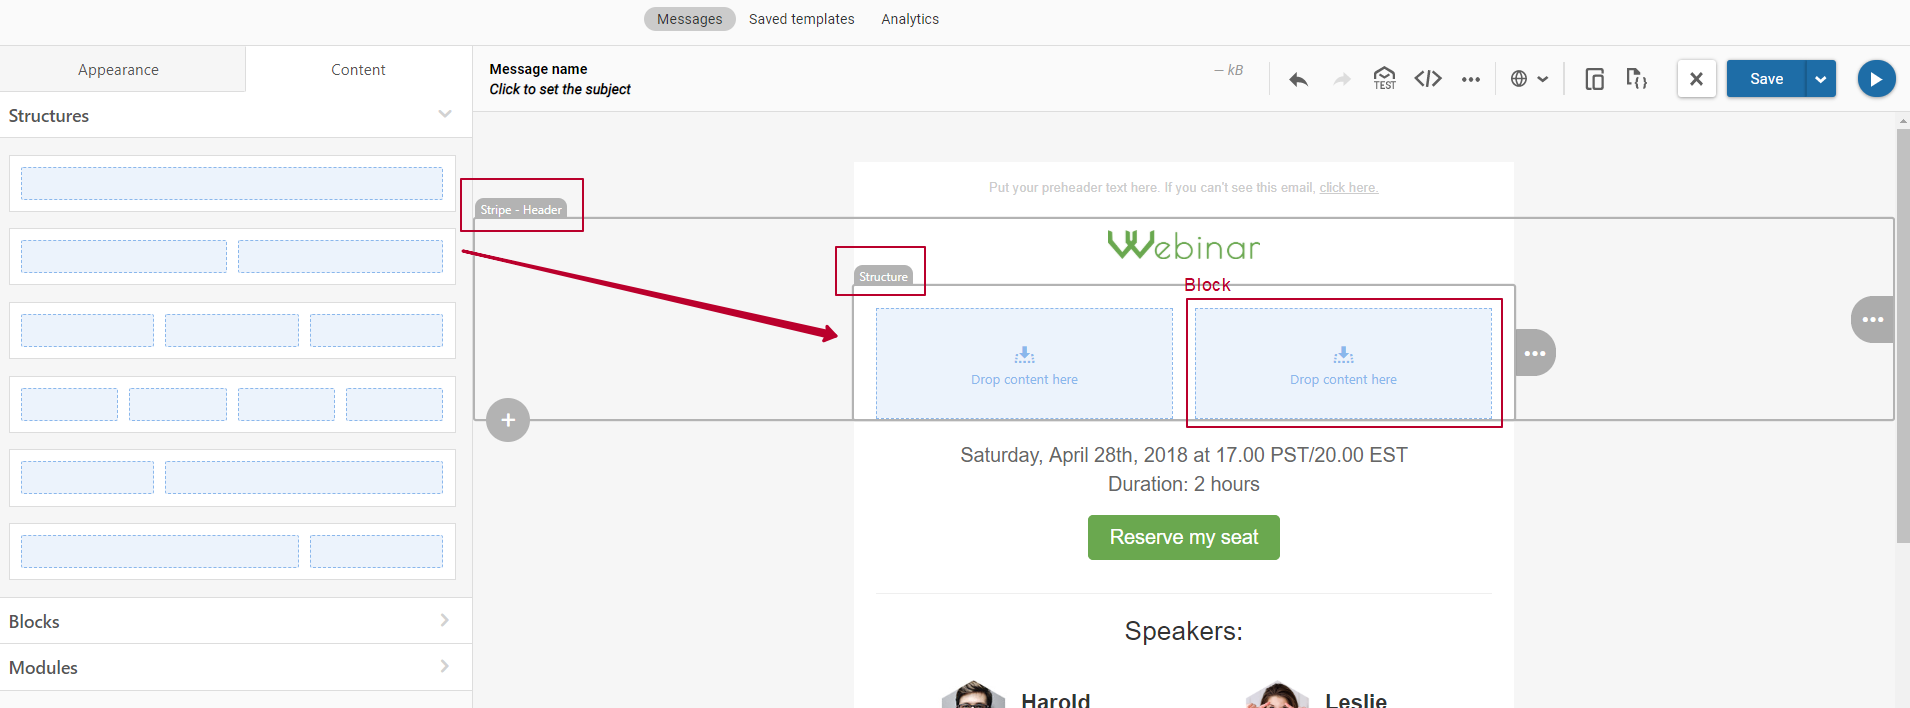
When you add to one structure several elements vertically (for example, text and images), they make containers which you can also set separately.
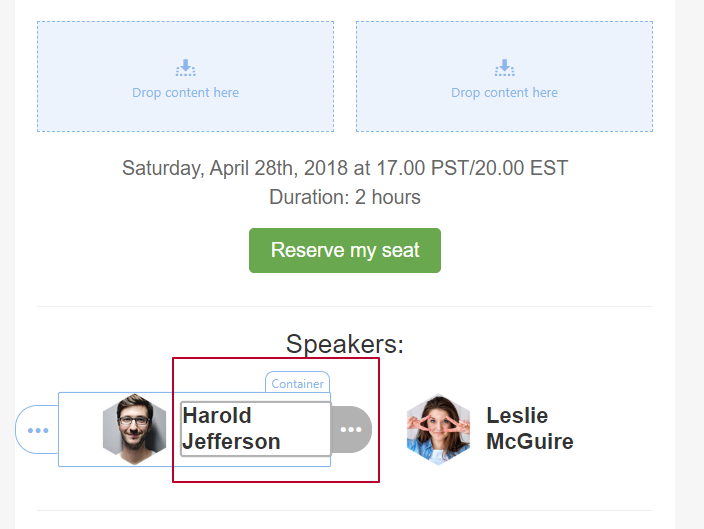
To start editing any element (stripe, structure, block, container), click it.
2. Blocks
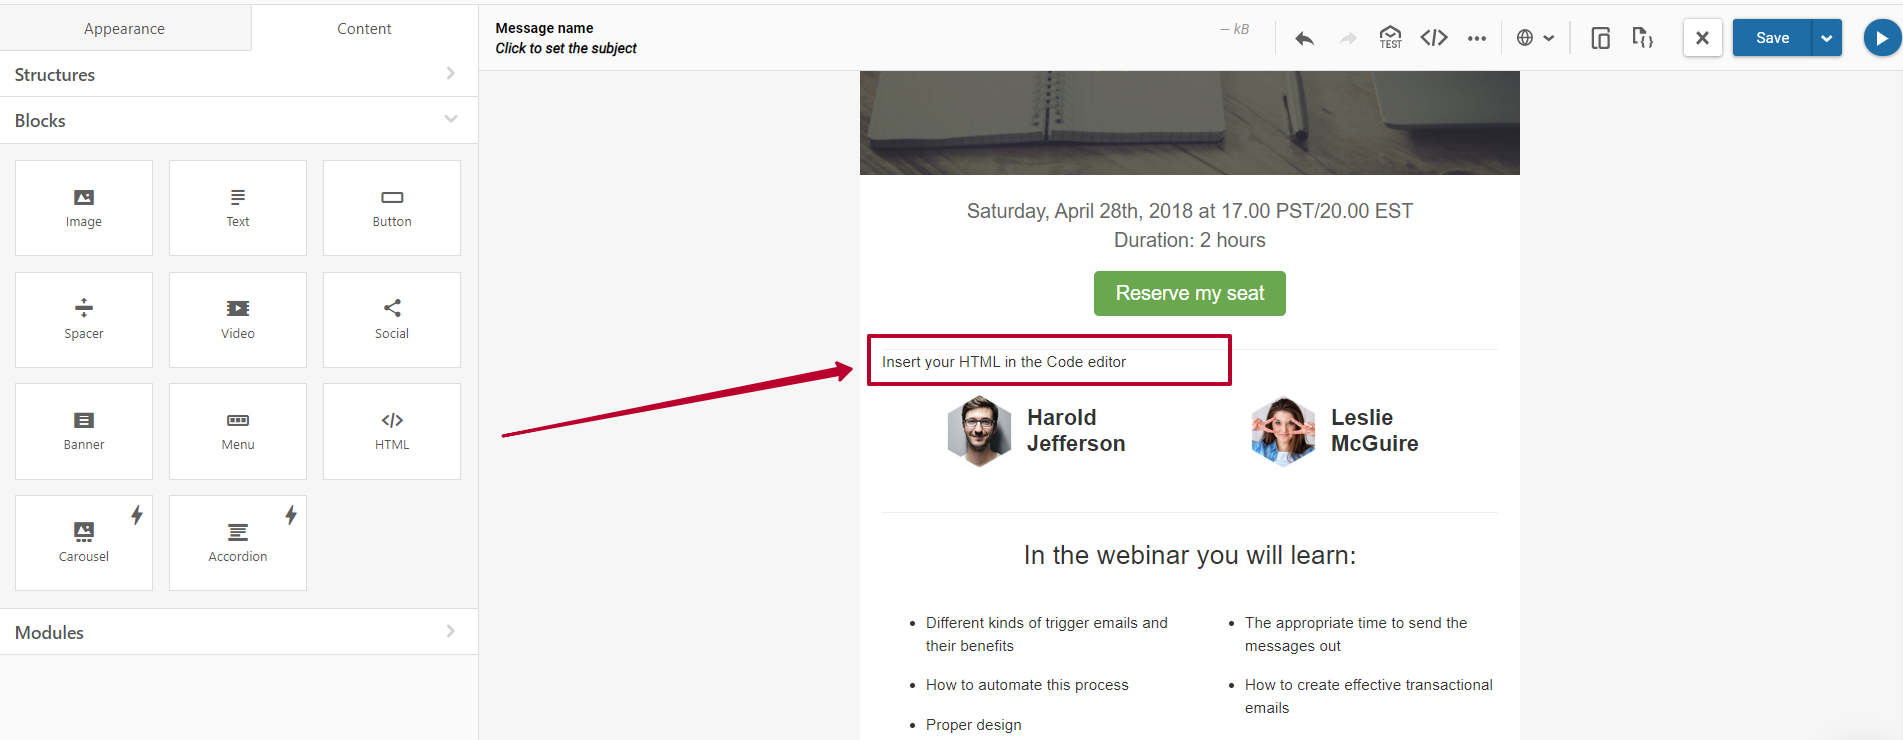
The section contains the following blocks:
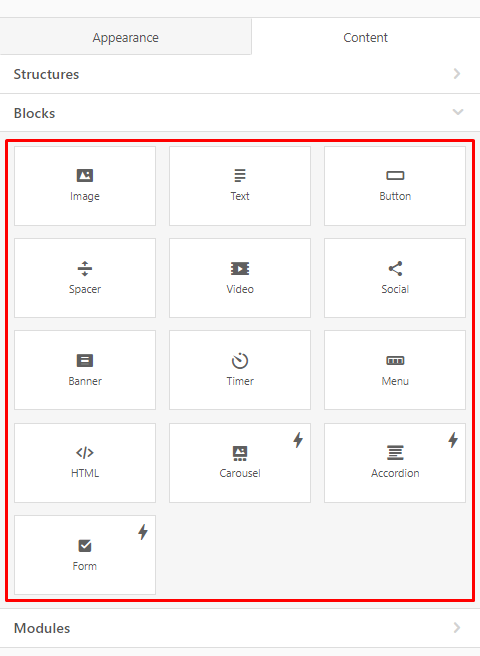
You can add them by dragging from the menu, copy, delete, edit, and move them relative to other blocks. Each block is responsive by default. If needed, you can disable the responsiveness of images and hide some blocks when displayed on mobile devices.
3. Modules
This section contains two tabs (Advanced/My modules) with ready structures with built-in ready blocks and containers.
Advanced contains ready module templates:
- Preheaders;
- Headers;
- Banners;
- Info Modules;
- Product Cards;
- Footers;
- AMP Sandbox.
My modules contains the modules you have previously saved. You can save any container, structure or stripe as a module, and they will be saved to this tab.
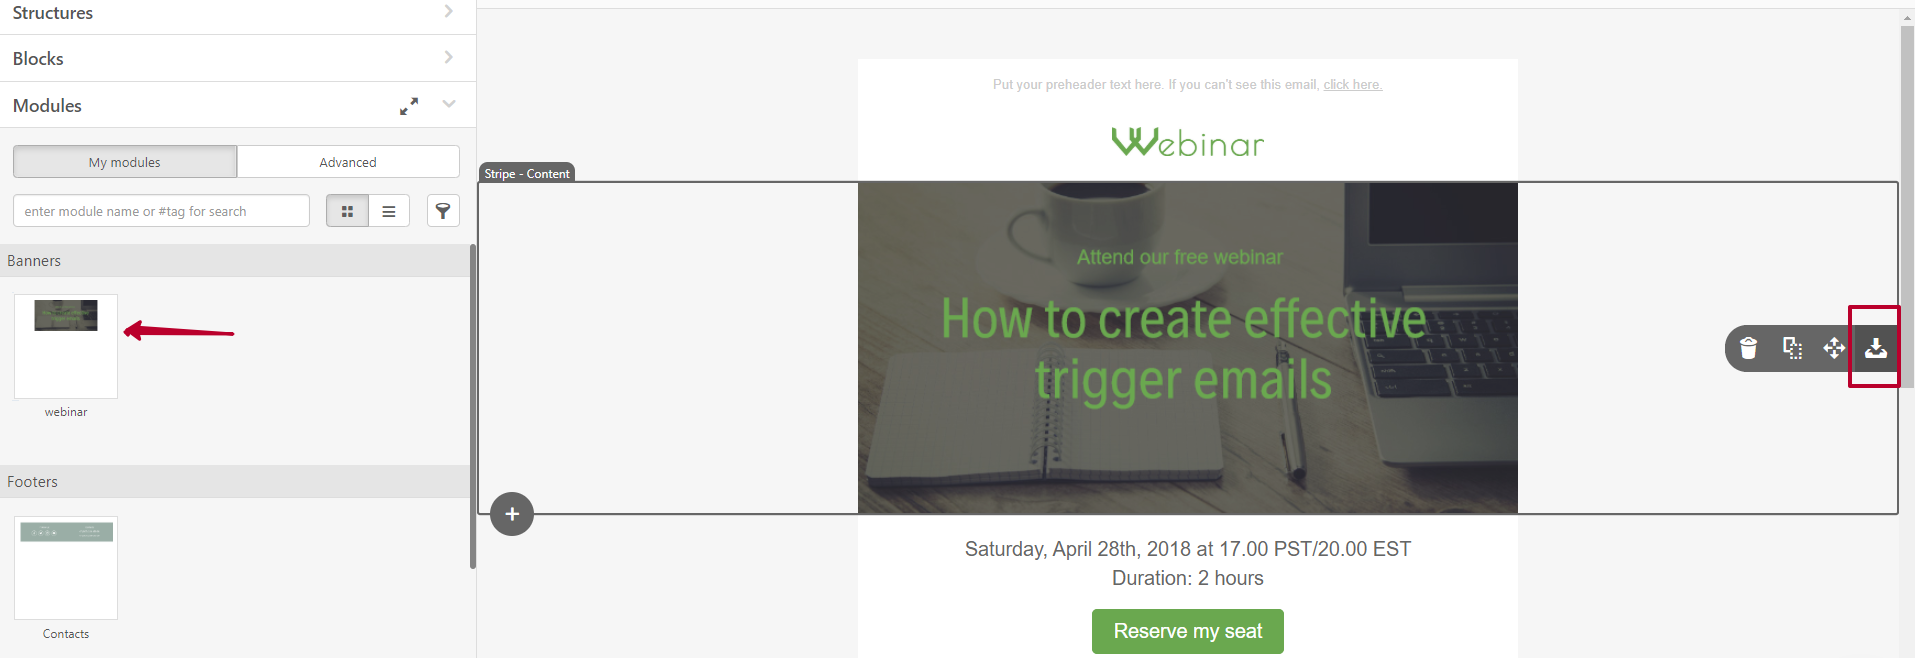
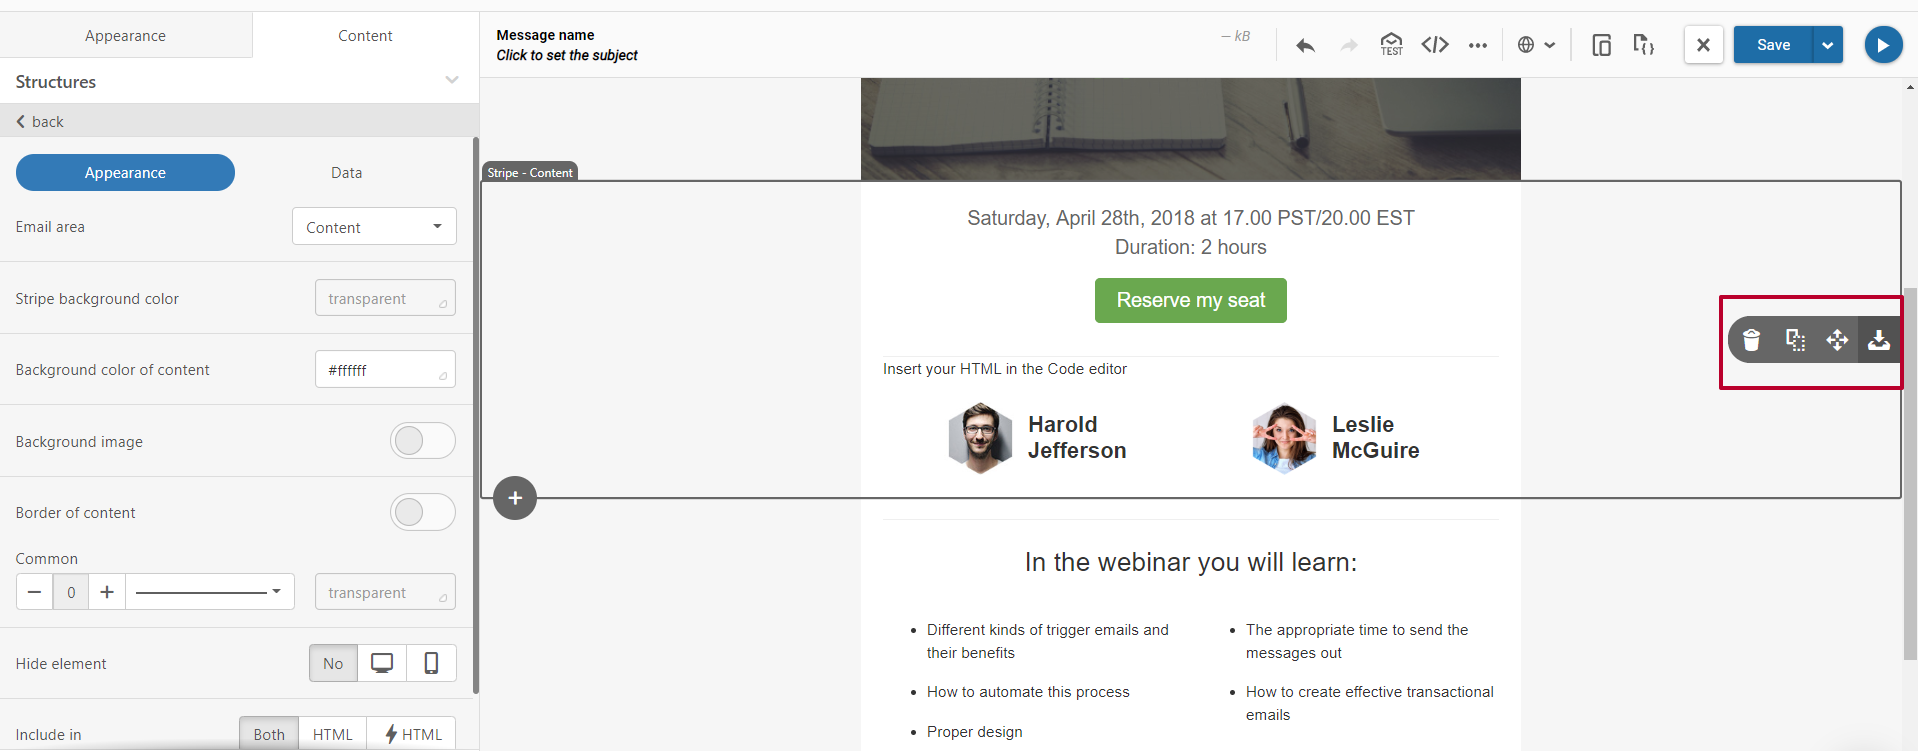
A click on a specific email element automatically opens the settings on the left. And when you hover over it, you see a panel with the main actions you can apply to this element: save as a module, move, copy, and delete.
Additional editor features include:
- Multilanguage;
- Smart blocks;
- Dynamic content;
- AMP-supported elements (accordion, carousel, form);
- Synchronized modules;
- Custom fonts, etc.
Each element of your email template can be edited in the HTML editor as well. To open or exit the HTML editor, click Code editor in the top settings. You can open the editor for a particular element by first clicking it and then clicking Code editor. For convenience, the HTML and CSS editing tabs are separated.
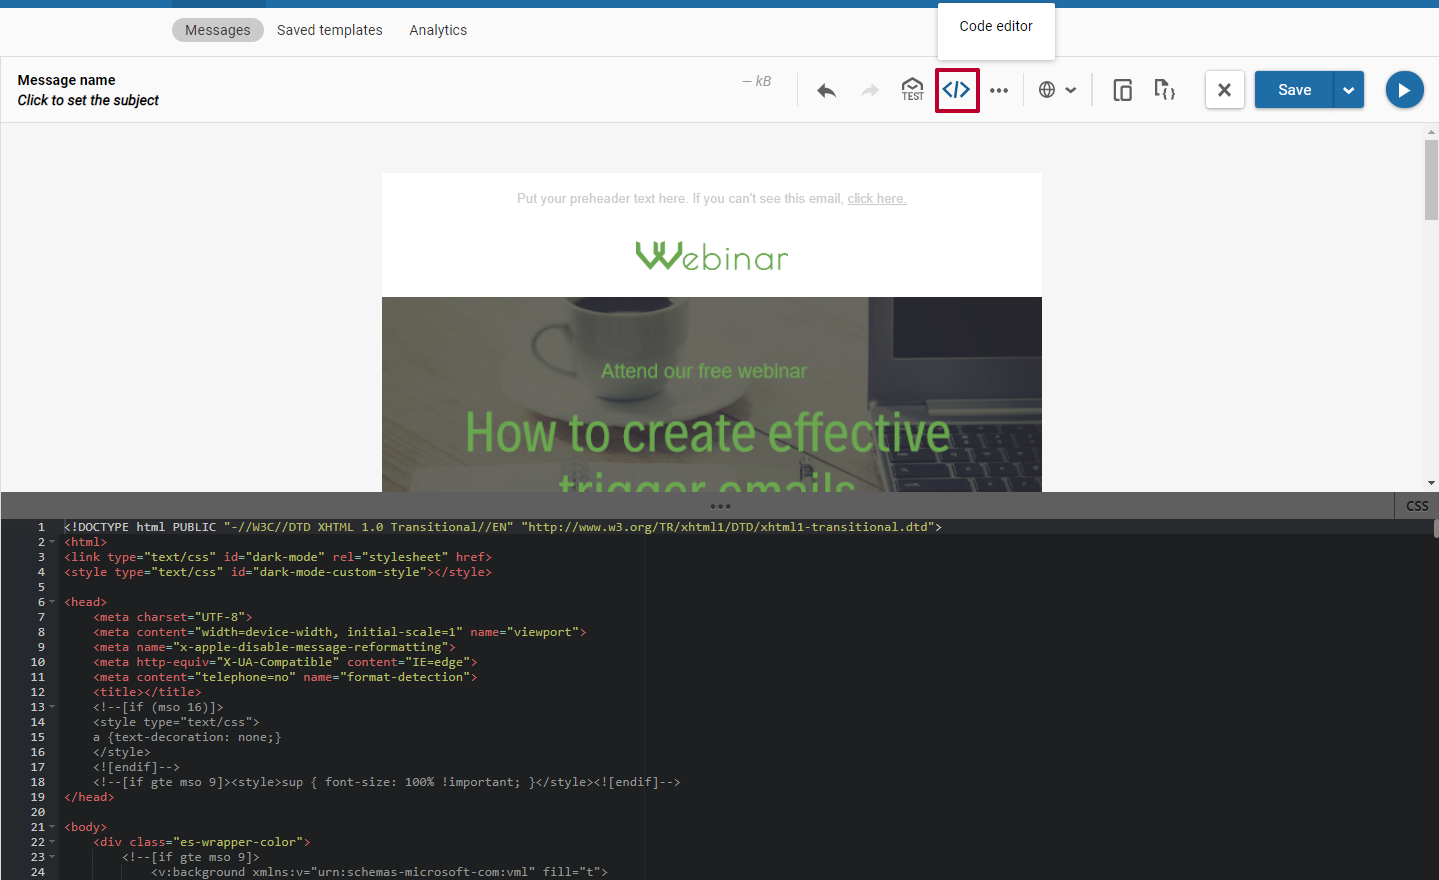
If you create a message in HTML, insert your code into the HTML editing window. Emails can often contain styles within HTML in the <head> tag but some email clients may not support them. You can also add your own HTML and CSS block by dragging the corresponding block from the left.
Step 4. Preview and Test
To see how your email would look like on computer and mobile, click View message in the top toolbar.

To test the message before launch, click Test and enter the email address or addresses to send to, and click Send.
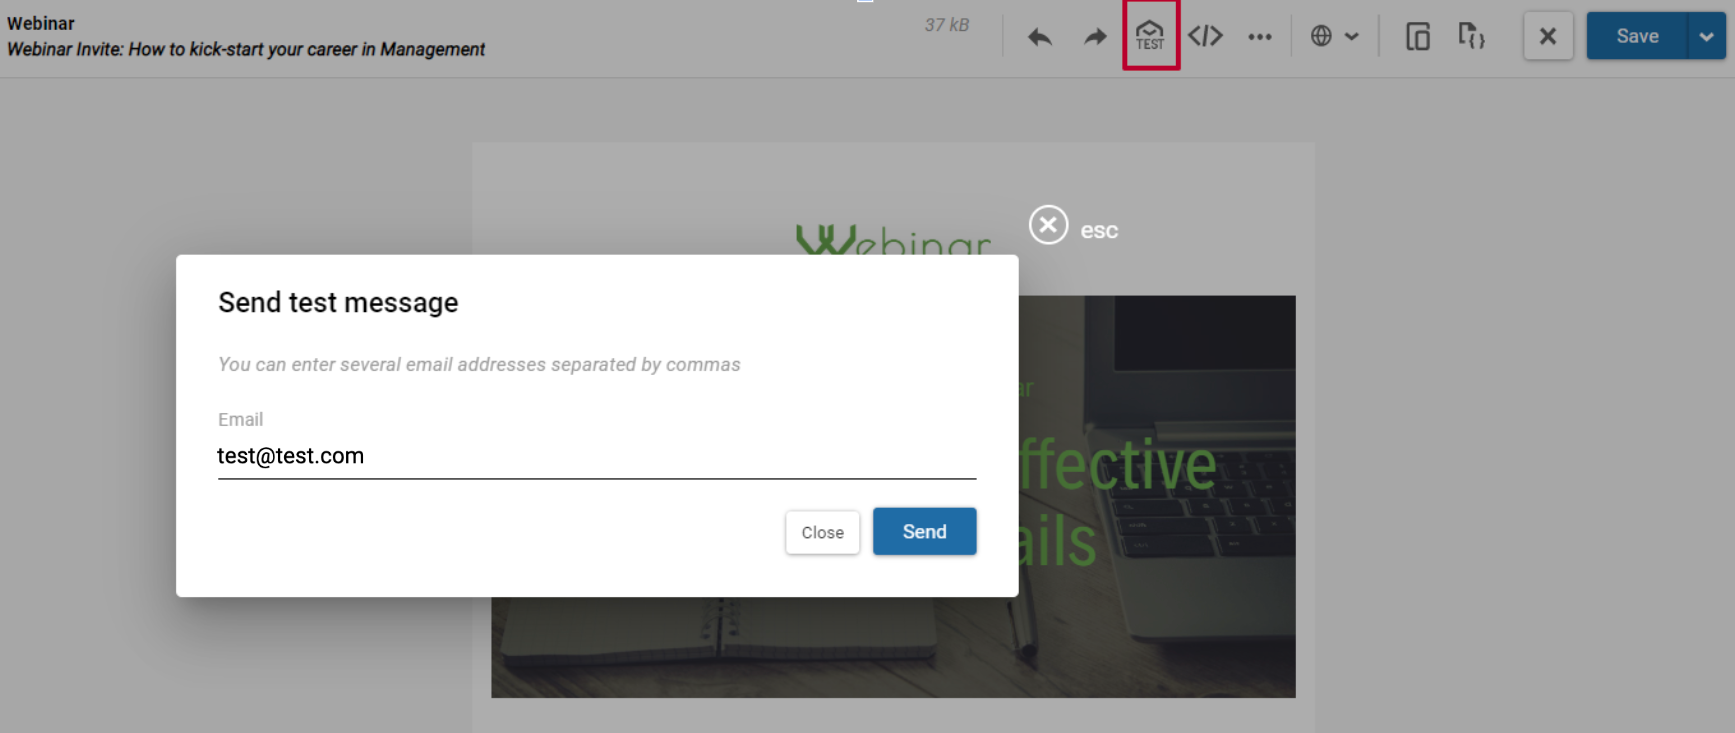
We also recommend testing your email in special services. This is especially important when using custom designs or transferring the HTML code to the editor.
Yespo customers who apply for a free custom email template also receive additional testing of template display on all devices.
Step 5. Save the Message
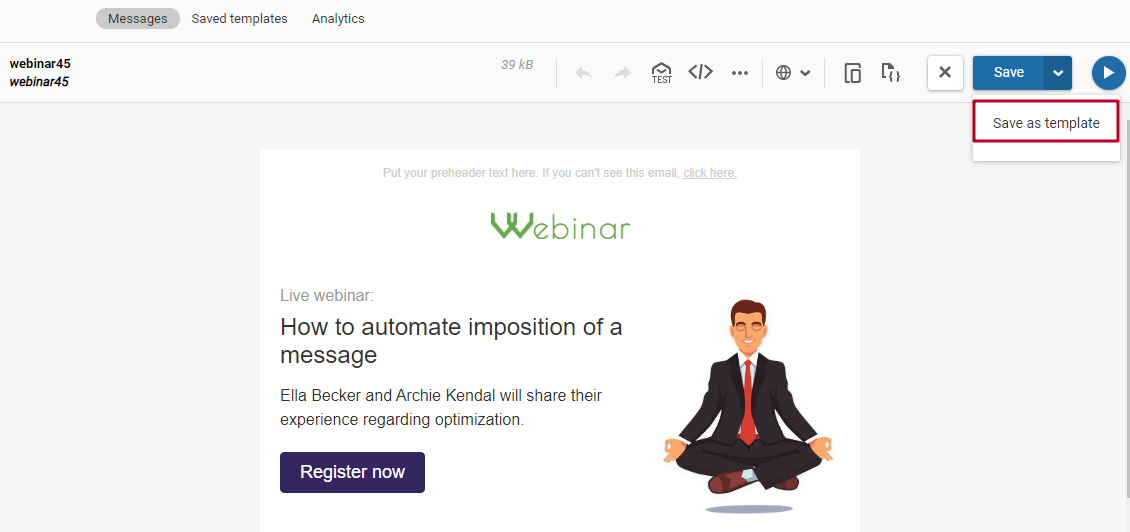
Once editing has been completed, click Save. Choose Save as template if you want to use the created message as a template for further campaigns.
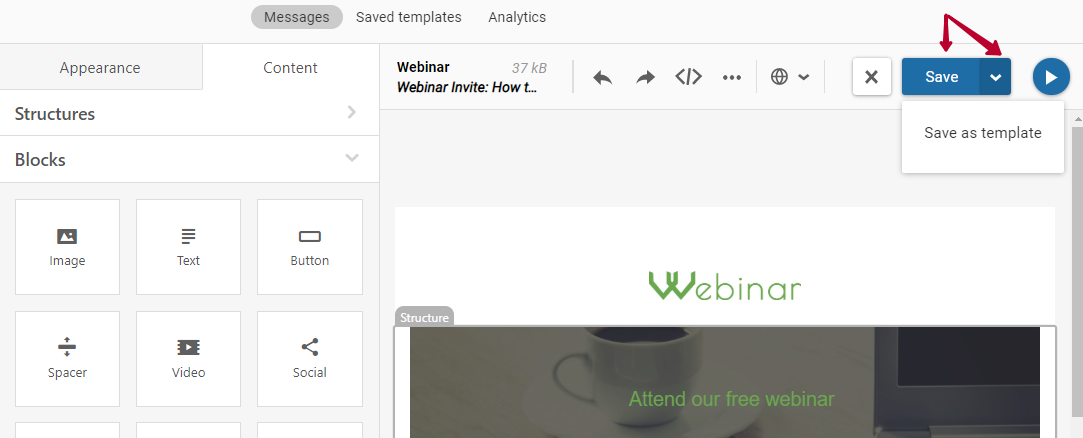
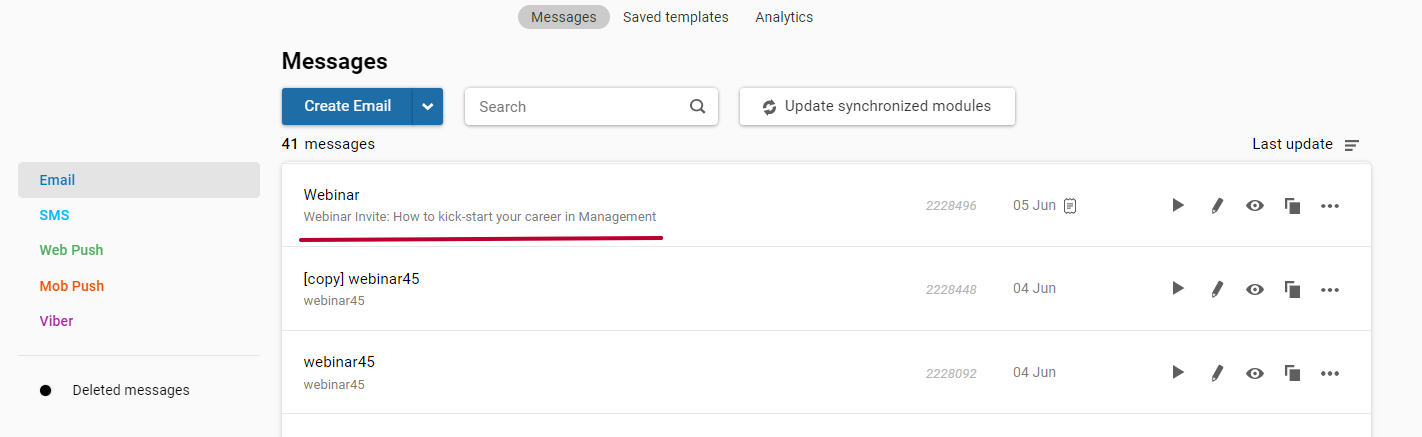
The email will appear in the general list of messages or saved templates, depending on how you saved it.
NoteThe editor saves your changes automatically as a draft. If you close the message without saving, the next time you open it you will see a notification that the message has a draft that can be restored at any moment — click Restore now to apply the unsaved changes, or dismiss the notification to keep the last saved version.
Your email message is ready. Before the launch, check your contact base and make sure you have your domain authentication configured
Updated about 1 month ago